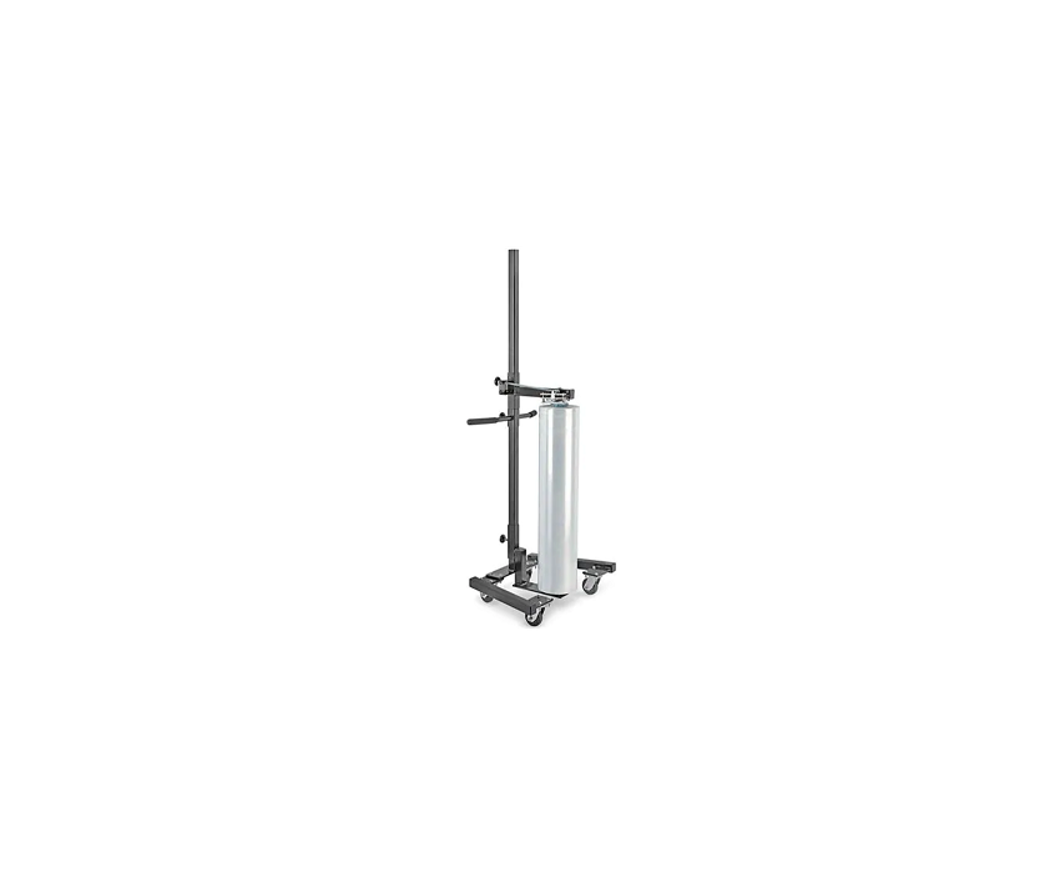
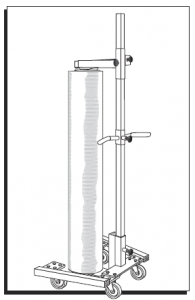
ULINE Portable Stretch Wrap Dispenser H-1597 User Manual
TOOLS NEEDED
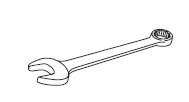
9/16″ Crescent Wrench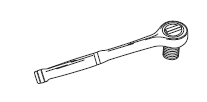
9/16″ Socket Wrench
PARTS
COUNT PIECES BEFORE ASSEMBLING


ASSEMBLY
FASTEN CASTER TO LEGS
- Take both legs from Package 1 position them to form a “V”.
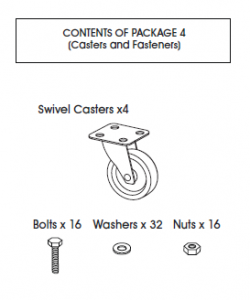
- Attach front casters fully using one bolt, one nut, and two washers per (See Figure 1)
- Attach the rear casters, using only the two holes closest to leg
 CAUTION! Do not tighten nuts all the way: this allows other nuts to be positioned correctly
 Figure 1
ATTACH MAIN POST TO LEG ASSEMBLIES
- Lay black main post on ground and align mounting plate holes with rear leg assembly
- Use two (2) bolts on each side to secure post to leg (See Figure 2)
- Tighten all locknuts Figure 2
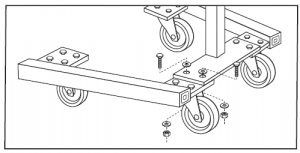 Figure 2
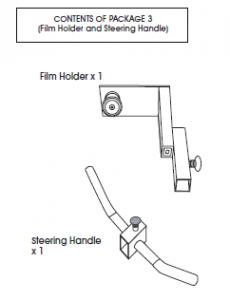
ATTACH FILM HOLDER
- Stand Main Post
- Place Film Holder over top of post and slide all the way (See Figure 3)
- Tighten knob on Film Holder to secure in Figure 3
 Figure 3
INSTALL STEERING HANDLE
- Slide Steering Handle over Main (See Figure 4)
- Position to operator (Approximately waist level). Tighten knob to secure in place. Figure 4 Figure 5
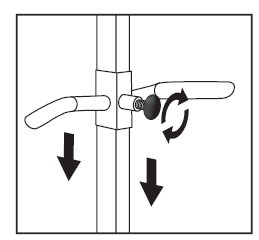
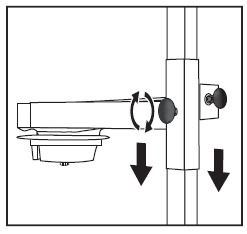 Figure 4 Figure 5
INSTALL TOP HEAD ASSEMBLY
- Slide Top Head Assembly over Main
- Tighten the lock knob on Head When film is installed, position Head Assembly 4″ above film. (See Figure 5)
OPERATION
LOADING FILM INTO THE DISPENSER
- Adjust Lower Film Holder to desired It can be adjusted to wrap the bottom of the pallet or adjusted to wrap at any position on the load.
- To wrap pallet clockwise, place film on lower Film Holder so that the film will feed off roll counter (See Figure 6) Figure 6
- To wrap pallet counter-clockwise, place film on lower Film Holder so that the film will feed off roll clockwise.
- Carefully lower head assembly onto film core and secure with
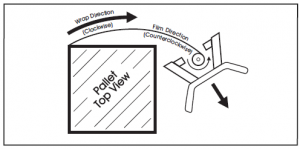 Figure 6
CAUTION! No force is required because the Head Assembly has a self-locking core.
APPLYING FILM TO PALLET
- With the Stretch Set™ knob in the off position, unroll film and attach securely to pallet.
![]() NOTE: Tying a knot in the end of the film often helps secure film to pallet
NOTE: Tying a knot in the end of the film often helps secure film to pallet
SETTING FILM STRETCH LEVEL
- Engage Stretch Set™ by sliding knob down to the ON This engages the Film Stretch System.
- To increase Stretch level, turn Stretch Set™ knob
 NOTE: Even ¼ turn (90˚) adjustments noticeably increase film stretch. Stretch level will not change until more adjustments are made.
WRAPPING THE PALLET
- Grab the cushioned steering
- While film is feeding off the roll, you must wrap your product by PULLING the dispenser around the pallet insuring the film will not come in contact with the lower legs of the (See Figure 6)
FINISHING WRAPPING THE PALLLET
- Cutting the film approximately 12″ past a corner is Note: It is easier to cut the film if Stretch Set™ is in the ON position. (See Figure 7)Stretch film cuts easily if torn at a 45˚ degree angle to itself. (See Figure 8) Figure 7,Figure 8
 Figure 7
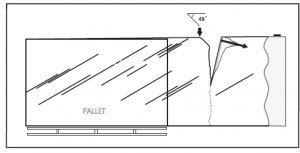 ,Figure 8
CHANGING FILM ROLLS
- Rotate empty core ¼ turn in opposite direction of film Core is now free.
- Slide off top core assembly and remove empty
- Load new roll onto dispenser (see above).
OPERATION CONTNUED
WRAPPING TIPS
- During wrapping, the film force pulls the dispenser in towards the pallet. To avoid, pull the Dispenser in a wide circle around the pallet
- At first, wrapping the pallet may require less stretch until the film secures the
- If load heights vary, it may be easier to wrap the top of taller loads with a Handwrapper after wrapping the load with the portable
MAINTENANCE
Though the Portable Stretch Wrap Dispenser requires little maintenance, the following is recommended for trouble free operation.
AFTER FIRST 5 HOURS OF USE
NOTE: Tighten all fasteners!
AFTER EVERY 100 HOURS OF USE
- The casters have a double ball-bearing In clean conditions, lubricate the casters with a grease gun at the grease fitting.
- Lubricate the two flanged radial bearings on the Top Head Assembly with a light (30 weight) oil. (See parts diagram on page 2)
NOTE: be sure to clean off excess lubrication.
- Lubricate the threaded portion of the steel rod on the Stretch Set™ knob with lithium grease
- Tighten all
Read More About This Manual & Download PDF:
[xyz-ips snippet=”download-snippet”]