
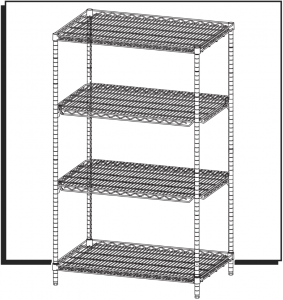
QUICK ADJUST WIRE SHELVING
1-800-295-5510uline.com
PARTS
![]()
![]()
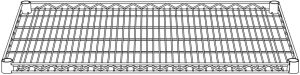
Standard Shelf x 2 Quick Adjust Shelf x 2 Post x 4
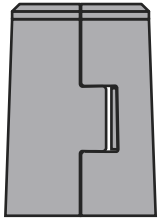
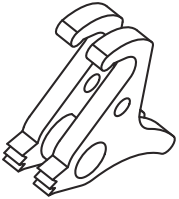
Standard Shelf Support x 8 Quick Adjust Shelf Lock Clip x 8
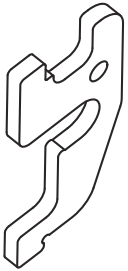
Quick Adjust Shelf Clip x 8
ASSEMBLY
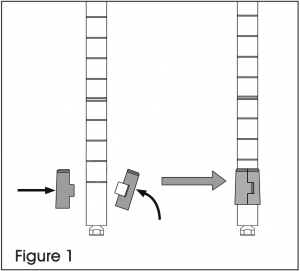
1. Start with the lowest shelf. Snap the interlocking standard shelf supports (wide end down) around the post at the lowest groove where shelf is to be located. Slide the support up or down until it snaps onto the groove. Add a standard shelf support to the same place on the remaining posts. (See Figure 1)
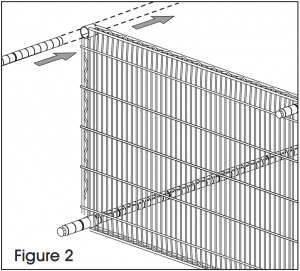
2. Slide posts through underside of a standard shelf until shelf slides firmly over supports. (See Figure 2)
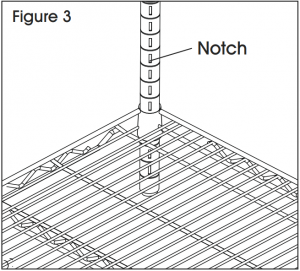
3. Stand unit upright. Align posts so notches are at a 45° angle to the shelf. Gently tap shelf down to secure it. (See Figure 3)
4. Add the top shelf. Snap the interlocking standard shelf supports (wide end down) around the post at the desired shelf height and secure the standard shelf. (See Figure 4)

5. Add the quick adjust shelves.
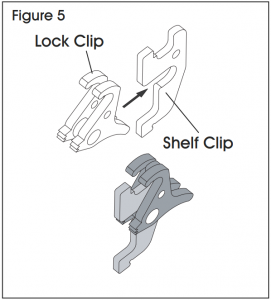
- Slide the lock clip into the shelf clip. (See Figure 5)
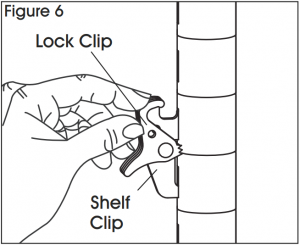
- Secure the shelf clip into the post at the desired shelf height. Repeat for the other three clips. (See Figure 6)
- Drop the quick adjust shelf into the place. (See Figure 7A)
- Push the lock clip over the wire shelf edge to secure the shelf. (See Figure 7B and 7C)

![]() NOTE: To remove the clip, push up on the lock clip.
NOTE: To remove the clip, push up on the lock clip.
6. Repeat step 5 to add the remaining quick adjust shelf. (See Figure 8)

1-800-295-5510uline.com
0521 IH-5674
[xyz-ips snippet=”download-snippet”]