![]()
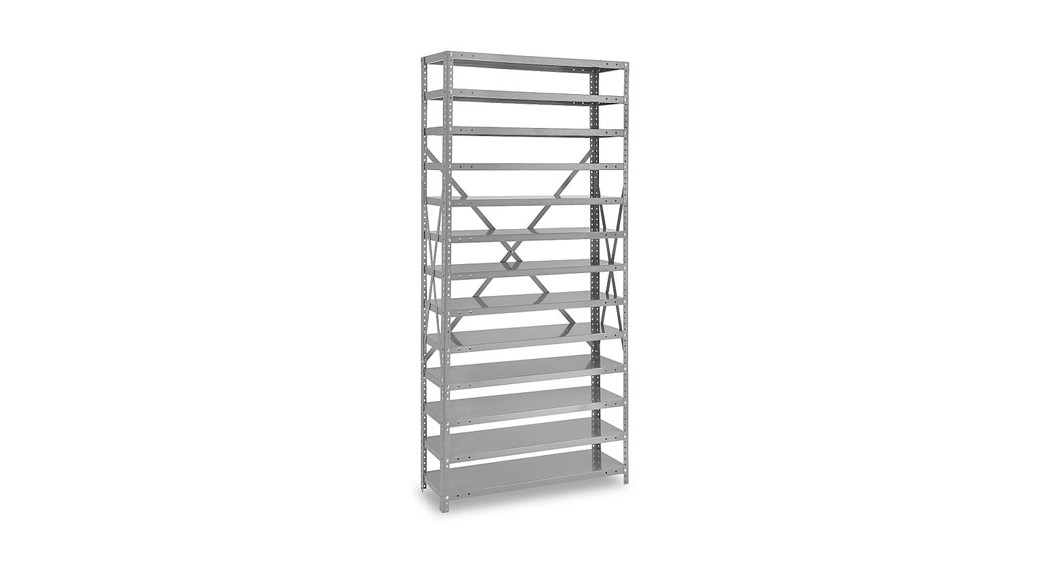
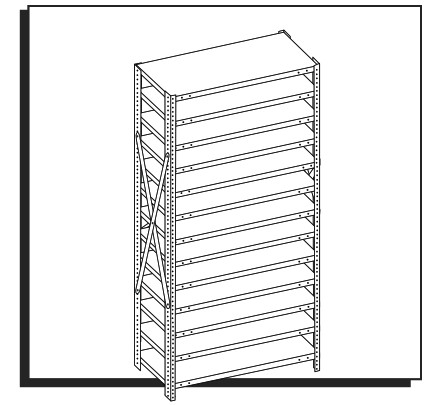
SHELF BIN ORGANIZER75″ TALL
1-800-285-5510uline.com
TOOLS NEEDED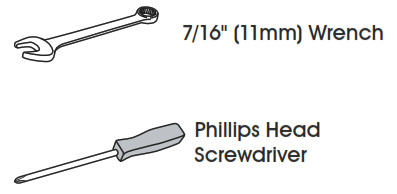
PARTS

ASSEMBLY

- Install Side Braces:For 12″ deep units, attach side braces to the longer side of the posts. From the bottom up, locate the 19th hole. From the top down, locate the 24th hole. Insert bolts through side braces and posts. Tighten bolts with nuts. (See Figure 1)For 18″ deep units, attach side braces to the longer side of the posts. From the bottom up, locate the 23rd hole. From the top down, locate the 23rd hole. Insert bolts through side braces and posts. Tighten bolts with nuts. (See Figure 1)

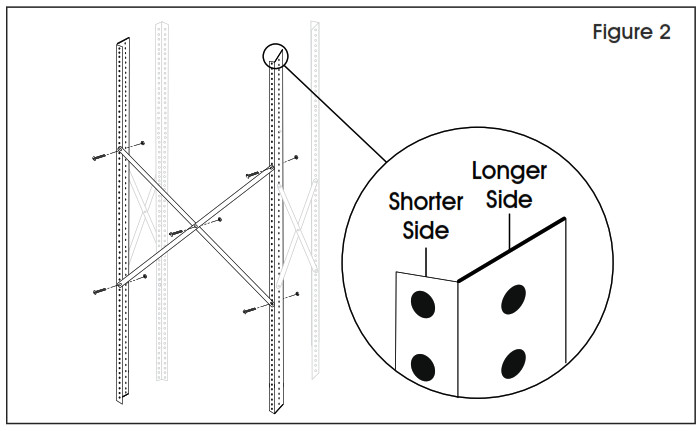
- Install Back Braces:For 12″ and 18″ deep units, attach back braces to the shorter side of the posts. From the bottom up, locate the 17th hole. From the top down, locate the 22nd hole. Insert bolts through back braces and posts. Tighten bolts with nuts. (See Figure 2)
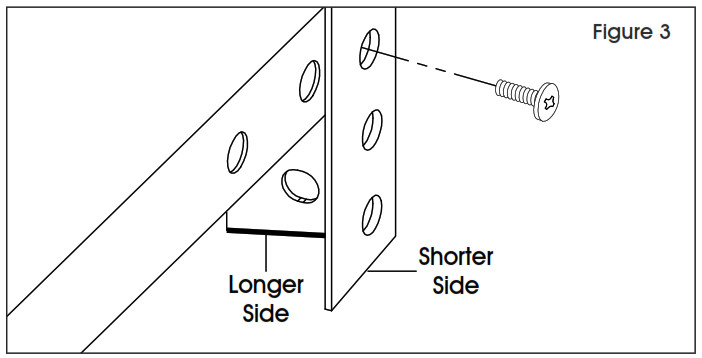
- Install Bottom Shelf:For 12″ and 18″ deep units, align shelf with third hole up from bottom. Insert bolt through the shorter side of the post and through the shelf. Tighten bolts with nuts. (See Figure 3)NOTE: Shelf bolts should be facing the front and back of the unit.
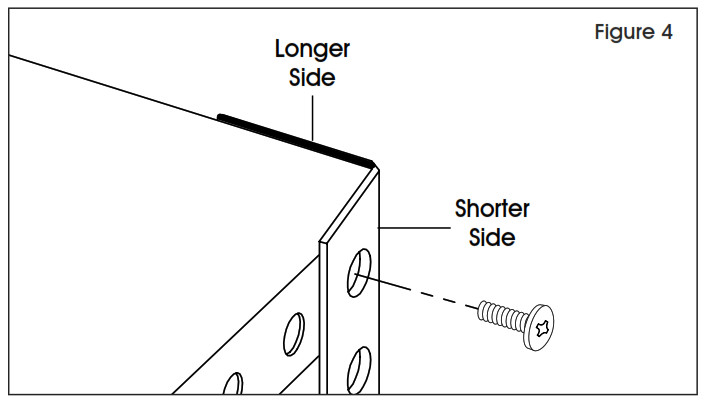
- Install Top Shelf:For 12″ and 18″ deep units, align shelf with top hole. Insert bolts through the shorter side of the post and through the shelf. Tighten bolts with nuts. (See Figure 4)
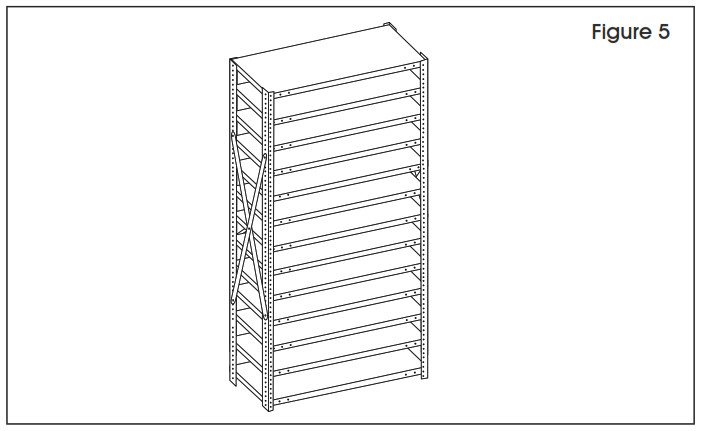
- Install Remaining Shelves:For 12″ and 18″ deep units, stand the unit up. Insert remaining shelves every sixth hole to evenly distribute. Tighten all bolts using wrench. (See Figure 5)
![]() 1-800-295-5510uline.com
1-800-295-5510uline.com
[xyz-ips snippet=”download-snippet”]