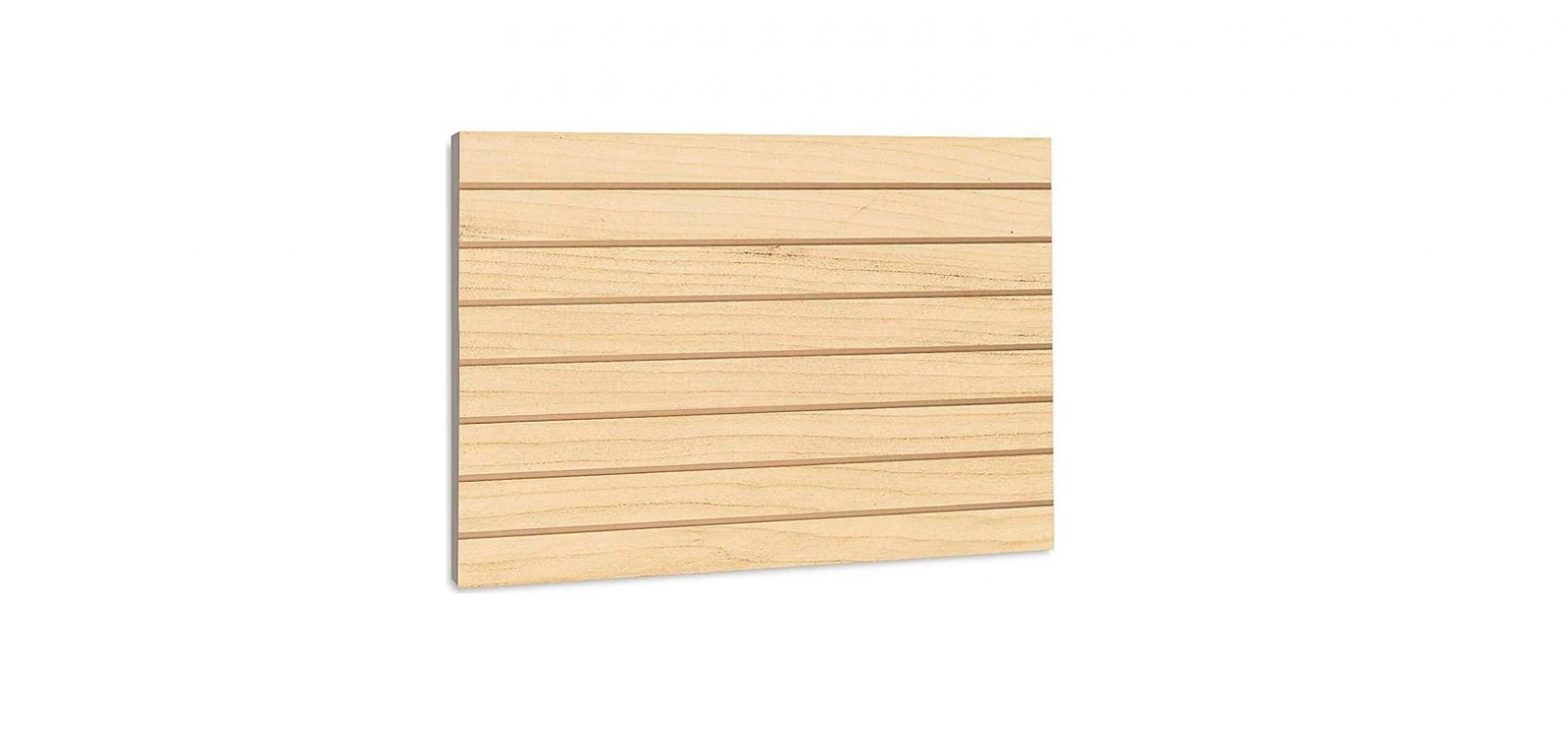
ULINE Slatwall Quarter Panels Installation Guide
SAFETY INSTRUCTIONS
- ALWAYS wear safety glasses when using any power tool.
- ALWAYS use hearing protection when using loud equipment.
- DO NOT sit, climb, hang or step on shelves or brackets.
- DO NOT overload shelves or brackets
- DO NOT try to install slatwall panels yourself. Use 2 people.
- CAPACITY:40 lbs. without metal inserts.90 lbs. with metal inserts.NOTE: Weight capacity will be slightly reduced for shelves deeper than 10″.
GENERAL INFORMATION
STACKING PANELSTo allow temperature and humidity to equalize, stack panels at least three-high in work area. Do not stack directly on concrete floor.
SUGGESTED TOOLS24″ level; tape measure; pencil; chalk line; circular saw; cordless or corded drill with screwdriver attachment.
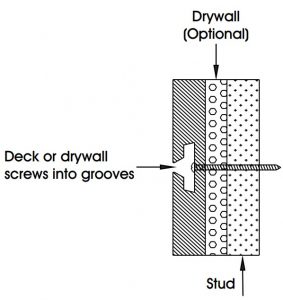
SUPPLIES1½” to 2″ drywall screws or equivalent; panel adhesive; (optional) roundhead screws for metal inserts. (Ensure that screw heads fit easily into grooves.)
METAL STUDSWood screws do not hold well in metal studs. Use wooden blocking whenever necessary.
BLOCK OR CONCRETE WALLSFirst mount vertical or horizontal furring strips on wall. Installing slatwall directly on concrete or block walls is not recommended.
INSTALLATION
GENERAL
- Install over studs, plaster, furring strips or drywall. Panel adhesive recommended.
- Use drywall screws of proper length.
- Install screw in every other groove on each stud.
- Drive screws into grooves. Be careful not to damage edges of grooves.
STARTING OFFSnap chalk line at desired height on wall. Mark location of studs on floor and ceiling (for mounting panels later). To ensure clean installation on projects requiring more than one panel, begin with a narrow panel first and finish with full panel.
FIRST PANELFollowing manufacturer’s directions, spread adhesive vertically on back of panel (half-tube of adhesive per panel). Raise first panel to chalk line and install screw through top of groove into stud near one of upper corners.
REMAINING PANELSRepeat process on bottom row of panels, ensuring that grooves and factory edges line up from panel to panel. On installations without drywall (such as garages), make sure end of each panel is centered in middle of stud.
CUTTING PANELSWhen using circular saw, use a straight edge guide for saw to follow. Never cut “freehand”. Always cut from front (finished side) of panel.
CUTTING PANELS WITH ALUMINUM INSERTSIt is not necessary to remove aluminum inserts from grooves when cutting panels.
CLEAN UPRemove any adhesive or marking on face of panels with a solvent such as lacquer thinner. Clean panels with mild household cleaner and dry with soft cloth.
INSTALLATION DIAGRAM
Contact us
800-295-5510uline.mx
References
[xyz-ips snippet=”download-snippet”]