UUGear RasPiKey
Plug &Play 16G/32G eMMC Module for Raspberry Pi User Manual (revision 1.02)
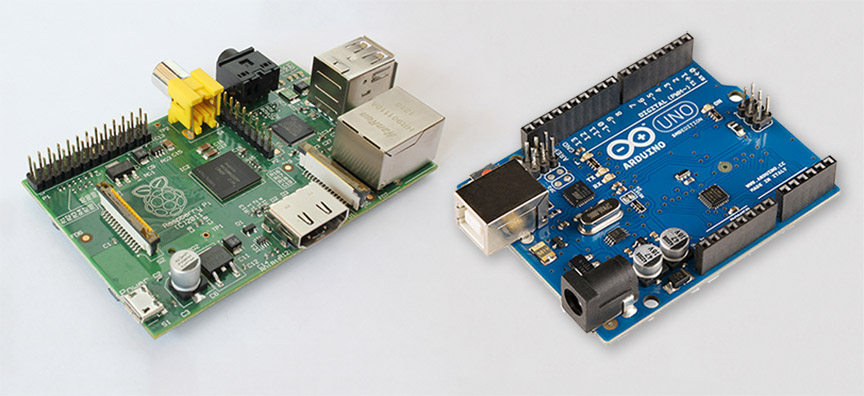
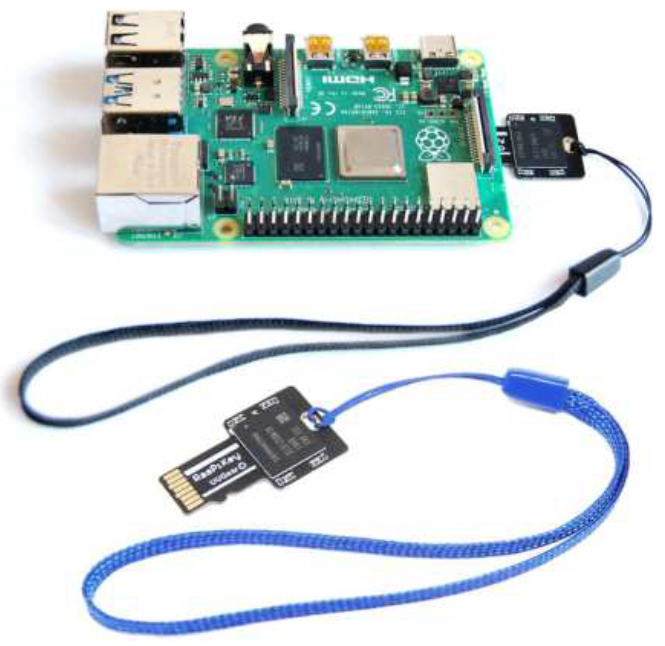
What is RasPiKey?
RasPiKey is a 16GB/32GB eMMC module that can be inserted into Raspberry Pi’s micro SD card slot.It works like a micro SD card with better read/write performance (especially for 4k read/write) and have longer lifetime.RasPiKey has Raspbian (Raspberry Pi OS) preinstalled and allows you configure SSH login and Wi-Fi connection before booting your Raspberry Pi. As a result, you can use your Raspberry Pi without display, keyboard and mouse, and access your Raspberry Pi via SSH session on your PC.
RasPiKey is a “plug and play” accessory to most Raspberry Pi models. If you have Raspberry Pi 4B from rather old batch, which has rather old firmware that could not recognize RasPiKey, you may need to update the bootloader of your Raspberry Pi 4B beforehand.There are two varieties of RasPiKey: the 16GB RasPiKey comes with a black lanyard, while the 32GB RasPiKey comes with a blue one. 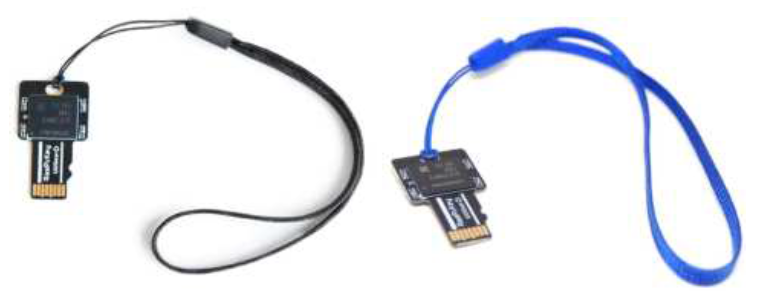
What is in the Package?
Each RasPiKey package contains:
- RasPiKeyboard x 1
- lanyard x 1

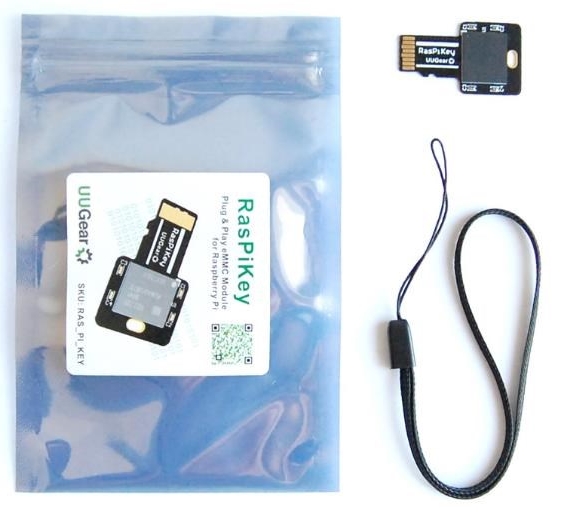
* 32GB version has lanyard in blue color instead.
RasPiKey Specifications
| Dimension: | 32mm x 19mm x 1.6mm |
| Weight | 1g |
| eMMC | 16GB: Samsung KLMAG1JETD-B041 ( [PDF]) 32GB: Samsung KLMBG2JETD-B041 ( [PDF]) |
| Working Voltage | 3.3V |
| Benchmarks on Pi 3B | hdparm test: ~23 MB/sec ddtest:~23 MB/s
4k read: ~11 MB/s 4k write: ~10 MB/s |
| Benchmarks on Pi 4B | hdparm test: ~45 MB/sec ddtest:~34 MB/s
4k read: ~15 MB/s 4k write: ~15 MB/s |
| Operating Temperature | -30℃~80℃ (-22°F~176°F) |
| Storage Temperature | -40℃~85℃ (-40°F~185°F) |
| Humidity | 0~80%RH, no condensing |
Before Booting with RasPiKey
If you are not using Raspberry Pi 4B, and you have display, keyboard and monitor connected to your Raspberry Pi, you can just insert RasPiKey into the micro SD card slot and directly use it like a normal SD card. RasPiKey already have OS pre-installed, so it can directly boot your Pi.
Update Bootloader (Optionalfor Raspberry Pi 4B only)
If you are using Raspberry Pi 4B, you may (or may not) need to update the bootloader to have RasPiKey supported.It depends on the Raspberry Pi 4 you have: earlier batch of Raspberry Pi 4 may have rather old bootloader, which could not recognize RasPiKey. If your Raspberry Pi 4 is recently purchased, then most probably you don’t need to update its bootloader, and it can be directly boot with RasPiKey.
You can run this command to verify the bootloader on your Pi 4: vcgencmd bootloader_version
If the printed release date of bootloader is later than September 3rd2020, then you don’t need to update bootloader for your Pi 4.In case you need to update bootloader. You can find the official released bootloader here.
Here we offer a much simpler way to update the bootloader:
- Download this update_bootloader.zip file, or you can find it in RasPiKey’s boot partition.
- Extract its content to a micro SD card
- Insert the micro SD card into Raspberry Pi and power on
- Wait for one minute.
- Power off and remove the micro SD card.
After going through these steps, you have updated the bootloader on your Raspberry Pi 4B, and now it can work with RasPiKey.
Enable SSH Login and Configure Wi-Fi Connection
If you want to use your Raspberry Pi without connecting any monitor, keyboard or mouse, you can enable SSH login and configure Wi-Fi connection before you boot your Raspberry Pi with RasPiKey.You will need a computer with micro SD card reader. If your computer doesn’t come with micro SD card reader, you can use a USB SD card reader.
After inserting RasPiKey into micro SD card reader, its “boot” partition will be recognized as a USB disk on your computer (usually named “boot”). There you can find these files:
- RasPiKey.exe
- RasPiKey_MAC
- RasPiKey_ARM
- RasPiKey_X86
- RasPiKey.zip
Depending on the computer and operating system you are using, you will use one of them to finish the configuration:
| Computer and Operating System | Action |
| PC + Windows | Run RasPiKey.exe |
| iMac, Mac Pro or MacBook + Mac OS X | Run RasPiKey_MAC |
| Raspberry Pi + Raspbian | Run RasPiKey_ARM |
| PC + Linux | Run RasPiKey_X86 |
| Other | Extract RasPiKey.zip and edit the files inside. |
When you run an executable file, it will request you to input some parameters to configure Wi-Fi connection: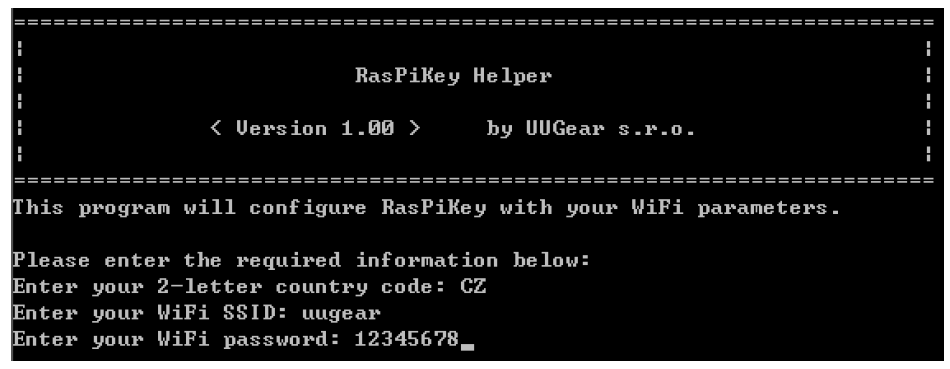
If you don’t have Wi-Fi, or you prefer to use cable to connect Raspberry Pi to the network, you can input some dummy data here. The programme will generate the “wpa_supplicant.conf” file and the empty “ssh” file in the same directory. The “wpa_supplicant.conf” file contains the parameters to configure Wi-Fi connection, while the empty “ssh” file will enable the SSH login for you.
If for any reason you cannot run the suitable executable file, you can extract the RasPiKey.zip file and edit the “wpa_supplicant.conf” file. The “ssh” file doesn’t need to be edited because it is empty.
Remarks: the “wpa_supplicant.conf” and “ssh” files will be automatically removed after booting your Raspberry Pi with RasPiKey, however the configuration has been made and you don’t have to do it again (unless your Wi-Fi parameters get changed).
Using RasPiKey
You can use RasPiKey like a normal micro SD card with OS installed. You insert it into the micro SD card slot on Raspberry Pi, and then power it on.If your Raspberry Pi has display, keyboard and mouse connected, you have nothing to worry about and immediately enjoy using your Pi with RasPiKey.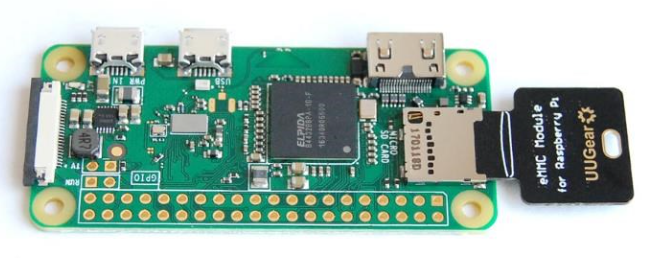
If your Pi doesn’t have display, keyboard or mouse, you may want to use it via SSH session, which needs your Pi to be connected to your network. If you have configured the Wi-Fi connection beforehand, you just need to wait until your Raspberry Pi finishes the boot and connect to your Wi-Fi. Or you use a network cable to connect Raspberry Pi to your local network.
Given the empty “ssh” file is in RasPiKey’s boot partition, you can ensure SSH login will be enabled on your Raspberry Pi. During the first boot with RasPiKey, your Raspberry Pi will adjust the pattern size and reboot, this will make it a little longer until you can SSH it.
You can use this command to login via SSH session: ssh
Sometimes it may complain about not knowing the “raspberrypi” host. In the majority of cases this problem will disappear after waiting for a while. If the problem persists, you can use this command to list all machines in your network: arp -a
This command exists in Windows, Mac OS X and Linux, what a handy tool!If you run this command before and after booting your Raspberry Pi, you can figure out which IP address is for your Pi, by comparing the outputs of this command. Then you can login with: ssh <IP address of your Pi>
DDR52 Timing Mode
DDR mode for eMMC was introduced in MMC 4.4 standard. The DDR52 timing mode can support frequency up to 52MHz and can almost double the performance of eMMC module (such as RasPiKey) on Raspberry Pi.In order to support DDR52 mode, your Raspberry Pi may need to have the firmware upgraded. Although the patch for supporting DDR52 timing mode has been committed, at the time of writing this chapter, the patch has not been replicated to the official repository yet, once it does, you can upgrade the firmware with these commands: sudo apt update, sudo apt full-upgrade
After the upgrade and reboot your Raspberry Pi, you can run this command to confirm if the DDR52 mode has been supported: sudo cat /sys/kernel/debug/mmc0/ios
It should print out something like this:
clock: 52000000 Hzactual clock: 50000000 Hzvdd: 21 (3.3 ~ 3.4 V)bus mode: 2 (push-pull)chip select: 0 (don’t care)power mode: 2 (on)bus width: 2 (4 bits)timing spec: 8 (mmc DDR52)signal voltage: 0 (3.30 V)driver type: 0 (driver type B)
The result above means the DDR52 timing mode has been supported, and your RasPiKey has much better performance on Raspberry Pi 4.
However, if you see something different, like this:
clock: 52000000 Hzactual clock: 50000000 Hzvdd: 21 (3.3 ~ 3.4 V)bus mode: 2 (push-pull)chip select: 0 (don’t care)power mode: 2 (on)bus width: 2 (4 bits)timing spec: 1 (mmc high-speed)signal voltage: 0 (3.30 V)driver type: 0 (driver type B)
It means you need to upgrade the firmware to support the DDR52 timing mode.
You can run this command to make the upgrade: sudo apt full-upgrade
Benchmarks
We follow Jeff Geerling’s blog posts (thank you Jeff) to do the benchmarks for RasPiKey. Jeff wrote this blog post about the benchmarks on Raspberry Pi 3B+. We do exactly the same benchmarks with RasPiKey and append the result to the diagram from Jeff’s blog post:
Jeff also wrote another blog post about the benchmarks on Raspberry Pi 4B.Again we do exactly the same benchmarks with RasPiKey and append the result to the diagram from Jeff’s blog post:
Benchmarks on Raspberry Pi 4B (with DDR52 timing mode supported by firmware)
Please notice the benchmarks above are obtained on Raspberry Pi 4B with firmware updated to support DDR52 timing mode. Please read the DDR52 Timing Mode chapter for more details.
Acknowledgement
We would like to thank Tim Gover (Raspberry Pi Trading Ltd) and his teamon supporting RasPiKey (and other eMMC modules) on Raspberry Pi 4B, and their works on supporting the new DDR52 timing mode.
We would also like to thank Dr. Tomas Lindén, who promoted the supporting of DDR52 timing mode on Raspberry Pi, reminded us about the firmware upgrade, and also provided us important information to perform further tests.
Revision History
| Revision | Date | Description |
| 1.00 | 2019.10.26 | Initial revision |
| 1.01 | 2020.09.01 | Add information about newly supported DDR52 timing mode and new benchmark for RasPiKey on
Raspberry Pi 4B. |
| 1.02 | 2021.01.07 | Add information about 32GB version.
Add benchmarks table for Raspberry Pi 4B More information for updating bootloader |

References
[xyz-ips snippet=”download-snippet”]