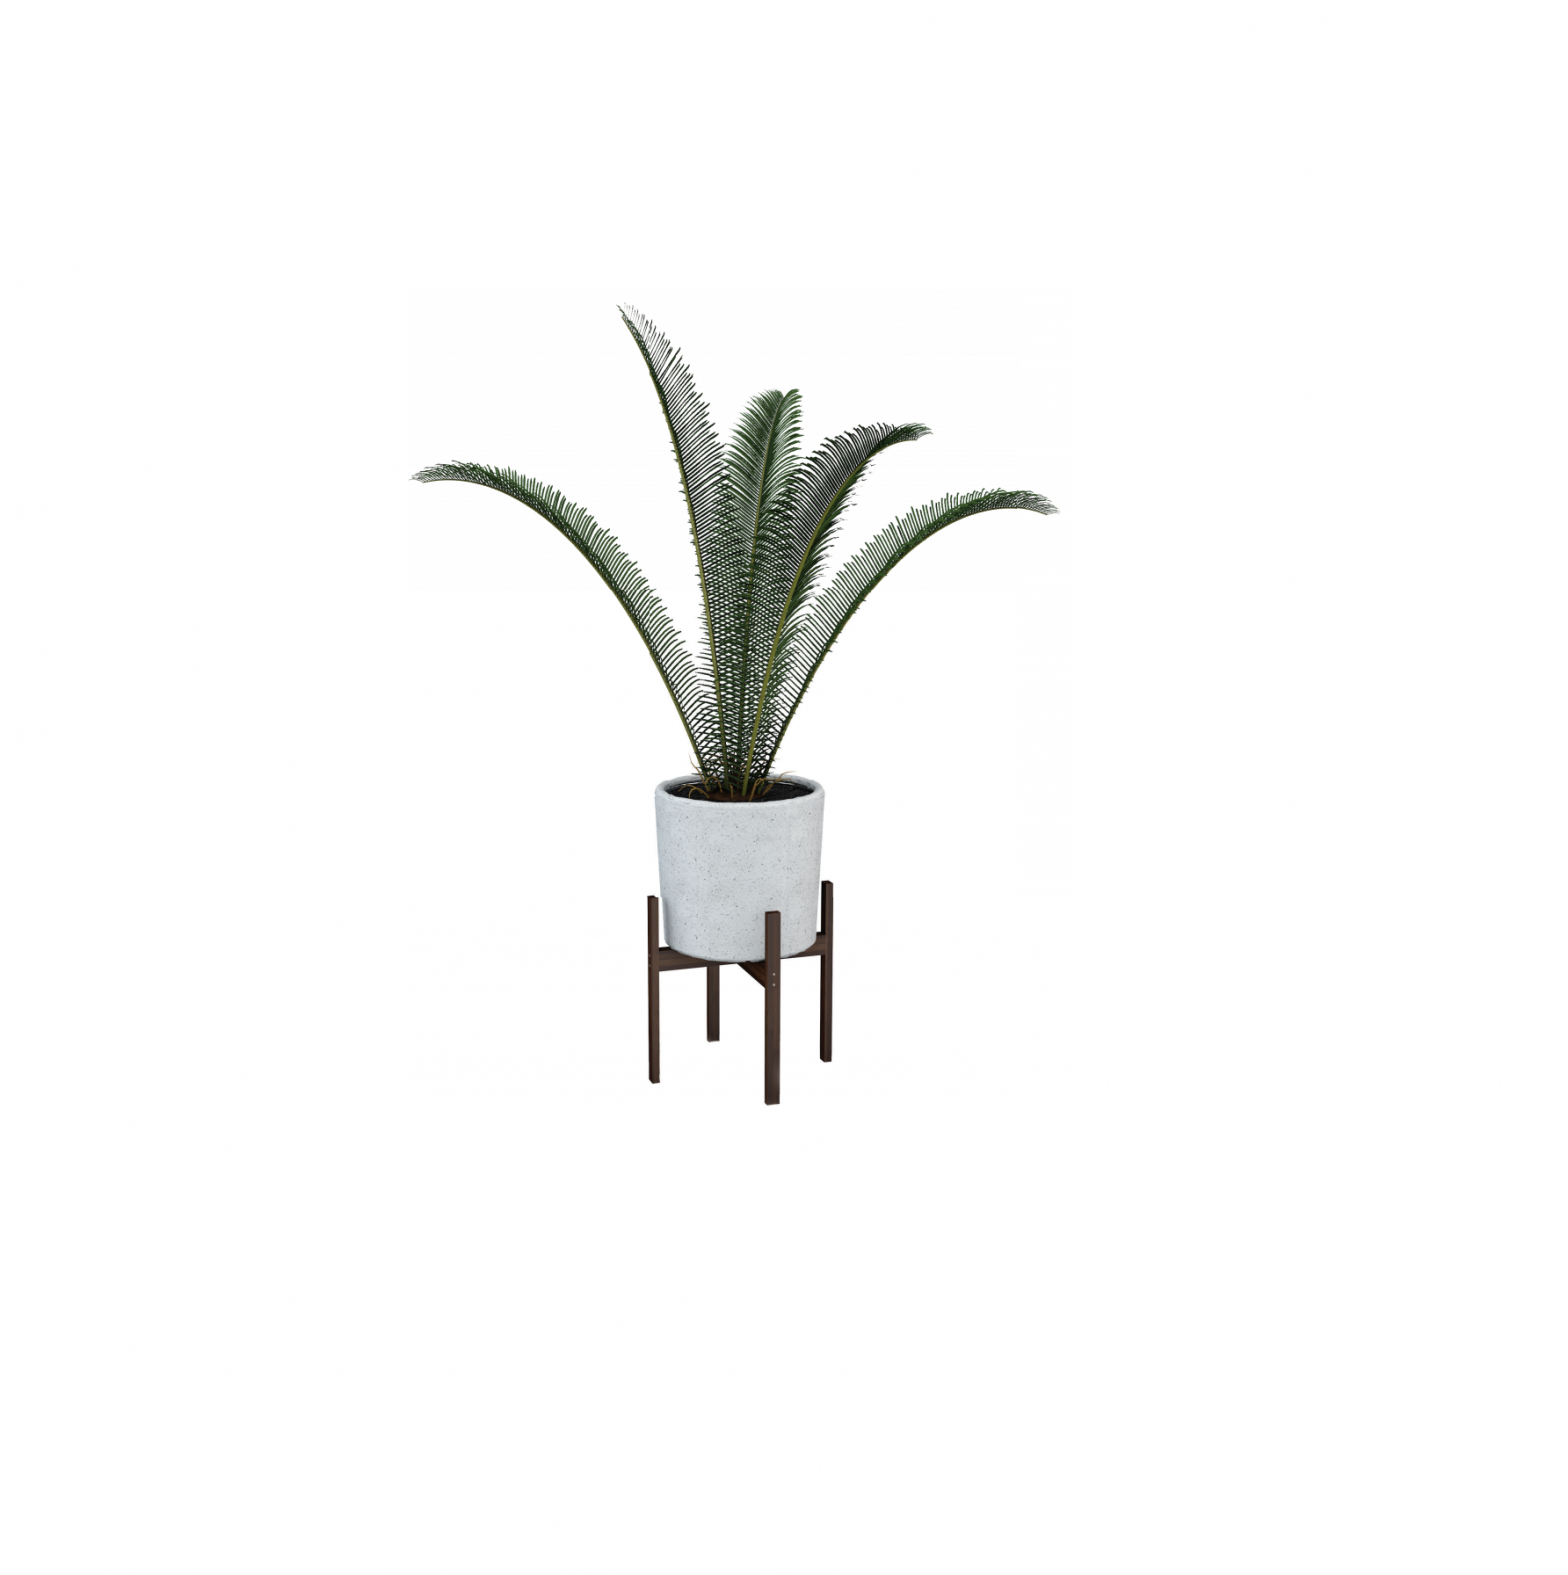
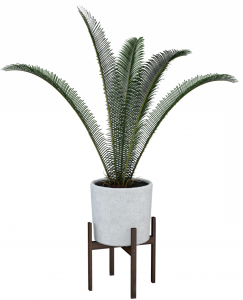
vita Vaxa Planter
FEATURES
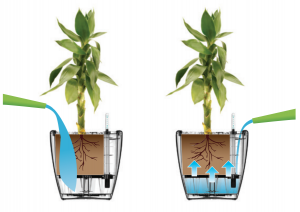
MODULAR INNER DESIGNHidden inner design can prevent water evaporation to keep your plant healthy.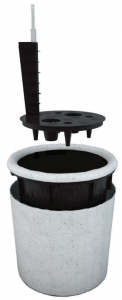
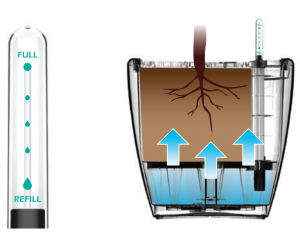
WATER LEVEL INDICATORThe water level indicator makes it easy to know how much water your planter has.The shaft design allows less compaction of the soil which can be caused by pouring water directly on the soil.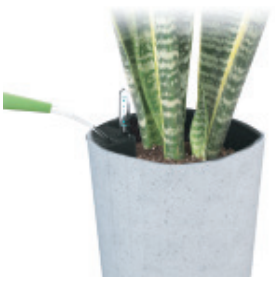
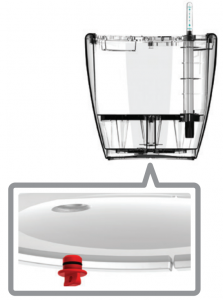
DRAIN PLUGWith the unique inner design, now you can clean up your planter without interfering with your plant.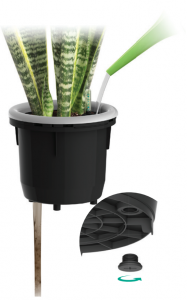
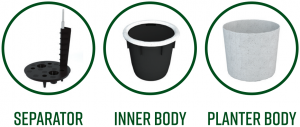
COMPONENTS

HOW TO USE
- SET UPFirst, make sure the black and red drain plug are firmly installed. (Remove red drain plug for outdoor usage).

- ADD YOUR PLANTPut a layer of soil in the Vaxa Planter and plant any type of green you like, then carefully cover the root with soil again.
- ADD WATEROnce your plant has been planted, add water through the self-watering spout until the water level indicator shows full.
- FERTILIZATIONDepending on the plant species, you can start fertilizing the plant after 3 to 6 months. Use a liquid fertilizer and simply add it to your water spout when watering.
- WATERINGIf planting a seedling or smaller plant, you may need to water from the top until the roots are established enough to draw from the reservoir below.Once established, water through the self watering spout to decrease the chances of roots rotting and prevent mosquito breeding outdoors.
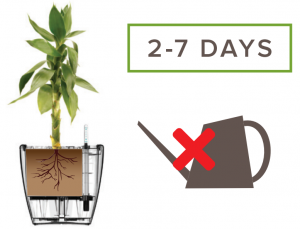
- DROUGHTWhen the water level indicator reaches “Refill”, you do not need to water immediately. The plant is now in the period of drought. Depending on your plant and location, normal irrigation should start again 2 to 7 days after the drought period.


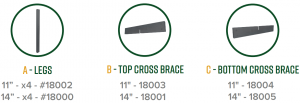
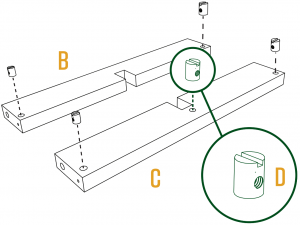
BASE ASSEMBLY
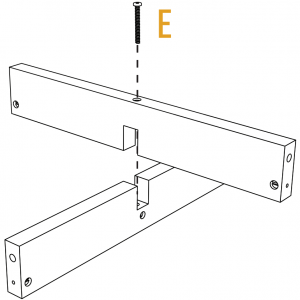
STEP 1
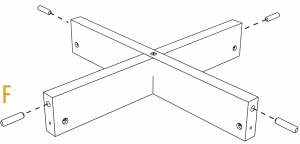
STEP 2
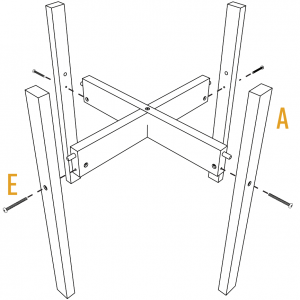
STEP 3
STEP 4
STEP 4 CLOSEUPS

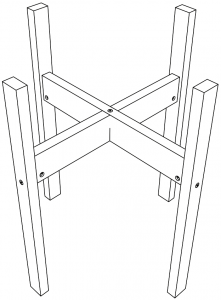
FINAL
WATER GAUGE ASSEMBLY
![]()

References
[xyz-ips snippet=”download-snippet”]