![]()
ICE THERAPY MACHIrIEOwner’s Manual RHB1049GRY
OVERVIEW
We are constantly answering questions and recording helpful videos to make using your Vive Ice Therapy Machine as easy as possible. Check out the included links and QR codes to help you through the process.
 To see all FAQ’s in one place visit health.link/4c05b
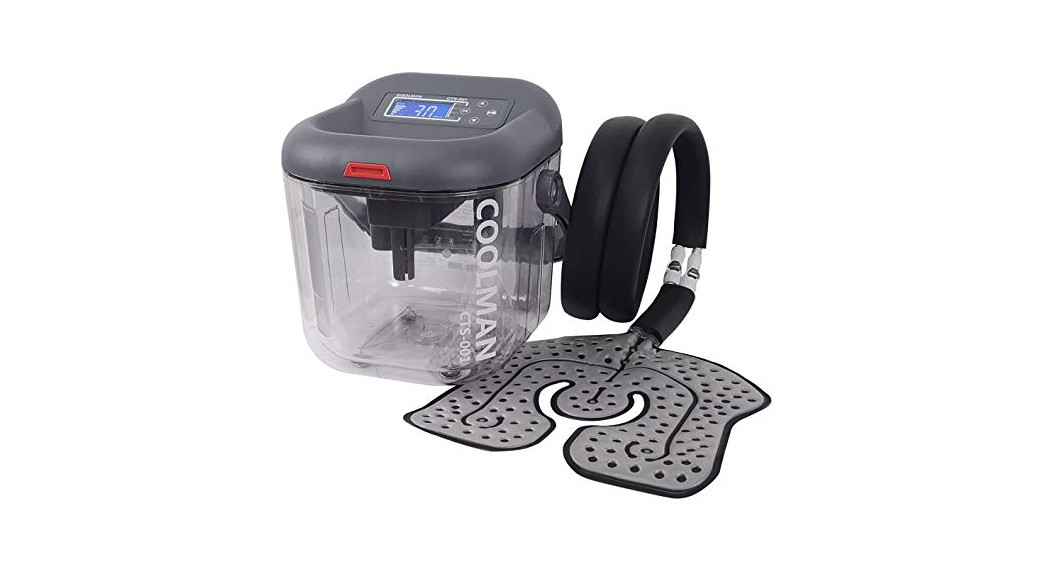
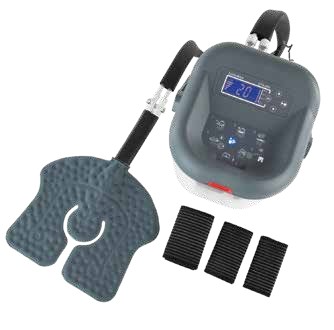
WHAT’S INCLUDED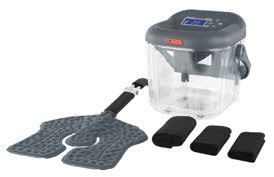
- Ice Bucket with Lid
- Hose
- Universal Cold Therapy Pad
- 3x Adjustable Straps: Small, Medium, and Large.
- Protective Barrier.
- 2 extra “0” rings (taped to manual)
QUICKSTART GUIDE

IMPORTANT: Do not turn the machine on until all hoses and parts are securely fastened. A treatment can last up to 30 minutes. Do not attempt to unhook any parts including the pad while the machine is in use.
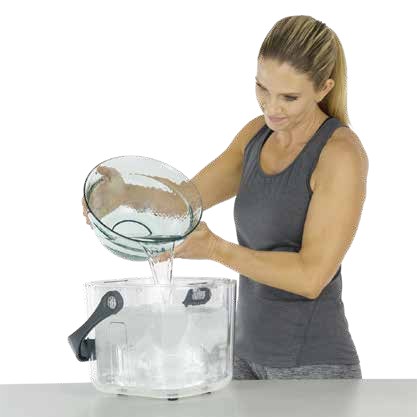
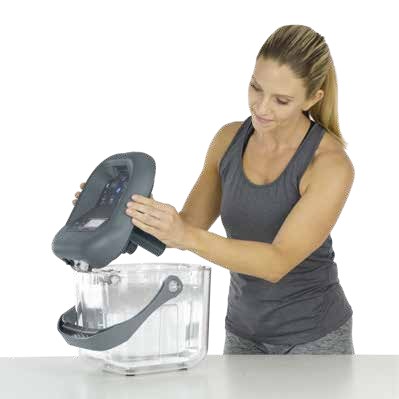
Step 1:
Add ice to the bucket, filling to the ice fill line.

Step 2: Add cold water to the bucket, filling to the water fill line.
 Step 3: Attach the lid to the top of the bucket.
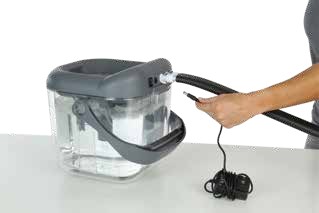
Step 4: Attach the hose to the lid, make sure there is an audible click. For the best fit, push down on the metal lock before connecting the hose.

Step 5: Attach the cold therapy pad to the hose, make sure there is an audible click. For the best fit, push down on the metal lock before connecting the hose.

Step 6: Plug in the power cord to the lid and an outlet. Then turn the unit on by flipping the switch next to the power plug.
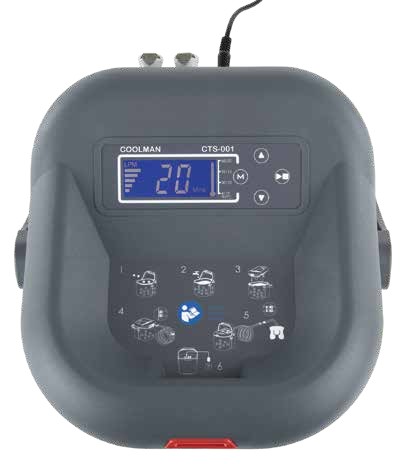
Step 7: Press and hold the “M” button to set the desired duration of cold therapy and the LPM (liter per minute). Use the up and down arrows to make changes and “M” to confirm. Press the “START” button. A fan icon on the screen indicates water is circulating. Circulation is subtle. Condensation is normal.
Important Note: Ice Therapy Machine relies on added ice to control water temperature and will not refrigerate water within. Refill ice if needed.
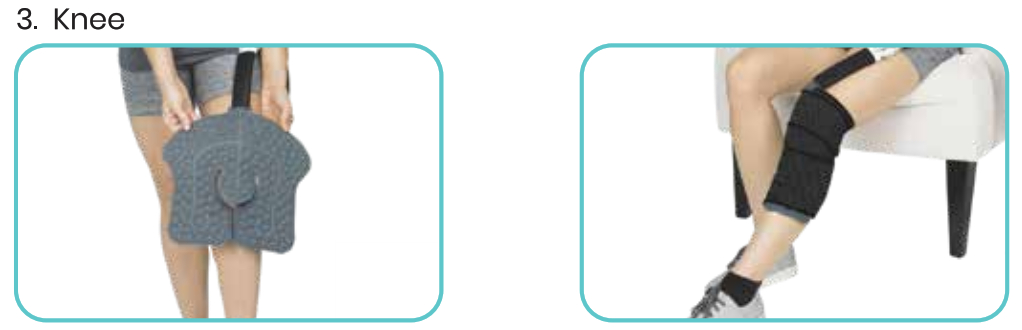
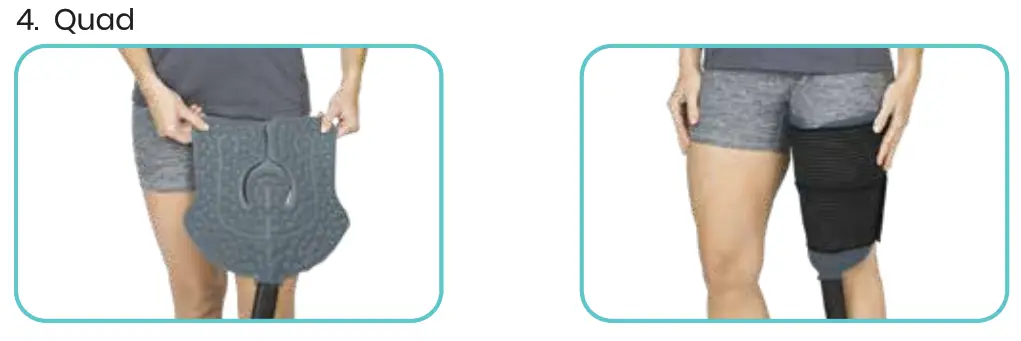
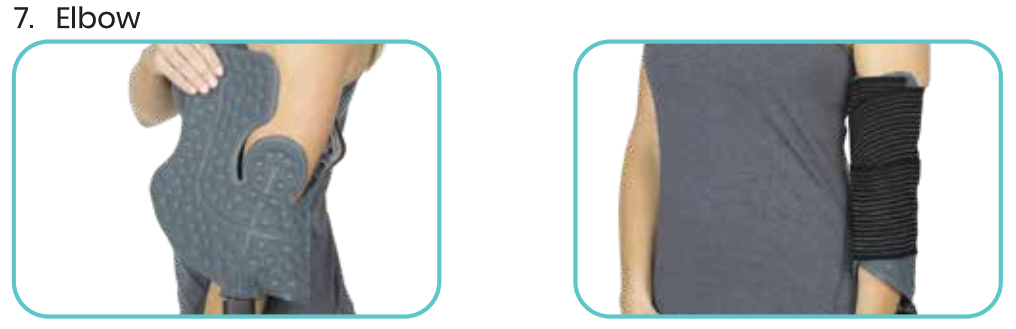
COMMON APPLICATION AREAS
The cold therapy pad is suitable to be used on these areas.


CARE AND MAINTENANCE
- Keep hoses and connectors free of dust and other contaminants.
- Store away from direct sunlight in a well-ventilated area.
- To clean, run only water through the unit.
- Do not use soaps, salts, or solvents when cleaning.
HOW TO DRAIN FOR STORAGE
NOTE: The pad and tubes must be drained before storage.
- Remove the lid from the bucket so that it is completely out of the water or ice.
- Turn on the machine.
- Hold the lid over the bucket or a sink so that you catch the water that drains out of the pad and tubes.
- Hold the pad in a vertical position and above the lid to make drainage easier. Twist the pad to force the water out.
TROUBLESHOOTING
| Reason |
Solution |
| The pump will not turn on | Check all electrical connections and make sure the wall plug has power. Make sure the ON/OFF switch is set to ON. |
| The cold therapy pad will not cool down | Make sure the unit is completely filled with ice and water. |
| Check all hose connections are secure and water is flowing. | |
| The pad is wrapped around your body part too tightly. Unwrap and re-wrap with the unit running to ensure water is circulating. | |
| The water is not flowing | Check the water level and add water if necessary. |
| Check to make sure the hose is not kinked. | |
| Make sure the connection between the hose and the pad is secure. | |
| The pad is wrapped around your body part too tightly. Unwrap and re-wrap with the unit running to ensure water is circulating. | |
| There is water leaking at the connector | Stop the machine, disconnect the hose and reconnect listening for the ‘click”. Restart the unit Disconnect the hose from the pad, push down on the metal lock and reconnect the hose listening for the ‘click’. |
| Stop the machine, disconnect the hose, push down on the metal lock and reconnect the hook listening for the “click’. Restart the unit. | |
| There is water
leaking at the cold therapy pad |
Make sure the o-ring on the unit is intact.of one or more are torn or cracked, replace using the included spares. |
| Excess pressure in pad | Stop the machine, disconnect the hose, push down on the metal lock and reconnect the hook listening for the “click*. Restart the unit. |
| There is magnetic or electromagnetic interference
disrupting the unit |
Move the unit away from the source of the interference.
Change the power source away from the source of the interference. |
SPECIFICATIONS
- Dimensions:11)(11NR”
- Max water volume: 6L
- Unit Weight: 3.1kg (6.841b)
- Timer settings’ 51015,20,25, 30 minutes
- Water flow– 5 rates of flow (LPM)
- Water temperature indicator
- Celsius Range: 5- 20 degrees
- Fahrenheit Range: 41°- 68°
- 2 alarms (temperature and timer)
- Strap dimensions:15″, 27.75″ and 46″ in length
- Hose length: 5-foot length
- UL Listed
- FDA approved
[xyz-ips snippet=”download-snippet”]