vtech 80-525550 Paw Patrol: The Movie:
Learning Watch User Guide


INTRODUCTION
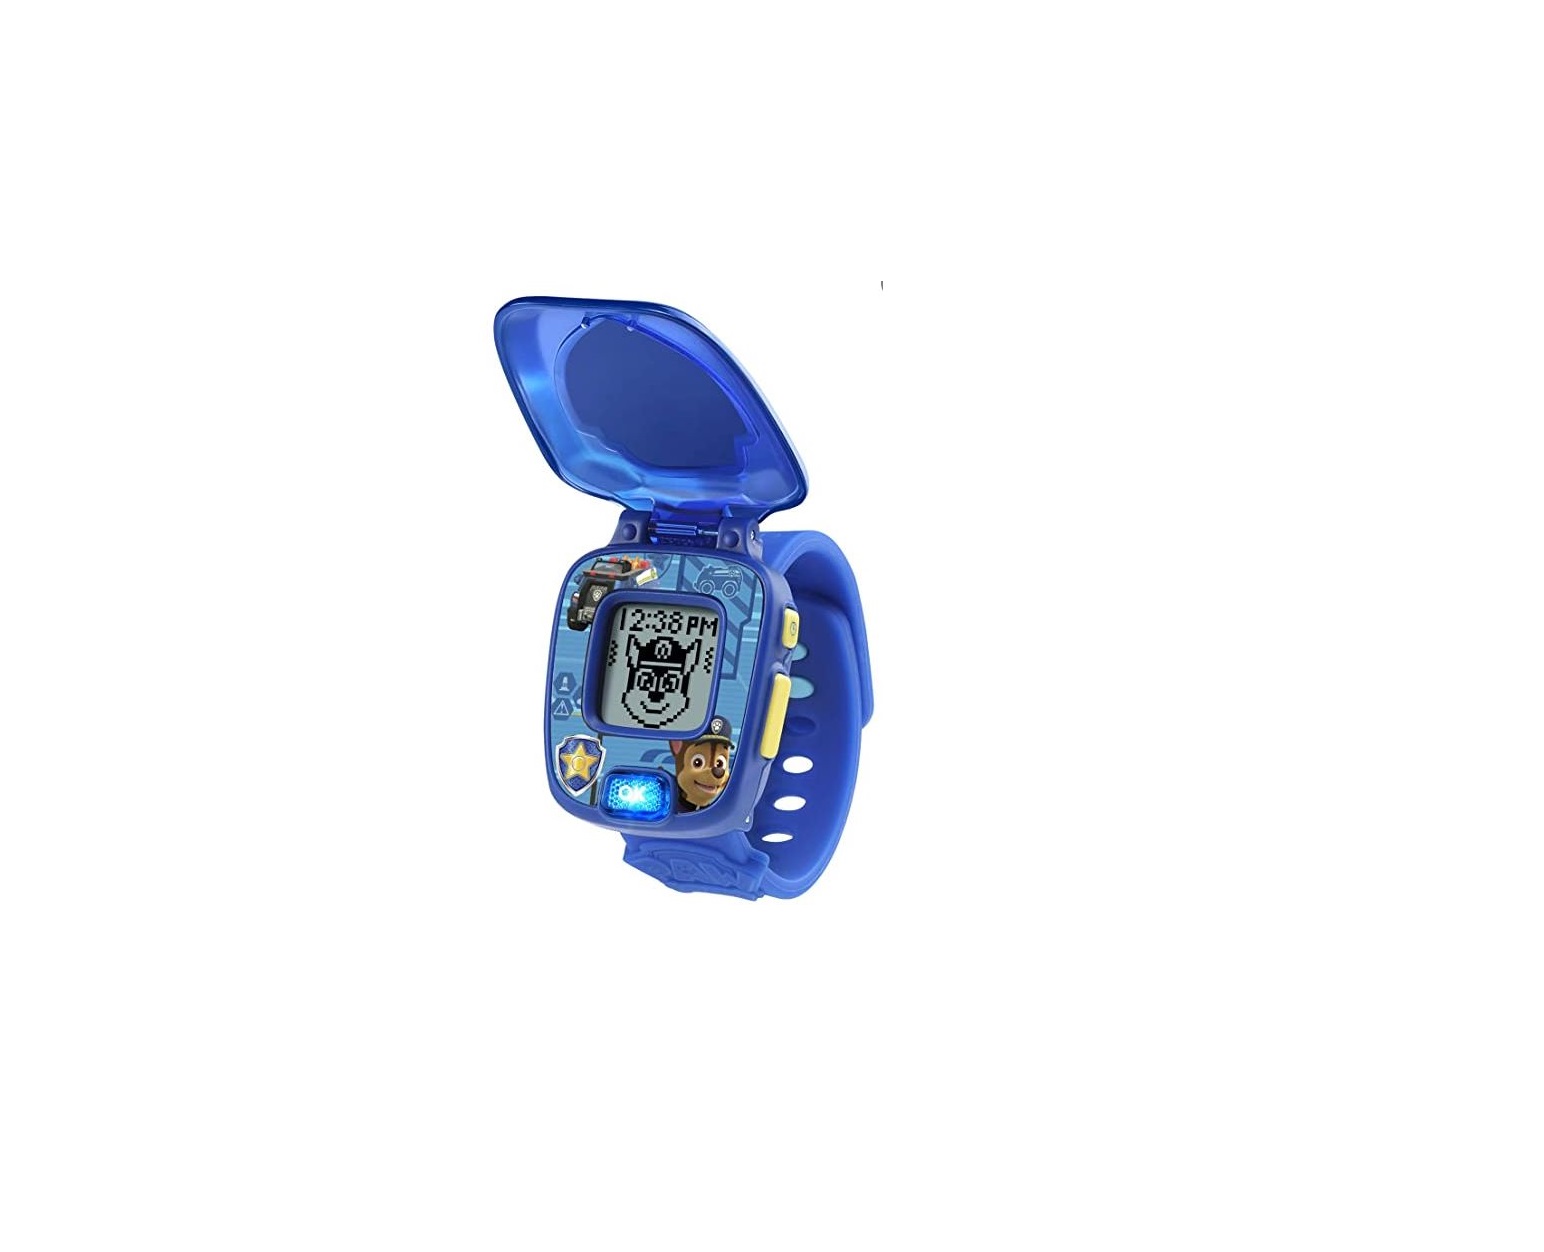
Thank you for purchasing the PAW Patrol: The Movie: Learning Watch.
This full-function watch includes four fun, PAW Patrol: The Movie themed learning games that teach numbers, memory skills and hand/eye coordination. You can also choose from a number of different PAW Patrol clock faces and alarm tones to personalise your watch.
INCLUDED IN THIS PACKAGE
- PAW Patrol: The Movie: Learning Watch
- One CR2450 battery
- Parents’ Guide
WARNINGAll packing materials such as tape, plastic sheets, packaging locks, removable tags, cable ties, cords and packaging screws are not part of this toy, and should be discarded for your child’s safety.NOTE Please keep this Parents’ Guide as it contains important information.
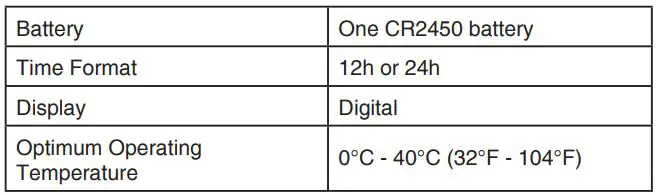
PRODUCT SPECIFICATION
Important Note
- Do not place the watch under running water.
- Do not submerge. Not suitable for showering, bathing or swimming.
- Keep the cover closed when the watch is not in use.
WARNING
People with very sensitive skin may notice some irritation after wearing the PAW Patrol: The Movie: Learning Watch for extended periods of time. The skin may become irritated when moisture, sweat, soap, or other irritants get trapped under the wristband and are left in contact with the skin. To prevent this, we suggest children remove the watch before going to bed for the night, take the watch off if it’s feeling uncomfortable, and keep their wrist and the band clean and dry. In addition, wearing the watch too tightly may also cause irritation. Make sure the fit is good–tight enough so the watch stays in place but not so tight that it’s uncomfortable. If you notice any redness, swelling, or other irritation, you may want to consult a doctor before wearing the watch again.
INSTRUCTIONS
Power SourceThe PAW Patrol: The Movie: Learning Watch operates using one CR2450 battery. The CR2450 battery included with the product is for demo purposes only.
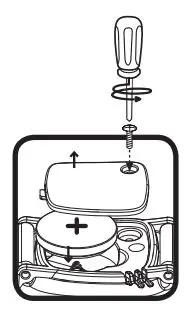
BATTERY REMOVAL AND INSTALLATION
- Make sure the unit is turned OFF.
- Locate the battery cover on the back of the unit. Use a screwdriver to loosen the screw.
- If a used battery is present, remove this battery from the unit by pulling up on one end of the battery.
- Install one new CR2450 battery following the diagram inside the battery box.
- Replace the battery cover and tighten the screw to secure.
WARNING:Adult assembly required for battery installation. Keep batteries out of reach of children.
IMPORTANT: BATTERY INFORMATION
- Insert batteries with the correct polarity (+ and -).
- Do not mix old and new batteries.
- Do not mix alkaline, standard (carbon-zinc), or rechargeable batteries.
- Only batteries of the same or equivalent type as recommended are to be used.
- Do not short-circuit the supply terminals.
- Remove batteries during long periods of non-use.
- Remove exhausted batteries from the toy.
- Dispose of batteries safely. Do not dispose of batteries in fire.
RECHARGEABLE BATTERIES
- Remove rechargeable batteries from the toy before charging
- Rechargeable batteries are only to be charged under adult supervision.
- Do not charge non-rechargeable batteries.

WARNING: This product contains one or more button cell or coin batteries. If swallowed, a button cell or coin battery can cause internal chemical burns in as little as two hours and can lead to death. Dispose of used batteries immediately. Keep new and used batteries away from children. If you think batteries might have been swallowed or placed inside any part of the body, seek immediate medical attention, and go straight to the nearest hospital emergency department.
Australia/New ZealandIf you think batteries might have been swallowed or placed inside any part of the body, immediately call the 24-hour Poisons Information Centre on 13 11 26 (in Australia) or 24-hour National Poisons Centre on 0800 764 766 (in New Zealand) for fast, expert advice and go straight to the nearest hospital emergency room.
Disposal of batteries and product
![]() The crossed-out wheelie bin symbols on products and batteries, or on their respective packaging, indicates they must not be disposed of in domestic waste as they contain substances that can be damaging to the environment and human health.The chemical symbols Hg, Cd or Pb, where marked, indicate that the battery contains more than the specified value of mercury (Hg), cadmium (Cd) or lead (Pb) set out in the Batteries and Accumulators Regulation.
The crossed-out wheelie bin symbols on products and batteries, or on their respective packaging, indicates they must not be disposed of in domestic waste as they contain substances that can be damaging to the environment and human health.The chemical symbols Hg, Cd or Pb, where marked, indicate that the battery contains more than the specified value of mercury (Hg), cadmium (Cd) or lead (Pb) set out in the Batteries and Accumulators Regulation.![]() The solid bar indicates that the product was placed on the market after 13th August, 2005.Help protect the environment by disposing of your product or batteries responsibly.VTech® cares for the planet.
The solid bar indicates that the product was placed on the market after 13th August, 2005.Help protect the environment by disposing of your product or batteries responsibly.VTech® cares for the planet.
Care for the environment and give your toy a second life by disposing of it at a small electricals collection point so all its materials can be recycled.
In the UK:Visit www.recyclenow.com to see a list of collection points near you.
In Australia & New Zealand: Check with you local council for kerbside collections.
TO BEGIN USING:
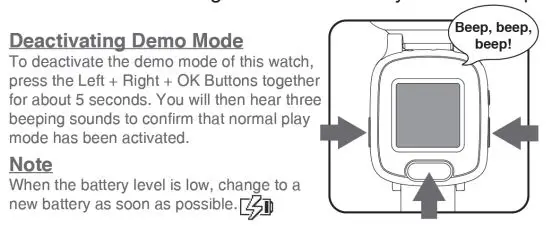
When you use the watch for the first time, you will need to deactivate demo mode. To do this, open the Cover, and press the Left + Right + OK Buttons together for approximately five seconds. You will then hear three beeping sounds to indicate that normal play mode is active. Press any button to wake up the watch and set the time. Press the Left or Right Button to select, then press the OK Button to confirm and move to the next option. A tick will be displayed when the setting is complete.
Note
- When the battery level is low, most functions on the watch will be unavailable, except for the clock display. It is recommended that a new battery is installed as soon as possible before further use.
- If the battery level is too low to keep the clock running, you will need to enter the time again after the battery has been replaced.
PRODUCT FEATURES
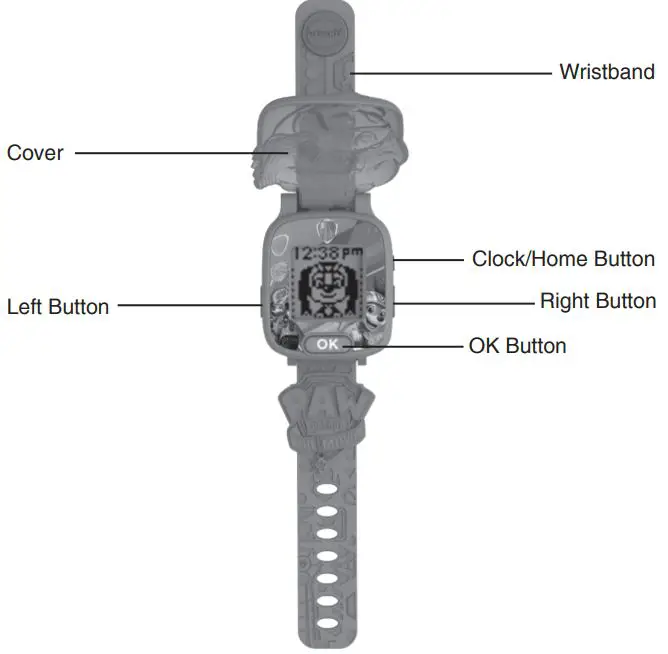
- CoverOpen the Cover to view the time. When the Cover is closed, tap the bottom of the Cover to activate character voices and sounds with a light effect.
- Left/Right ButtonsUse the Left or Right Button to select an activity or option.
- OK Button (OK)Press the OK Button to confirm a selection and move to the next option in different activities.
- Clock/Home Button
 Press the Clock/Home Button to return to the clock from any other function or activity.
 - Clock DisplayWhen the Clock/Home Button is pressed, the time will be displayed. Press the Left or Right Button to display the Home Menu from where other activities can be selected.
- Home MenuPress the Left or Right Button to display the Home Menu. There are five activities to choose from:• Press the Left or Right Button to scroll through the menu options.• Press the OK Button to enter the chosen activity.
- Alarm Clock• Press the Left or Right Button to select the time and choose between three alarm tones.• Press the OK Button to confirm and move to the next setting.• Press the Clock/Home Button to automatically save the current setting.
- Stopwatch
• Press the OK Button to start the Stopwatch, press again to stop.• When the Stopwatch is stopped, you can press the Left or Right Button to reset.
- Timer • Press the Left or Right Button to change the time.• Press the OK Button to confirm.• Press the Clock/Home Button to automatically save the current setting.• Press the OK Button to confirm the Timer duration and the countdown will start immediately.• While the Timer is running, press the OK Button to pause/resume or press the Left or Right Buttons to reset.
- Settings In the Settings menu, press the Left or Right Button to scroll through the various options:
 • Press the Left or Right Button to scroll through the menu options.• Press the OK Button to enter the chosen activity.
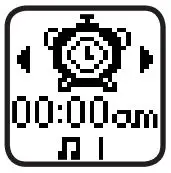 • Press the Left or Right Button to select the time and choose between three alarm tones.• Press the OK Button to confirm and move to the next setting.• Press the Clock/Home Button to automatically save the current setting.
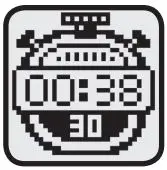
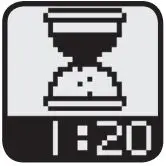 • Press the Left or Right Button to change the time.• Press the OK Button to confirm.• Press the Clock/Home Button to automatically save the current setting.• Press the OK Button to confirm the Timer duration and the countdown will start immediately.• While the Timer is running, press the OK Button to pause/resume or press the Left or Right Buttons to reset.
10.1. Setting the Time
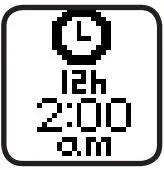
- Press the Left or Right Buttons to change the options. (The am/pm setting is only applicable to 12-hour time format)
- Press the OK Button to confirm.
- Press the Clock/Home Button to automatically save the current setting.
10.2. Clock Face
- Press the Left or Right Button to select from 10 different clock faces.
- Press the OK Button or Clock/Home Button to confirm and save the setting.
10.3. Chick Aletta Cuckoo Clock
- Press the Left or Right Buttons to turn the Cuckoo Clock on or off.
- Press the OK Button or Clock/Home Button to confirm and save the setting.
- Please note that when the Cuckoo Clock is activated, the watch will chime at the top of each hour between 7 am and 7 pm, unless a game is currently in progress.
14. Automatic Shut-Off

To preserve battery life, the PAW Patrol: The Movie: Learning Watch will automatically go into sleep mode after approximately 30 seconds without input. The unit can be turned on again by pressing any button or opening the cover.
NoteThe PAW Patrol: The Movie: Learning Watch will not automatically go into sleep mode when the Stopwatch is running. The unit will also automatically turn Off when the battery power is very low. If you see the Low Battery icon appear on screen, please replace the battery.
ACTIVITIES
1. Games ![]() In the Games menu, press the Left or Right Buttons to scroll through the different learning game options:
In the Games menu, press the Left or Right Buttons to scroll through the different learning game options:
CONSUMER SERVICES
Creating and developing VTech products is accompanied by a responsibility that we at VTech® take very seriously. We make every effort to ensure the accuracy of the information, which forms the value of our products. However, errors sometimes can occur. It is important for you to know that we stand behind our products and encourage you to call our Consumer Services Department with any problems and/ or suggestions that you might have. A service representative will be happy to help you.
UK Customers:Phone: 0330 678 0149 (from UK) or +44 330 678 0149 (outside UK) Website: www.vtech.co.uk/support
Australian Customers:Phone: 1800 862 155 Website: support.vtech.com.au
NZ Customers:Phone: 0800 400 785 Website: support.vtech.com.au
Product Warranty/CONSUMER GUARANTEESUK Customers:Read our complete warranty policy online at vtech.co.uk/warranty.
Australian Customers:VTECH ELECTRONICS (AUSTRALIA) PTY LIMITED CONSUMER GUARANTEES Under the Australian Consumer Law, a number of consumer guarantees apply to goods and services supplied by VTech Electronics (Australia) Pty Limited. Please refer to vtech.com.au/consumerguarantees for further information.
Visit our website for more information about our products, downloads, resources and more.www.vtech.co.ukwww.vtech.com.au
![]()
 report this ad
TM & © 2021 VTech Holdings Limited. All rights reserved. Printed in China.91-003986-002-000 UK
References
Recycle Now
Support : VTech Electronics
Electronic Learning Toys | Best Learning Toys | VTech UK
VTech Toys Australia – Electronic Learning Toys – Best Learning Toys – VTech Australia and New Zealand
VTech Toys Australia – Electronic Learning Toys – Best Learning Toys – VTech Australia and New Zealand
Electronic Learning Toys | Best Learning Toys | VTech UK
Electronic Learning Toys | Best Learning Toys | VTech UK
[xyz-ips snippet=”download-snippet”]