![]()
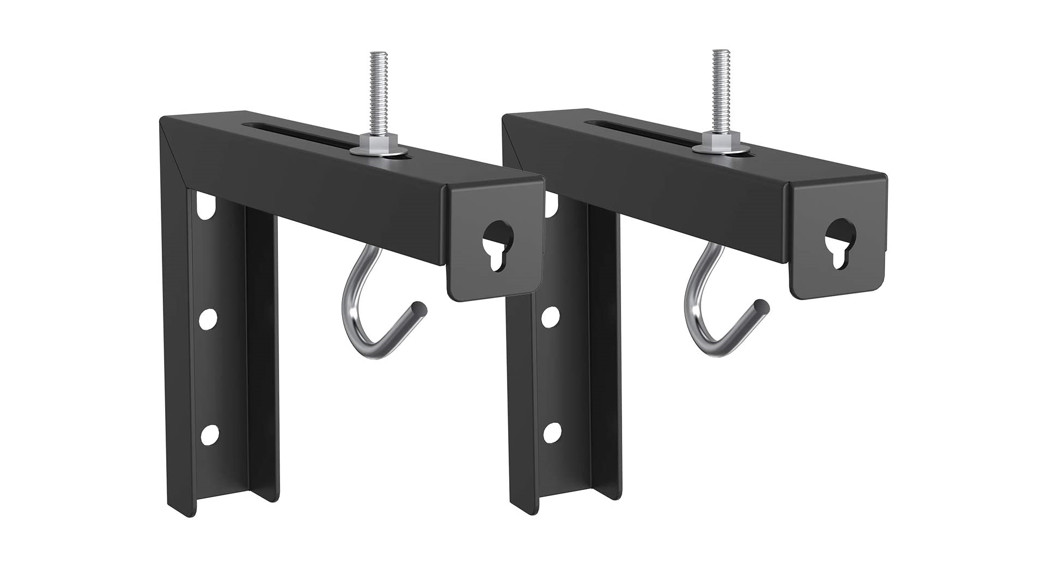
INSTALLATION MANUAL6” Projector MountPSM001-W, PSM001-B

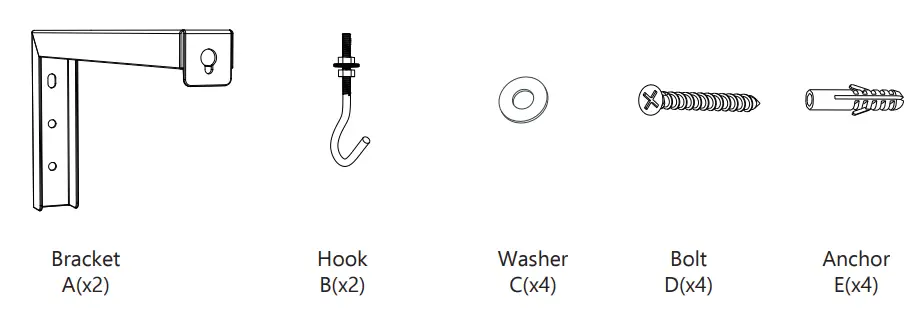
Supplied Parts List
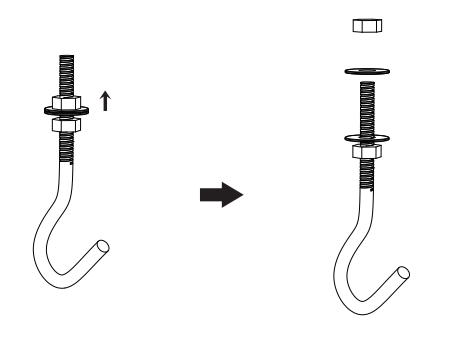
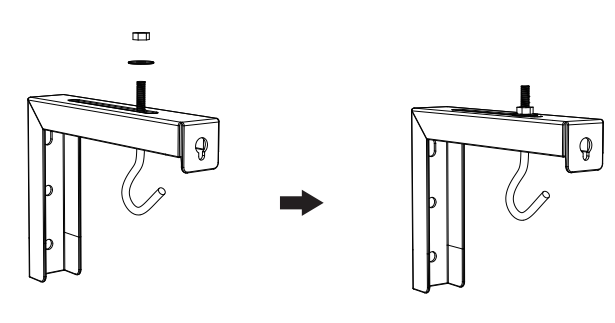
Step 1
Step 2
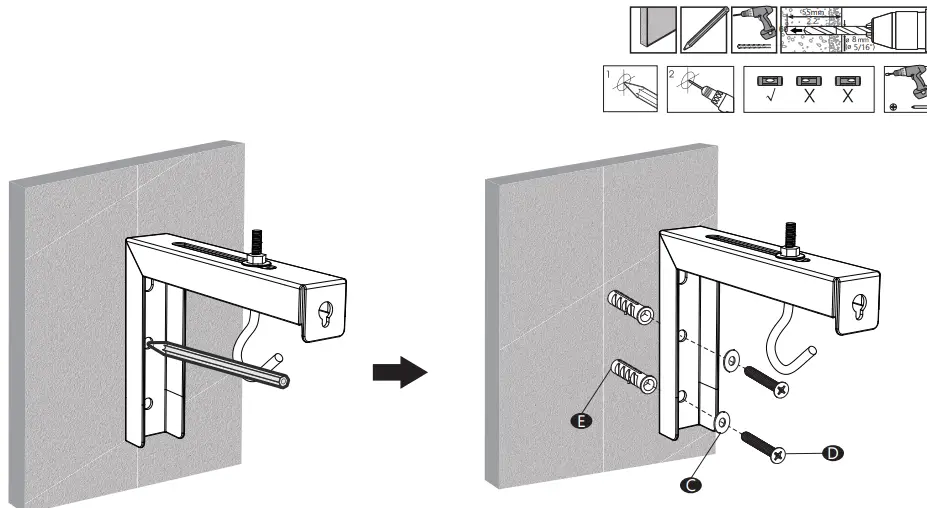
Step 3Option A Wood StudMark the position with your Bubble Level & pencil on the wall. Drill 3/16″(4.5mm) diameter x 2”(50mm) length holes at the marked position, attach the mount to wood stud, and tighten using Bolt D and Washer C with a screwdriver. (Screwdriver not included).
 Option B Concrete/brick WallMark the position with your Bubble Level & pencil on the concrete wall. Drill 5/16″(8mm) diameter x 2.2″(55mm) length holes at the marked position, Insert Anchors E and attach the mount to the wall and tighten using Bolt D and Washer C with a screwdriver. (Screwdriver not included)
Installation Options
Option A Wall Installation
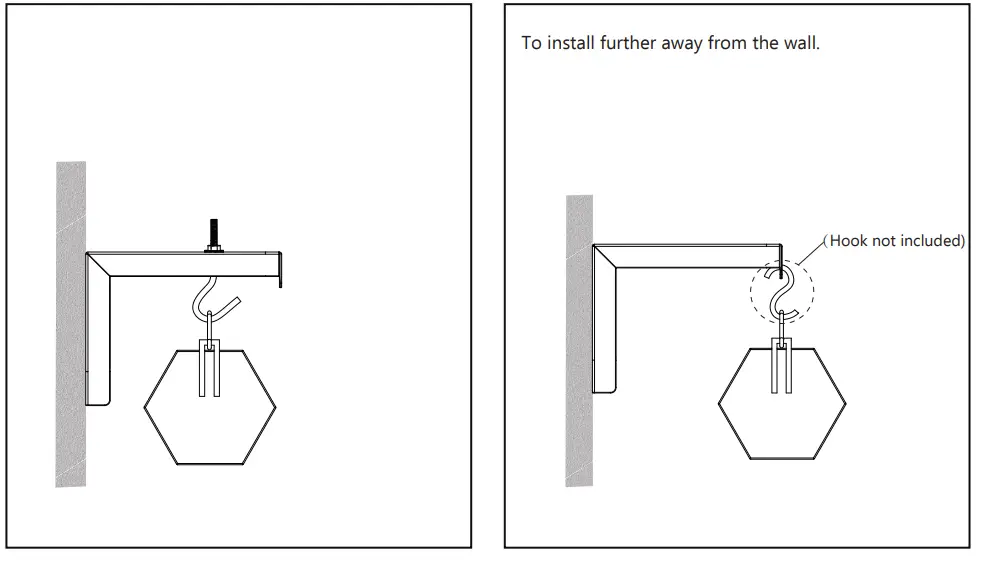
Option B Ceiling Installation Securely mounts to wood stud, brick, or concrete ceilings. Can NOT mount to drywall.

[xyz-ips snippet=”download-snippet”]