WatchGuard HYYP IP Connect With WiFi Module
 WGAP864IPMW Installation Guide

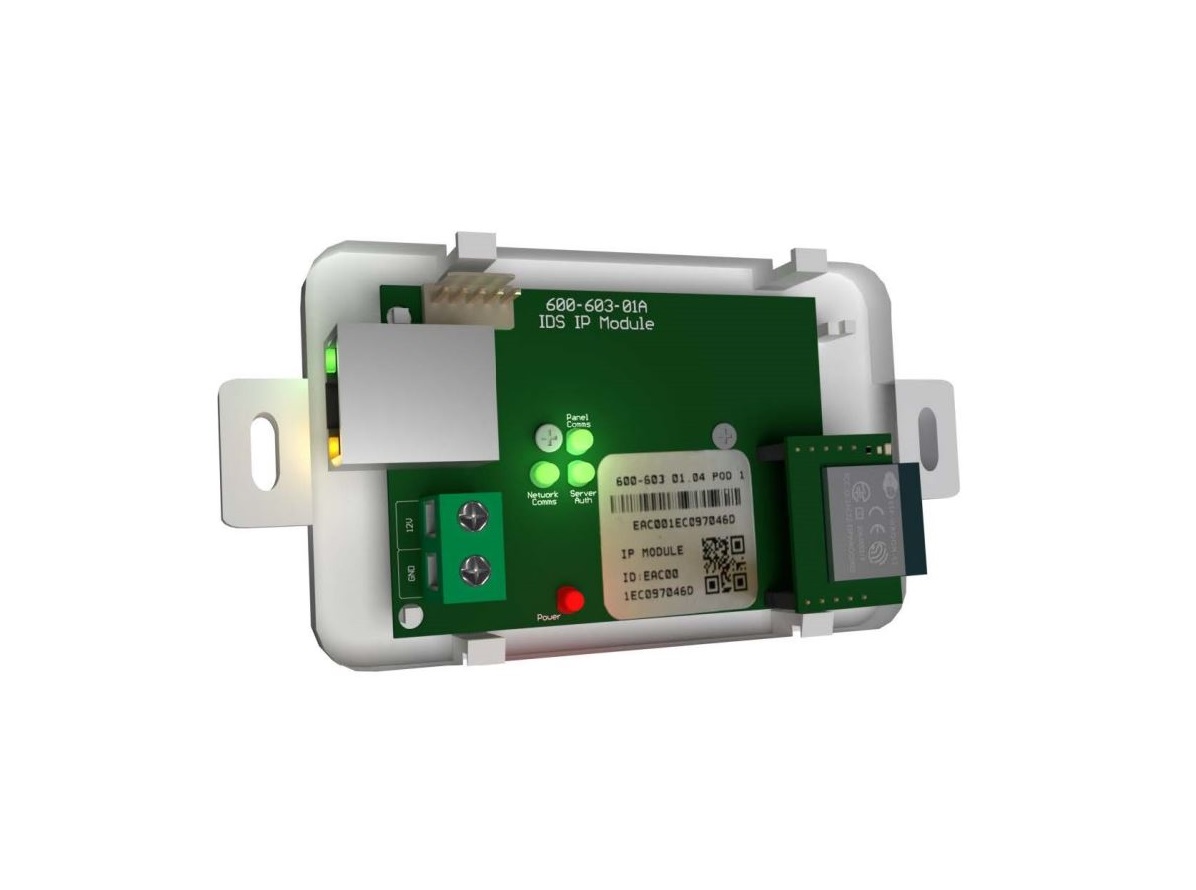
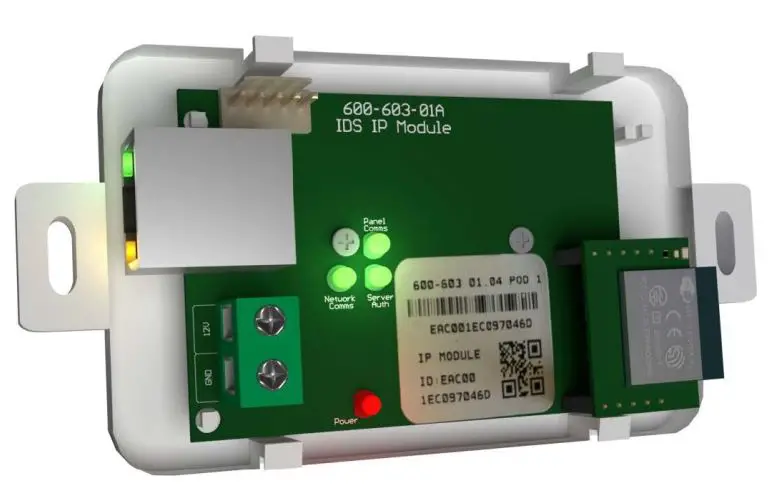
The HYYP IP Connect Module (WGAP864IPMW) is a plug on module for the 864 Series alarm panels. The HYYP IP Connect Module will enable your 864 Series panel to communicate with the HYYP platform allowing it to report to your HYYP Base Station(monthly charges apply) and the HYYP Home mobile app.
1. Installation
1.1. Wiring
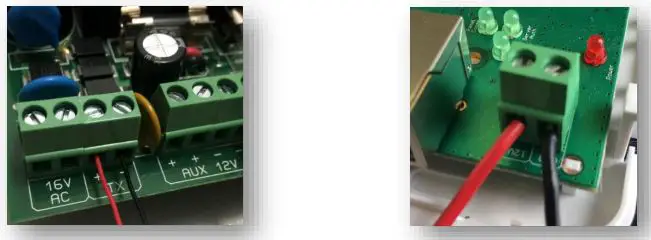
Connect the HYYP IP Connect Module 12v input to the TX connectors of the X-Series panel. Be sure to connect the 12V to positive and GND to Negative.
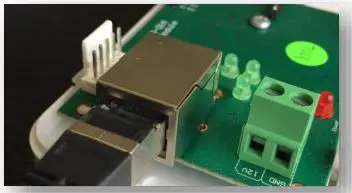
 Connect the provided serial cable from the serial connector on the 864 series panel to the serial connector on the HYYP IP Connect Module.
Tip: The red wire on the 864 Series panel should be closest to the panel’s heat sink.
Plug in the Ethernet cable from the network to the Ethernet connector, or connect to your WiFi. If the WiFi module is installed the Ethernet port is ignored.
NB: The HYYP IP Connect Module can only get an IP address from a DHCP server. You cannot give it a static IP address.
1.2. Connecting to WiFi
To connect your IP Connect with WiFi module to your WiFi you must have a WPS enabled router. To use WPS simply power the IP Connect with the WiFi Module and when the Panel COMM’s, Network COMM’s and Server AUTH LEDS start flashing one at a time in a clockwise sequence press the WPS button on your router.

1.3. Programming
Location 196 is needed if you want to use the HYYP Home app, reporting should still work without location 196 programmed.
- Enter Installer Code [9][9][9][9][*]
- Go to location 196 [1][9][6][*]
- Enter any six digit code [1][2][3][4][5][6][*] (This is to authorize the HYYP serial connection)
- Go to location 61 [6][1][*] (This is the partition’s account code: 61 Partition 1; 62 Partition 2; 63 Partition 3…)
- Enter the account code issued by the control room [1][2][3][4][*]
- Exit installer programming [#]
2.HYYP Home App
With HYYP Home you have remote access to monitor and control your home or business anywhere, anytime, in real time.
2.1. Installing the HYYP Home App
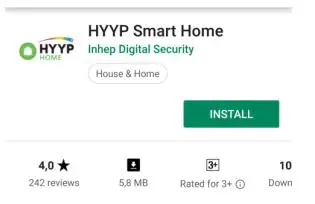
To install the HYYP Home App go to the Google Play Store and search for HYYP Home. And click install.
Once installed open the HYYP Home App, the first time you open the app you will be asked to sign up, or login if you have already registered.

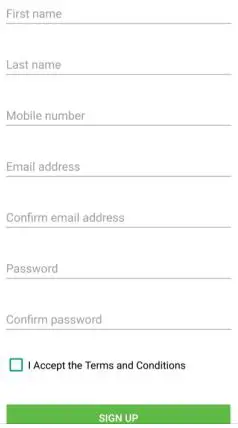
Click `Sign Up’ to register and activate a device to the app.
Fill in your details, accept the terms and conditions and click sign up.
2.2. Adding a site
Once registered you will be given a HYYP ID and asked if you have a HYYP IP Connect to connect. Click `I have a new HYYP Hub’.

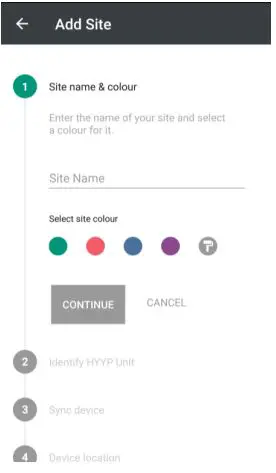
Give your HYYP IP Connect a name and choose a site color. The site color will help distinguish between multiple sites. Click `Continue’.
Enter the HYYP IP Connects Unique ID number or scan the unique barcode on the HYYP IP Connect.Click `Continue’.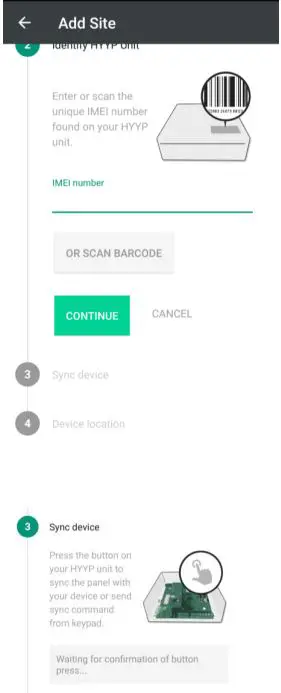
To add the HYYP IP Connect Module to the HYYP Home app you must enter location 196 when the app asks you to synchronize the device.
 Fill in details of where the HYYP Serial is installed. Click `Next’.
Your HYYP Serial has successfully been synced with the HYYP Home app.
3. Troubleshooting
3.1. LEDs
The HYYP IP Connect Module has 4 LEDs that you can use to view its status.Power LED – On when the HYYP IP Connect Module has sufficientpower. Panel COMM’s LED - Flashes when communicating with the X-Series Panel.Network COMM’s LED - Flashes when communicating on the network.Server AUTH LED - On when connected to the HYYP platform.
On power up the Network COMM’s and Server AUTH LEDs will flash together, and once it has made a successful connection to the HYYP platform the Server AUTH LED will stay on and the Network COMM’s LED will flash when it’s communicating on the network.
If the Server AUTH and Network COMM’s LEDs continue to flash the same number then there is an error on the HYYP IP Connect Module. You can determine the error by the amount of times the LEDs flash.
See error numbers below:
- System error Replace unit.
- Can’t initialize Ethernet port.
- Can’t get IP address from DHCP server.
- Can’t connect to the Time server.
- Unable to log on to the HYYP platform.
- Unable to register on the HYYP platform.
3.2. IP Ports
These are the ports that are needed for the HYYP IP Connect to connect to the HYYP servers. None of these ports or IP addresses must be blocked.
- Request DHCP server to provide IP address details
- DNS lookup of tick.meraka.csir.co.za destination Port 53 & 54a) This will use the DNS server given by DHCP
- It will then get time using NTP – Destination Port 123
- DNS lookup of mqtt.trintel.co.za
- The HYYP IP Connect then communicates to mqtt.trintel.co.za on MQTT encrypted port 8883 (from v1.11)a) If the HYYP IP Connect cannot connect on 8883, the HYYP IP will fall back to standard MQTT port 1883
 report this ad
![]()
[xyz-ips snippet=”download-snippet”]