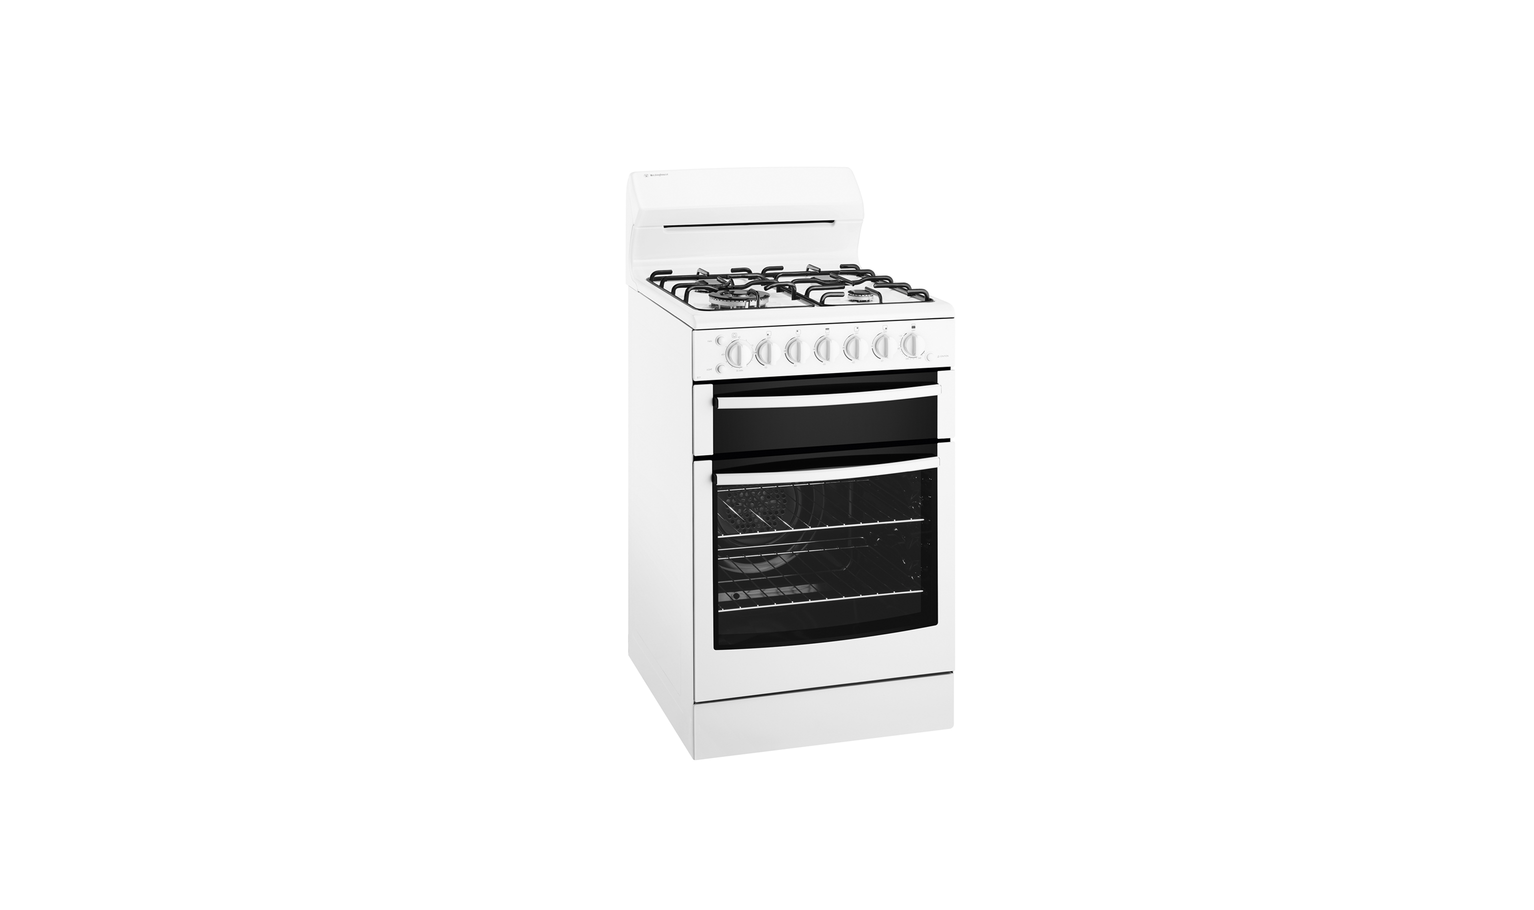
Westinghouse WLG510, WLG512 Gas Freestanding Cooker User Guide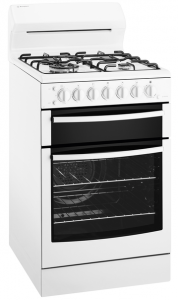
Enjoy peace of mind.Register your appliance today
Stay updated on better living services, safety notices and shop for accessories.
- Open the camera app on your smartphone and point at the QR code to scan Product Registration QR code is located on the front of your appliance or inside the door rim*.
- Tap the notification or link to open the registration form
- Complete your details and enjoy peace of mindExact location of QR code may vary depending on oven model
Dear Customer,
from a history of durable and reliable products loved by many families. We look to help you make the most of your time at home, so you can spend your time doing what you really love, with the ones you love.
Welcome to Westinghouse.
Ready
This is a Quick Start Guide. Please refer to user manual online for detailed information and installation.
To access your detailed user manual online, simply scan the QR code on your smart phone.
For more detailed information and installation guide refer to user manuals at westinghouse.com.au/manuals
Before you start, please make sure:
- Your oven has been correctly installed by a qualified person.
- Your oven has power and is switched on.
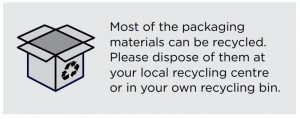
- You’ve removed all relevant packaging.
Set…
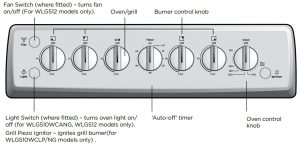
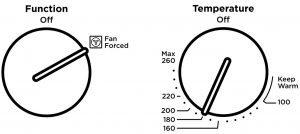
Get to know your oven control panel:
Installing the accessories
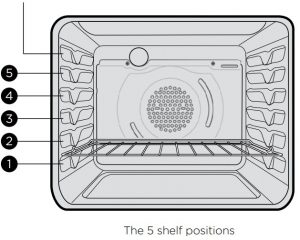
Fitting the oven shelves
- Ensure shelf orientation is correct (refer to diagram below).
- Slide the oven shelves on to the oven supports (side runners) at an angle, until the raised back of shelf is past the stop on oven supports (side runners).
- Lower the front of shelf and push it in until stop is reached.
- To remove oven shelves, withdraw to the stop and raise the front of shelf to clear the stop.


Oven shelf location
Note: the top ledge is not a shelf position. There are no stops for shelf withdrawal.
Fitting the grill dish supports
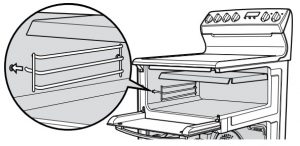
- Insert the rear hook into the rear hole.
- Align the front peg to the front hole and push in firmly
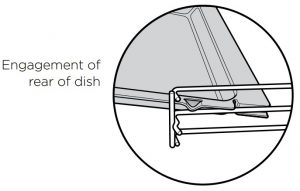
Fitting the grill dish
Ensure rear of the dish is engaged with the side support before sliding backwards. To remove, simply pull forwards and upwards.
Condition the oven
(to burn off any residue) New appliances can have oil or residue left from manufacturing. You will need to heat your oven for 30 minutes before using it for the first time. Set the oven at 180°C for approximately 30 minutes. Please ensure that the room is well ventilated during this process.
Go
You’re ready to use your new Westinghouse appliance. A few tips from us:
- Remember to pre-heat each time.For best cooking results pre-heat the oven. Pre-heating allows the oven to reach the required temperature quickly and efficiently as well as cook food at the correct temperature for the entire cook time. Recommended pre-heat time is 30 mins for baking and 3 minutes for grilling.
- Choose the right program for the best result:
Lighting gas hotplate, grill and oven
Electronic ignition with flame safeguard This hob is fitted with mains powered electronic ignition. When the appliance has been connected and the power is on, depressing ignite button will release sparks to all burners.
To light a burner, depress the corresponding knob fully and while continuing to depress knob for approximately 5 seconds, turn anticlockwise to ‘HI’ position. The flame sensor must warm-up in order for the flame to stay alight. The knob may be released once the flame is established, and turned further anticlockwise to reduce the flame height as desired.
- Before releasing the knob, ensure the knob is fully depressed.
- If the flame goes out when the knob is released, simply repeat the ignition procedure again.
Hotplate Ignition – (Manual)
To light a burner, depress the corresponding knob fully and while continuing to depress the knob approximately 5 seconds, turn anti-clockwise to ‘HI’ position. At the same time, hold hand-ignitor next to the burner and ignite (hand-ignitors not supplied). The flame sensor must warm up in order for the flame to stay alight
Grill Ignition – Electronic
While pressing the electronic ignitor switch, depress the corresponding knob fully and while continuing to depress the knob for approximately 5 seconds, turn anti-clockwise to ‘HI’ position. The flame sensor must warm up in order for the flame to stay alight
Grill Ignition – Piezo
Depress the grill control knob fully and while continuing to depress the knob for approximately 5 seconds, turn anti-clockwise to ‘HI’ position. The flame sensor must warm up in order for the flame to stay alight.
Grill – in Oven
Grill is electric and is operated by control knob only.
Oven Ignition – Electronic
While pressing the Electronic Ignitor Switch, push turn and hold the Oven Control Knob to the desired temperature. Hold Control Knob in for 15 seconds after ignition.
Oven Ignition – Piezo
With the left hand push and hold the Oven Control Knob in and turn it a quarter of the way anti-clockwise. Keep the oven Control Knob pushed in firmly and at the same time push the Oven Piezo Ignitor button on the right hand side of the control panel (several times if necessary). It will make a loud ‘clack’ noise as the Piezo mechanism creates a spark. Hold control knob in for 15 seconds after ignition.
GRILL
When it comes to cooking tender cuts of meat, steak, chops, sausages, fish, cheese toasties and other quick cooking foods the grill setting will get you the best results. By preheating your grill for 3 minutes this will help in sealing in the natural juices for a better flavour. For separate grill models grill with the grill door open.
- Set your temperature
- To set the temperature, turn the grill/oven knob in a clockwise direction to the desired setting.
- Grill/oven will begin to heat.
- Once the food is cooked, turn the temperature selector back in an anti clockwise direction.
- Set a Timer
- Timer 60 Minute – (where fitted) sets reminder time.
- When timer returns to zero, timer gives a short ring
Note: For any time below 15 minutes, turn knob past 15 minutes, then back to required time setting.
Need more help?To access your detailed user manual online, simply scan the QR code on your smart phone. If you prefer a printed manual, please contact our Customer Care Centre using details below.

Contact us if you need more help
Electrolux Home Products Australia
- telephone: 13 13 49
- email: : [email protected]
- web: electrolux.com.au
Customer Care Centre
References
[xyz-ips snippet=”download-snippet”]