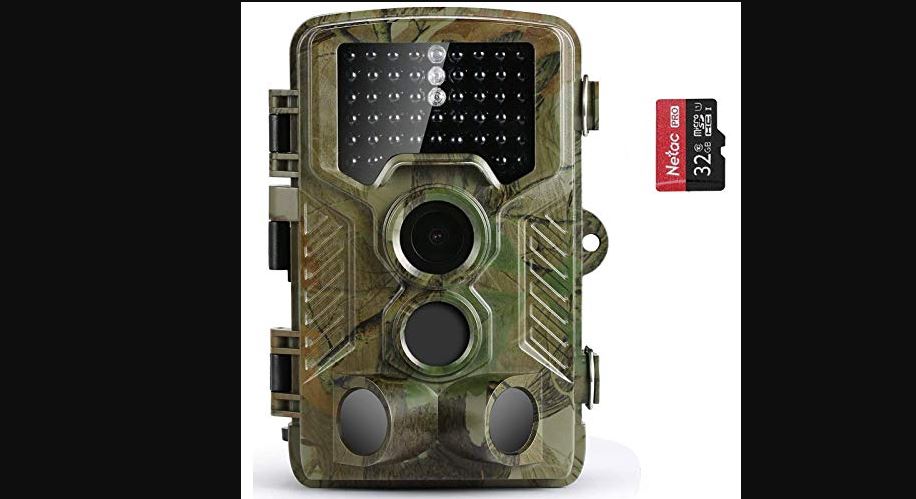
WILDPIX Professional game camera
with night watch User Manual
IMPORTANT NOTICE
THANK YOU for the purchase of the WI LDPIX X2 Camera. We appreciate your business and want to earn your trust. Please refer to the instructions in this manual to use the camera smoothly.
If your Trail Camera does not seem to be functioning properly or if you are having photo/video quality issues, please feel free to e-rnail us, we will try our best to meet your satisfaction.
We also welcome and value each feedback and suggestions on our camera. Your objective feedback and frank opinion are the big driving force for us to move forward. It is because of each lovely client and every useful advice that we could continue to improve our products quality and meet the needs in the ever-changing market.
We are well aware services indefinitely, we will spare no effort to improve product quality and service levels in the future to give our customers more intimate shopping experience.
CAMERA OVERVIEW
FRONT VIEW

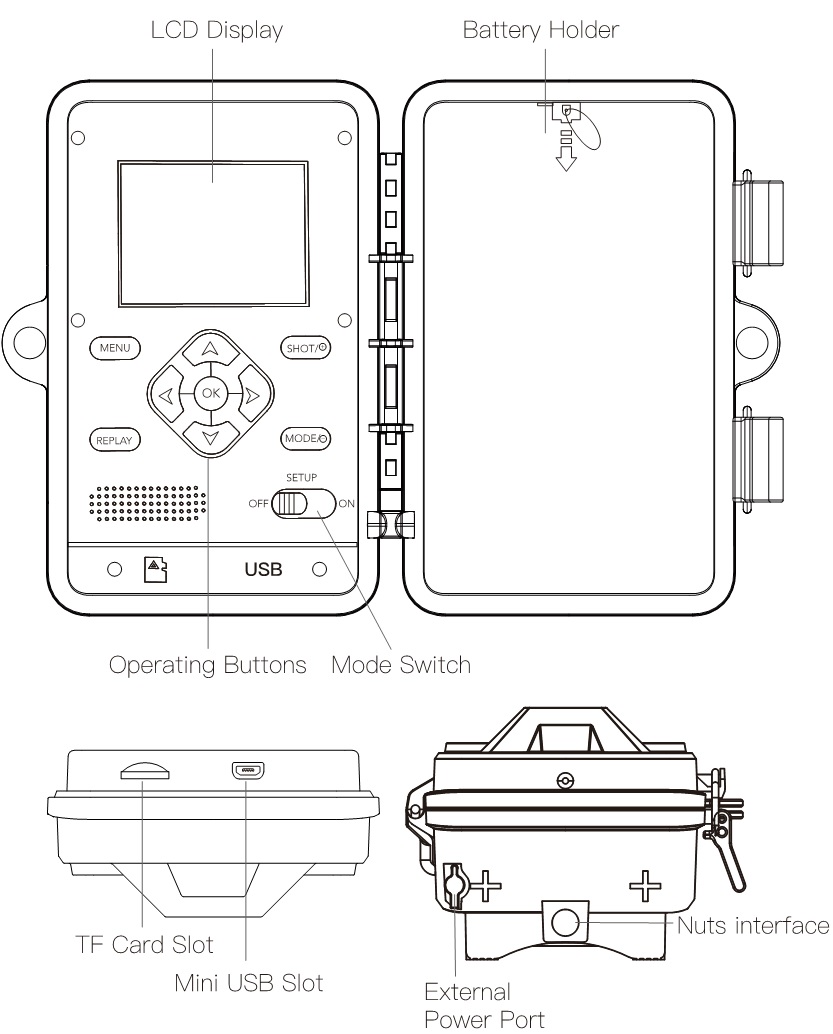
INSIDE VIEW
QUICK START INSTRUCTION
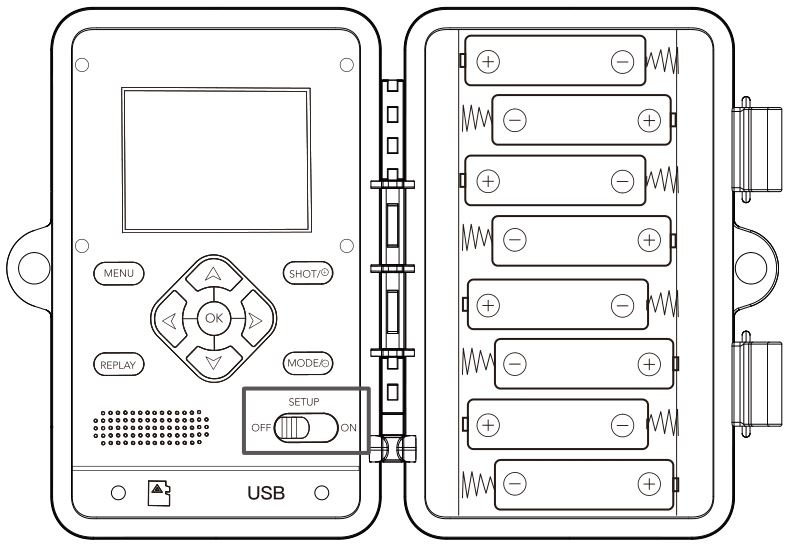
Battery Installation
Insert 8 Full AA Alkaline or Lithium batteries.-Recommend Energizer™ batteries.– No new and old batteries.
Insert the TF Card
Insert the TF card (using class 6 or faster TF Cards, up to 32GB).
Run Quick Start
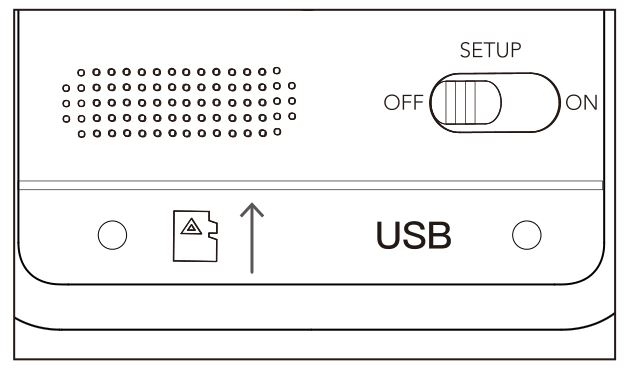
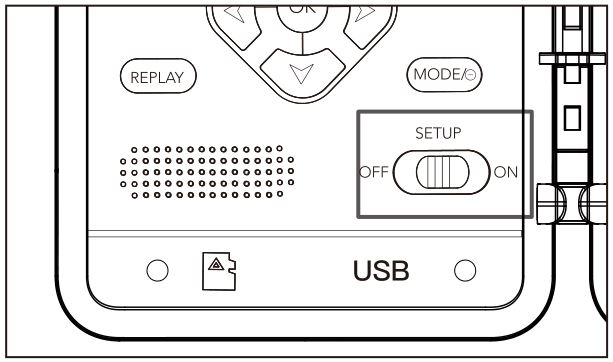
Switch to SET UP(test mode) –> Screen lights up
[Choose your Language]

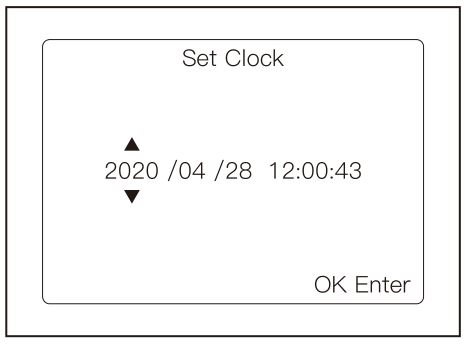
[Set your clock]
[Format your TF card]Hint: Please confirm to format the TF card before using the camera.

[Start your new wildlife journey]Switch mode to ON —-> Motion indicator flashes red light 5s —->Screen turns black ( Camera is working now!)
Option Default SettingInterval 30 secondsPhoto or Video PhotoPhoto Size 8MPMulti-Shot 1 – Triggered
Hint:Please customize the settings by pressing menu button in SET UP(test mode) to meet your using requirements.
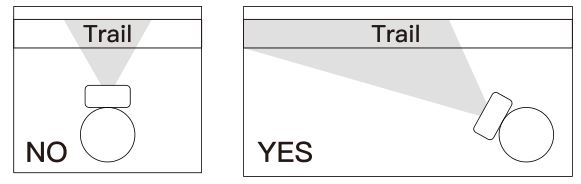
Mounting with a Strap/Wall MountPlace camera on a tree or pole approximately 3- 6 ft. high.Hint: If you are mounting camera to cover a trail , face the camera down the trail tilted at a slight downward angle.Face the camera North or South to avoid over exposure from the sun.Clear brush away from camera front to avoid false triggers from the wind.
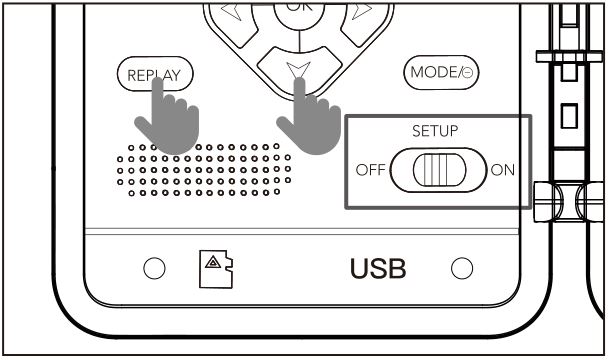
Viewing FilesView on the LCD screenSwitch to SET UP ( test mode )—-> Press REPLAY button —-> Check your images and videos.
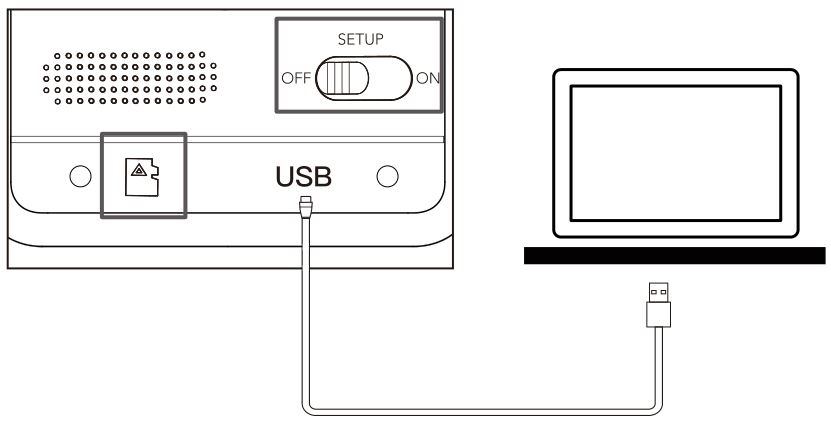
Use Mini USB Type A(in the package)Camera screen will show “MSDC”
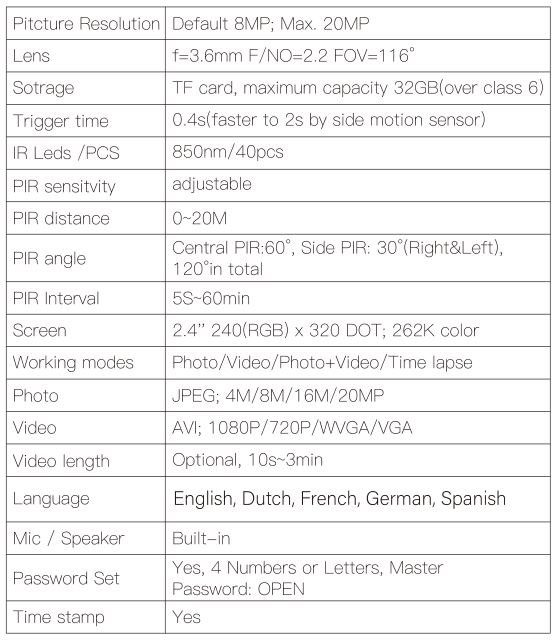
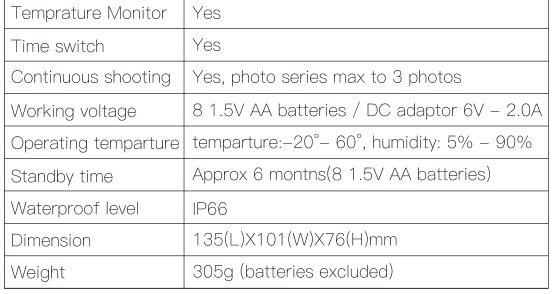
TECHNICAL SPECIFICATIONS
[xyz-ips snippet=”download-snippet”]