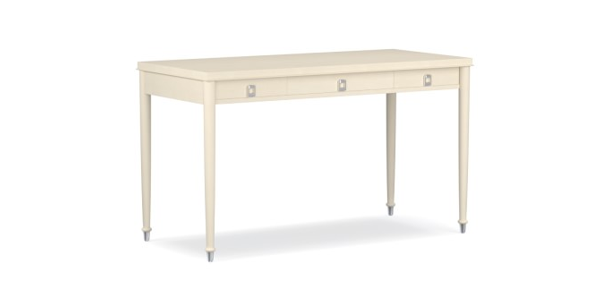

LACOURTE NO HUTCH DESK
Important Safety Instructions:
- Please read all instructions carefully before assembling.
- For your safety, assembly by two or more adults is strongly recommended.
- Keep instructions for future use.
- Use only vendor-supplied hardware to assemble. Using unauthorized hardware could jeopardize the structural integrity of the item.
Pre-assembly:
- Remove all parts and hardware from the box and layout on a clear carpeted or scratch-free work surface, as this will avoid damaging parts during assembly. The shipping box provides an ideal work surface.
- Do not dispose of any packaging or contents of the shipping carton until assembly is completed to avoid accidentally discarding small parts or hardware.
- Use the parts and hardware lists below to identify and separate each of the pieces included.
- The illustrations provided allow for easier assembly when used in conjunction with the assembly instructions.
- The use of power tools to aid in assembly is not recommended. Power tools can damage hardware and split wood.
Parts Included:
|
Parts Included (Box 1 of 3): |
Parts Included (Box 2 of 3): |
Parts Included (Box 3 of 3): |
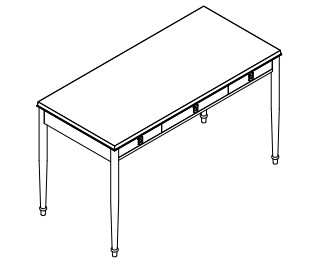
(A) Desktop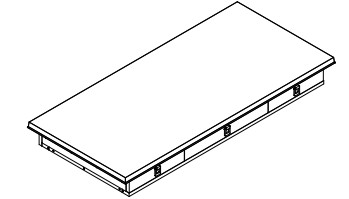 |
(B) Right leg frame |
(C) Left leg frame |
Hardware Included:
(D)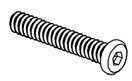 Bolt1/4”x1‐1/4”6x Bolt1/4”x1‐1/4”6x |
(E) Flat washer1/4” XØ19×212x Flat washer1/4” XØ19×212x |
(F) Spring washer1/4” x Ø 12 X2 12x Spring washer1/4” x Ø 12 X2 12x |
(G)Bolt1/4”x2‐1/4”6x |
(H) Allen keyM4x110x301x Allen keyM4x110x301x |
Assembly Instruction Steps:
1. Remove the drawer boxes from desktop (A).

2. With the help of another person, carefully place the Desk Top (A) upside down on a clean, smooth surface, such as a carpet or cardboard3. Attach the right leg frame (B), left leg frame (C) to (A), by aligning the pre-drilled holes with the wooden dowels. Insert 6 Bolts (D), 6 Bolts (G), 12 Flat washer (E), 12 Spring washer (F) and tighten the bolts with Allen key (H), as show below:

4. Install the drawer boxes back to the Desk top (A).5. Attached the Anti-tip kit at the back and adjust the levelers underneath the four corners of the base as seen in the illustration below

Adjusting the Levelers:
If the floor is uneven, the furniture may not sit level and the piece may wobble. If the furniture wobbles, determine which corner does not touch the ground correctly. With two people follow the steps below:– Carefully elevate the item slightly, to provide access to the levelers attached to the bottom of each leg.– Turn the levelers (up or down) until adequate contact will be made with the floor. Gently set the piece down and check stability.– Repeat the steps above, until furniture sits firmly on the ground.6. Assembly is complete.
Care Instructions:
- Dust often using a clean, soft, dry and lint-free cloth.
- Blot spills immediately and wipe with a clean, damp, cloth.
- We do not recommend the use of chemical cleansers, abrasives or furniture polish on our lacquered finish.
- For glass tops and shelves, glass cleaner may be used, but avoid spraying it onto the metal or ceramic frame.
- Hardware may loosen over time. Periodically check to make sure all connections are tight.Re-tighten if necessary.
Thank you for your purchaseStores | catalogDate: 31‐Mar‐2016Rev:www.williams‐sonoma.com
References
[xyz-ips snippet=”download-snippet”]