
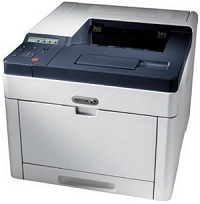
Xerox Phaser 6510 Installation Guide
Installation Guide
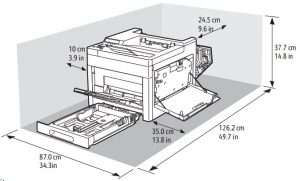
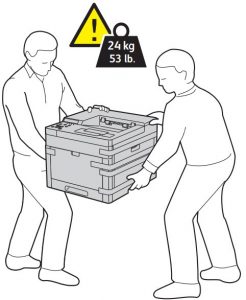
- Select a Location.

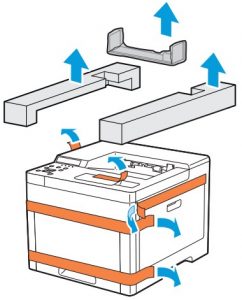
- Remove the packing material.
- Install the options.
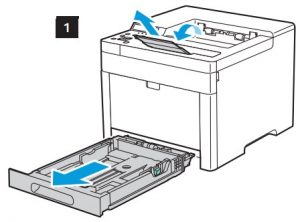
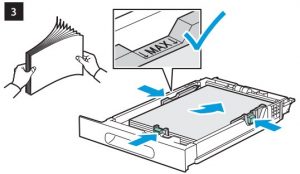
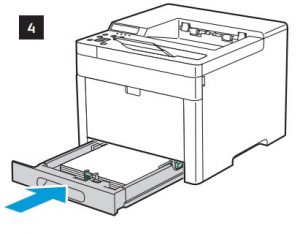
- Load the paper tray.
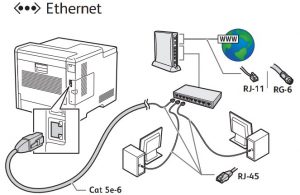
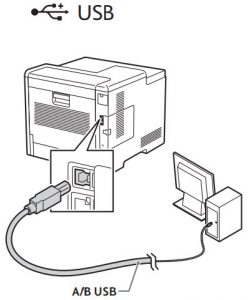
- Select a printer connection
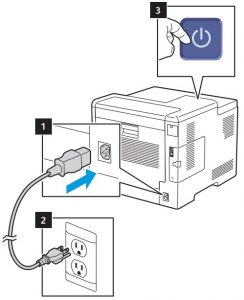
- Connect the power.
- Follow the prompts for panel language and device configuration.To set up a Wi-Fi connection, at the control panel, press the Menu button. Scroll to Admin Menu, then press OK. Scroll to Network / Port, then press OK. Scroll to Wi-Fi Settings, then press OK. Scroll to Access Point Search, then select your network. To enter the passphrase using ASCII characters, press OK. Enter the passphrase using the up and down arrows, then press OK.
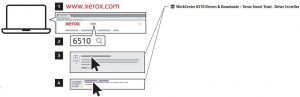
- Install the current print and scan drivers from the Xerox website.Installation and setup videos are available on the Xerox website.For detailed information, download the User Guide from the Xerox websitehttp://www.xerox.com/office/6510docshttp://www.xerox.com/office/6510support


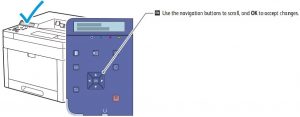 To set up a Wi-Fi connection, at the control panel, press the Menu button. Scroll to Admin Menu, then press OK. Scroll to Network / Port, then press OK. Scroll to Wi-Fi Settings, then press OK. Scroll to Access Point Search, then select your network. To enter the passphrase using ASCII characters, press OK. Enter the passphrase using the up and down arrows, then press OK.
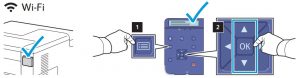
 Installation and setup videos are available on the Xerox website.
 For detailed information, download the User Guide from the Xerox website
References
[xyz-ips snippet=”download-snippet”]