
XTREAM Connecting Your New Equipment
User Guide
 What’s Included
 What’s Included
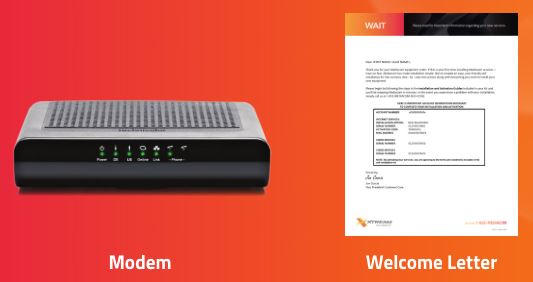
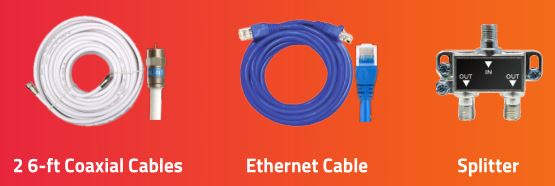
Some of the items in your kit may not be necessary for installation but have been included for your convenience. Your installation kit should include the following items:
REQUIRED FOR INSTALLATION
OPTIONAL FOR INSTALLATION
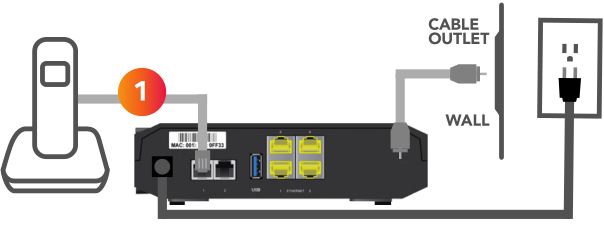
Step 1: Connecting Your Modem
Most customers install their modem by directly connecting it to their coaxial wall outlet. If you do not have a coaxial outlet available, you may use the splitter and cables included in your kit and follow the directions in Option 2 to share the outlet with your TV equipment.
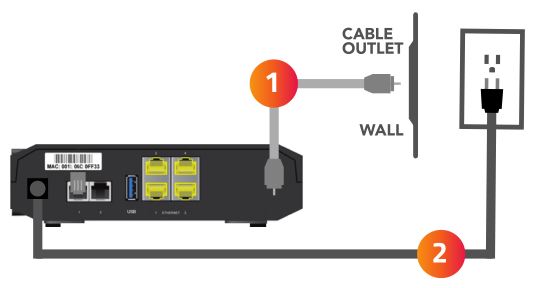
Option 1: Independent Direct Hookup
- Connect the coaxial cable from your wall outlet to the back of your new modem.
- Connect the new power cord to the back of your new modem.
- Plug the power cord into the power outlet.
- Proceed to the Installation Options section on the back and choose the option that is right for you.
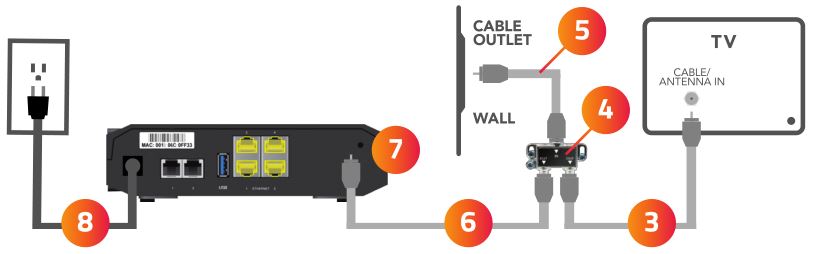
- Locate the splitter and coaxial cables provided.
- Disconnect the coaxial cable from the wall outlet.(This will disrupt your TV service for a moment. Do not disconnect the cable from any other devices; only the wall outlet.)
- Connect the original coaxial cable you just removed from the wall outlet to the splitter using one of the ports labeled OUT.(The other end is still connected to your video equipment.)
- Connect a second coaxial cable to the splitter port labeled IN.
- Connect the other end of the coaxial cable to the wall outlet.(Your TV service should now be restored.)
- Connect a third coaxial cable to the splitter port labeled OUT.
- Connect the other end of the coaxial cable to the back of your new modem.
- Connect the new power cord to the back of your new modem.
- Plug the power cord into the power outlet.
- Proceed to the Installation Options section on the back and choose the option that is right for you.
Step 2
INSTALLATION OPTION 1
Internet + WiFi
- Connect the Ethernet cable to the back of your computer and to the port labeled Ethernet 1 on the back of your new modem.
- Proceed to the Modem Activation section and follow the online step-by-step instructions.
- For assistance setting up your WiFi connection, refer to the guide Connecting to Your Wireless Network included with this kit after completing modem activation.

INSTALLATION OPTION 2
Phone
- Connect the telephone cable to the TEL 1 port on the back of your new modem.
- Proceed to the Modem Activation section and follow the online step-by-step instructions.
INSTALLATION OPTION 3
Internet + WiFi + Phone
- Connect the Ethernet cable to the back of your computer and to the port labeled Ethernet 1 on the back of your new modem.
- Connect the telephone cable to the TEL 1 port on the back of your new modem.
- Proceed to the Modem Activation section and follow the online step-by-step instructions.
- For assistance setting up your WiFi connection, refer to the guide Connecting to Your Wireless Network included with this kit after completing modem activation.

Step 3 Modem Activation
- Once all cables are connected, open your browser and go to https://mccprov-siwg.mediacomcc.com to activate your new modem.WiFi Users: After completing your modem activation, refer to the guide Connecting to Your Wireless Network included with this kit to set up your WiFi.
- Refer to the Welcome Letter in your kit for your activation code and equipment information needed to activate your services.
You can Login using one of two methods:Login with your Mediacom Billing Account # and Activation Codeor Login with your Mediacom ID Username and Password

References
[xyz-ips snippet=”download-snippet”]