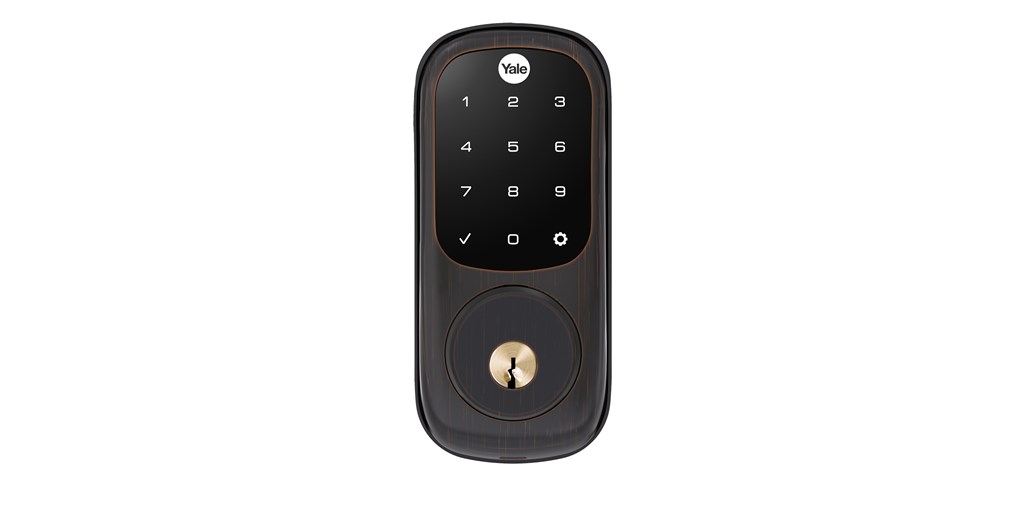

Getting Started with yourYale Assure Lock® with Wi-Fi
- Download the free Yale Access App on your smartphone and create an account.Tip: If you already use the August App, use the same login details.

- Tap ‘Set up a Device’ from the app menu.
-
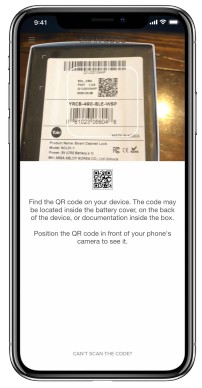
Scan the QR code located on the Quick Start Guide, or on your packaging. If you cannot find your QR code, tap “Can’t scan the code?” and enter your serial number (begins with M1).The serial number can be found on your white Smart Module.Tip: If your Serial Number has an O, it is the letter, not the number 0.
- Follow the in-app steps to install your Assure Lock.
- Insert the 4 AA batteries.
- Create a master entry code by waking the keypad and pressing it.Then enter your desired code. Press to save.
- Temporarily remove the batteries and insert the Yale Access Smart Module into the slot above the battery compartment.Re-install the batteries.
- Register your Smart Module by entering your masterentry code then.Press ‘7’ and then.Press ‘1’ and then.
- Install DoorSense™ by following the steps shown in the Yale Access App.
- Enable HomeKit, if desired, by following the steps in the Yale Access App. You will need the HomeKit QR code which is on your white smart module.Tip: The HomeKit QR code has a house icon with it.
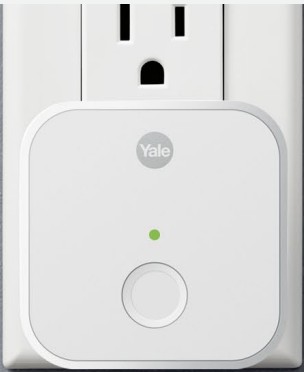
- Set up your Connect Wi-Fi Bridge by scanning its QR code. After scanning, plug in your Connect.Tip: Make sure the Connect is plugged into an outlet within 10 feet from your door lock.
- Create entry codes by tapping on the bottom menu of the app.Tap ‘Invite’ and then choose either ‘App Access’ or ‘Personal Entry Code Only.’For entry code access, codes can be 4-8 digits long and can be temporary, scheduled, or permanent.


[xyz-ips snippet=”download-snippet”]