ziso M3 Infrared Electronic Thermometer

Introduction
Specification
- Accuracy: ± 0.2 degrees (34 – 45 ºC, place it in the operating environment for 30 minutes before use)
- Abnormal automatic alarm: flashing + “Di Di” sound
- Automatic measurement: measuring distance 5cm -10cm
- Screen: Digital display
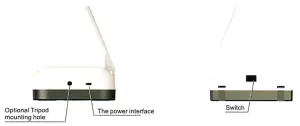
- Charging method: USB charging or battery(18650 Li- ion).
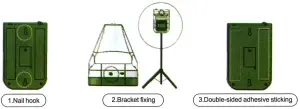
- Install method: nail hook (optional), double-sided adhesive sticking, bracket fixing(optional)
- Environment temperature: 10ºC-40ºC (Recommended 15ºC∼35ºC)
- Infrared measuring range: 0 – 50 ºC
- Response time: 0.5s
- Input: DC 5V
- Net weight: 350g
- Dimension: 170* 115* 140mm
- Standby: About one week
- Counting capacity: 999
Status Description
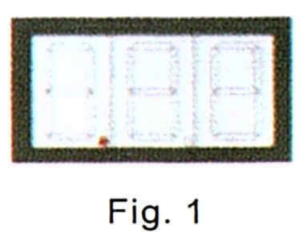
- Standby. The red dot in the bottom of the display lights up in turn.(Fig.1)

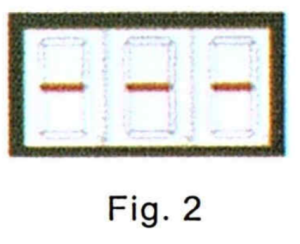
- Insufficient power: The horizontal bar lights up in the middle of the display. (Fig. 2)
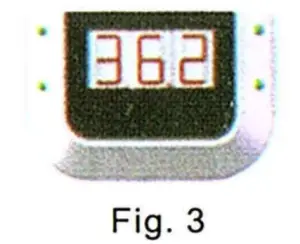
- Normal temperature: Flashing green lights and alarm “Di”.(Fig. 3)
- Abnormal temperature: Flashing red lights and alarm “Di Di”. (Fig 4)
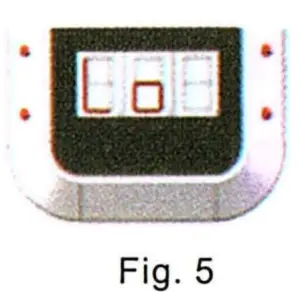
- Default (bod object mode)“Lo”: Ultra-low temperature alarm. (Fig. 5)“HI”: Ultra-high temperature alarm. (Fig .6)

 “HI”: Ultra-high temperature alarm. (Fig .6)
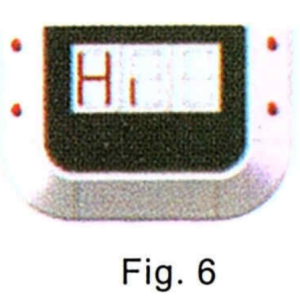
Operation Instruction
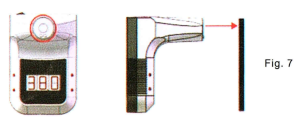
- Temperature measurement: Front of the thermometer and approach it within 5-10 cm. (Fig 7)
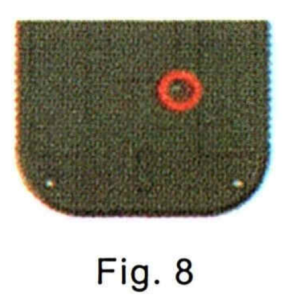
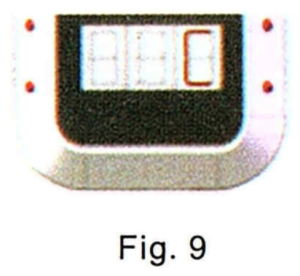
- Mode switching : There is a small hole on the back of the device(Fig. 8).You can use a 3mm diameter screwdriver to insert the hole and then press the button.(1) Temperature unit: Press ‘mode switch hole’ then select “C” or “F” (Fig.9, 10) C: Celsius F: Fahrenheit(2) Mode: Long press mode switch hole for 3 seconds to switch the temperature measurement mode (Sur. surface mode, bod: object mode, Cou: counting mode)
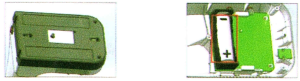
- install and replace battery(1) Remove three screws(2) Open the back base and install 18650 Li battery
- install method
 (2) Mode: Long press mode switch hole for 3 seconds to switch the temperature measurement mode (Sur. surface mode, bod: object mode, Cou: counting mode)
[xyz-ips snippet=”download-snippet”]