Remote Control

- On/Off
- White light
- Flash (flashing function)
- Strobe (slow fading out of color)
- Fade (slow fading out with color change)
- Smooth (smooth color change)
- Control panel for color selection (15 mixed colors)
- RGB setting (red, green, blue)
- Increase/decrease the intensity of color
Installation:
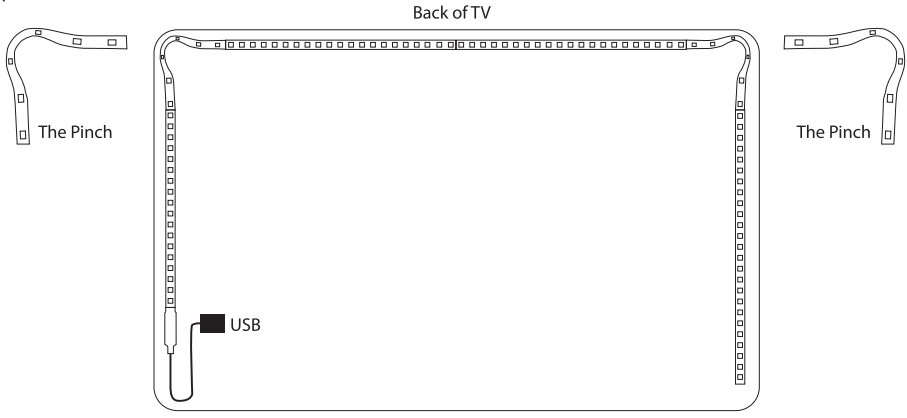
- Clean the surface you intend to stick the light strip to.
- Peel off the backing strip off the 3M adhesive tape. (be careful to peel off only the backing and not the adhesive)
- Press and hold the light strip firmly against the surface.
- Remove the tab from the battery compartment of the remote control.
- Connect the USB cable to the USB port on a TV or a USB wall charger (1 A charger required — not included).

Changing the remote control battery
The battery for the remote control has already been installed. Remove the battery pull tab to operate.
- The battery compartment is located on the narrow side of the remote control.
- Remove the empty battery and insert a 3V battery, type CR2025. The positive terminal must point upwards.
- Place the battery compartment back in the remote control so it locks in place.
For optimal performance:
Place IR receiver in a location away from the IR receiver on the TV to avoid interference from the TV remote control.
Operation:
- Turn on the LED Backlight by pushing the ON button on the remote control.
- Select the desired color or the desired effect and push the corresponding button on the remote control.
- Set the desired color brightness using the buttons to increase/decrease the intensity of color.
- Push the OFF button to turn off the LED backlight.
Technical data:
Voltage supply:LED strips (USB):5VRemote Control: 3V (1 x 3V battery, type CR2025)Output: 2.5W
[xyz-ips snippet=”download-snippet”]

