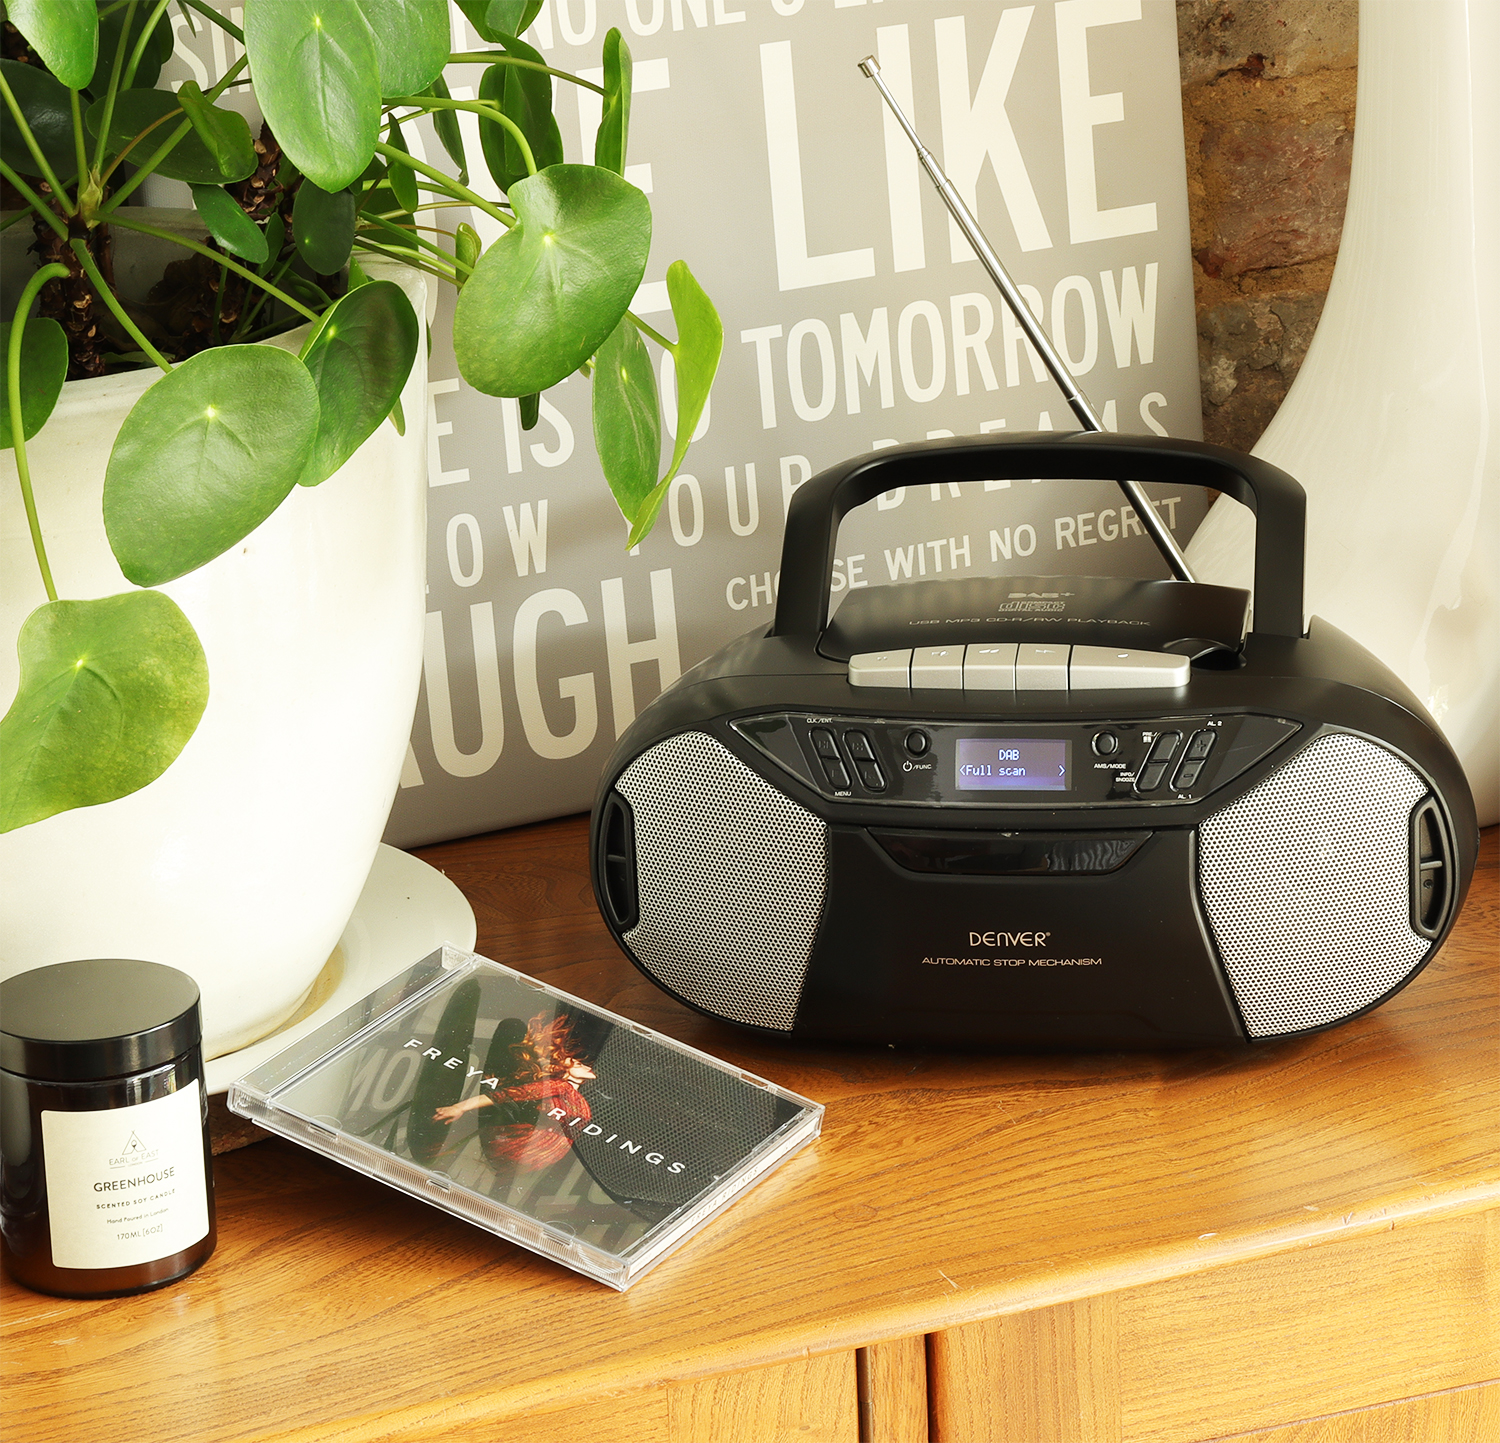
DENVER Portable Boombox
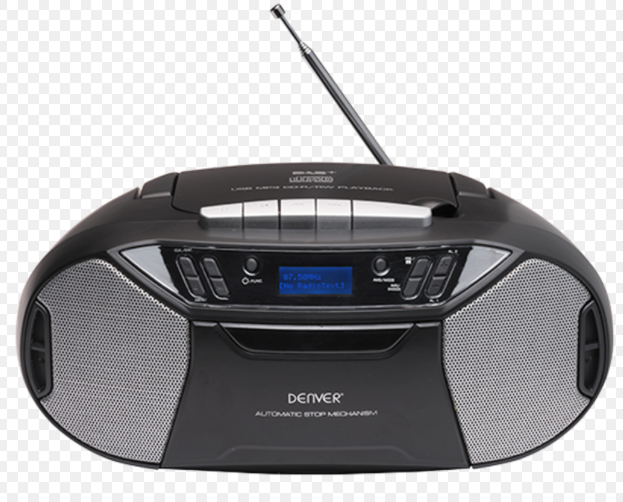
Overview of the Components

- SKIP+/TUNING+ button
- ENTER/PLAY/PAUSE/CLOCK button
- STOP/MENU button
- SKIP-/TUNING- button
- CASSETTE DOOR
- STANDBY/FUNCTION button
- DISPLAY
- AMS/MODE button
- PRE./FOLDER button
- VOLUME+/ALARM 2 button
- VOLUME-/ALARM 1 button
- INFO/SNOOZE button
- SPEAKER

- TAPE PLAYING BUTTONS
- FM ANTENNA
- HANDLE
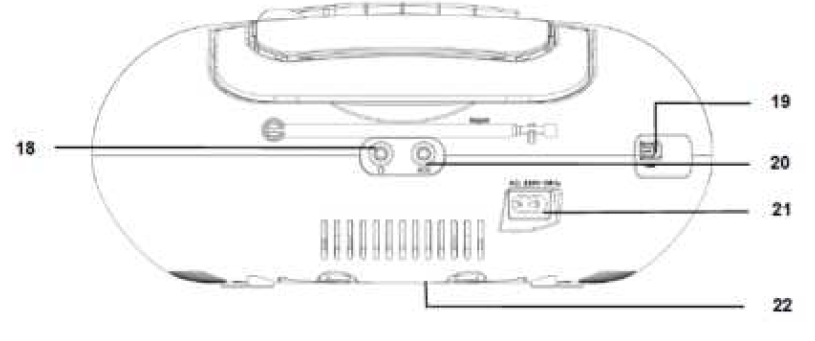
- CD DOOR
- HEADPHONE JACK
- USB JACK
- AUX-IN JACK
- AC SOCKET
- BATTERY COMPARTMENT

Turn on the unit
- Press the “STANDBY/FUNCTION” button to turn on the device.
- Press the “STANDBY/FUNCTION” button for approx. 3 seconds to switch into the standby mode.
Power Supply
- This boombox can be used with the supplied power cable or with 6 x size “C” batteries (batteries not included)
Setting the clock & date
The system must be in standby mode in order to set the clock.
- Press and hold the “ENTER/PLAY/PAUSE/CLOCK” button for approx.2 seconds.
- Use the “SKIP+/TUNING+” or “SKIP-/TUNING-” buttons to set the time format “12/24hr”.
- Press the “ENTER/PLAY/PAUSE/CLOCK” button to confirm.
- Use the “SKIP+/TUNING+” or “SKIP-/TUNING-” buttons to set the hours.
- Press the “ENTER/PLAY/PAUSE/CLOCK” button to confirm the hour.
- Repeat step 4 and 5 to set the minute/date.
Setting of the alarm time
The system must be in standby mode in order to set the alarm. You have the option of setting two alarms. Proceed as follows:
- Press the “VOLUME-/ALARM 1” button for about 3 seconds. The hours will start to flash.
- Set with the “SKIP+/TUNING+” or “SKIP-/TUNING-” buttons.
- Press the “VOLUME-/ALARM 1” button to confirm. The minutes will flash.
- Set with “SKIP+/TUNING+” or “SKIP-/TUNING-” buttons.
- Press the “VOLUME-/ALARM 1” button to confirm. Then select wakeup type with the “SKIP+/TUNING+” or “SKIP-/TUNING-” buttons. Press the “VOLUME-/ALARM 1” to confirm.
How to change function/modes on the boombox
After you turned on the boombox, push briefly on the STANDBY/FUNCTION button to change modes.E.g. to play CD, make sure you are in CD mode.
Press “STOP/MENU” button to select the DAB radio menu. Press “SKIP+/TUNING+” to choose the following DAB menus and confirm with “ENTER/PLAY/PAUSE/CLOCK” button:
- Full scan: Start the station scan. The DAB frequency band is scanned for stations.
- System
- Language
- Time Update
- Factory Reset
- SW version (Software version)
Electric and electronic equipment contains materials, components and substances that can be hazardous to your health and the environment, if the waste material (discarded electric and electronic equipment) is not handled correctly.
Electric and electronic equipment is marked with the crossed out trash can symbol, seen above. This symbol signifies that electric and electronic equipment should not be disposed of with other household waste, but should be disposed of separately.
All cities have established collection points, where electric and electronic equipment can either be submitted free of charge at recycling stations and other collection sites, or be collected from the households. Additional information is available at the technical department of your city.
Hereby, Inter Sales A/S declares that the radio equipment type TDC-250 is in compliance with Directive 2014/53/EU. The full text of the EU declaration of conformity is available at the following internet address www.denver-electronics.com and then click the search ICON on topline of website.
Write modelnumber: TDC-250. Now enter product page, and red directive is found under downloads/other downloads
References
[xyz-ips snippet=”download-snippet”]