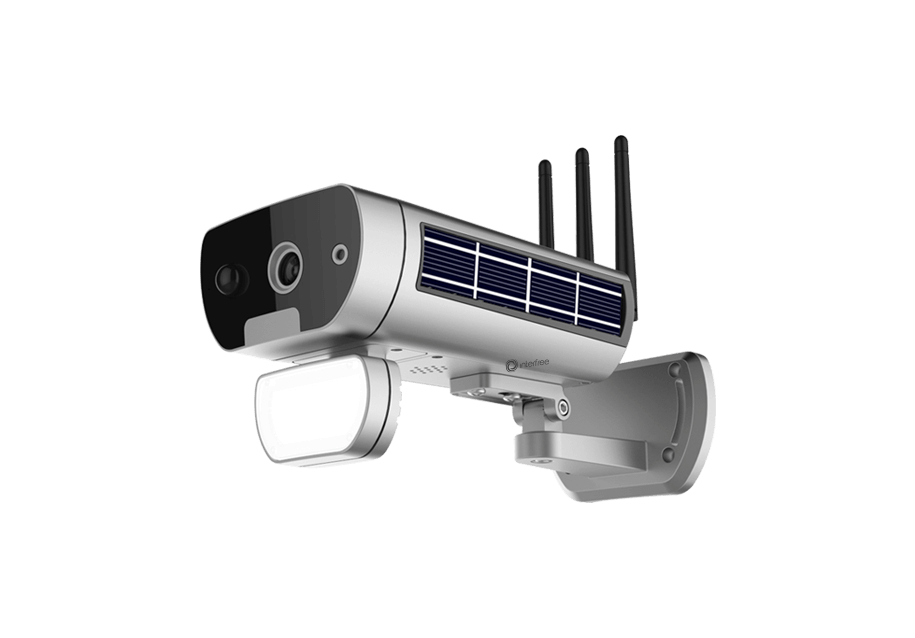

Interfree O2 Wifi Security Camera


Product Features
- Built-in 3W solar charge, lifetime operating, 3 days per month under sunlight averagely.
- Equipped with sound and light expulsion alarm.
- Built-in battery, support sustainable standby for 8 months normal use for 6 months.
- Outdoor waterproof.
- Secure 1-minute setup.
- Built in IR still visible at night.
- 110-degree field of view with 1080P. Full HD video quality.
- Get fast push notifications from the zone and motion detection function.
- Two-way audio
Product Technical Details.
After opening the package, please make sure the camera is in good condition, confirm below accessories are complete or not.
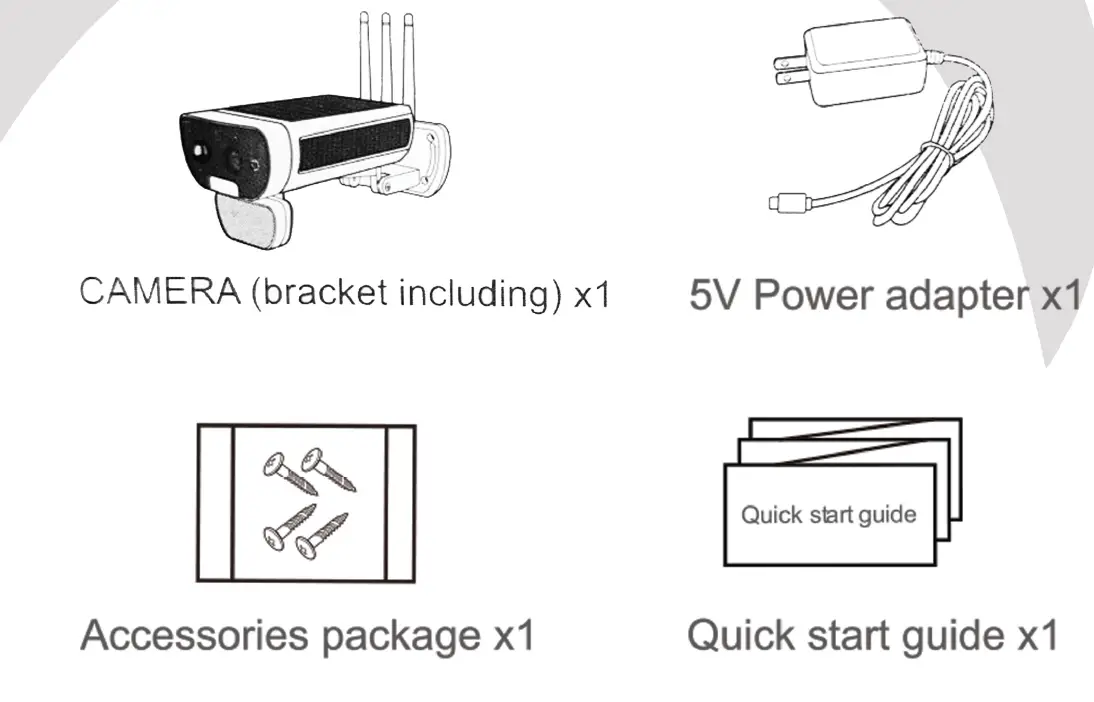
- 02 solar power Camera *l
- 5v Power adapter *l
- Screw package *l
- Quick installation guide *l
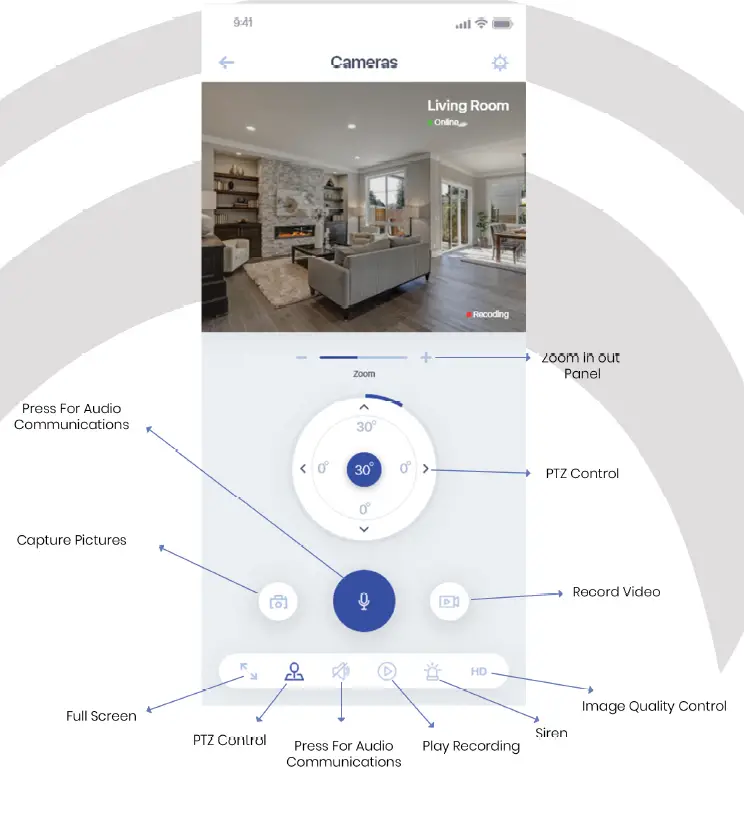
Appearance Description
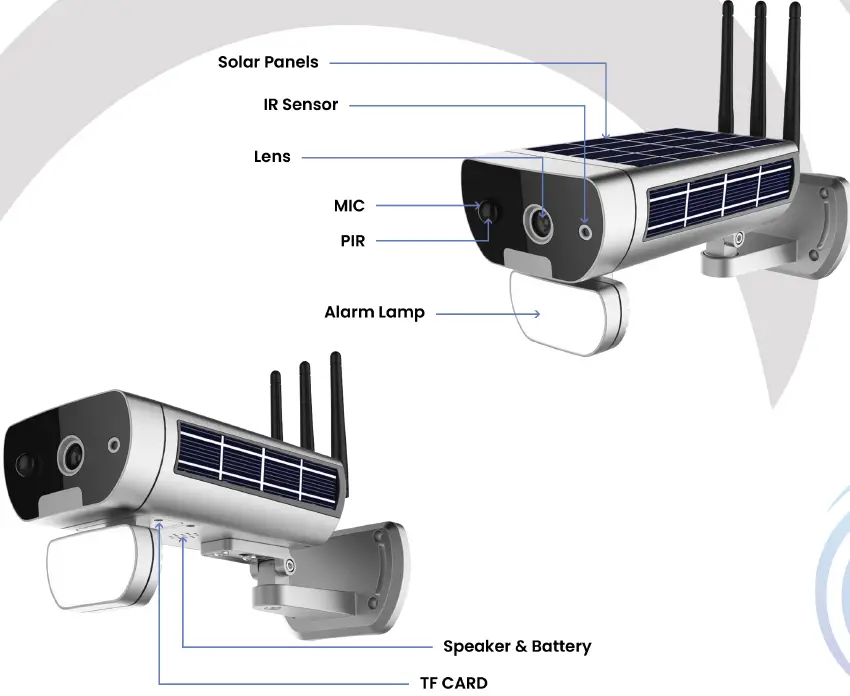
- Reset Press on 5 seconds, camera reset to “Factory Default Settings”
- SD Card Support micro SD card local storage (Max support 128G ), after inserting SD card please login interface application to format it).
- Power Adapter 5V-1A.
- Battery 18650
- Speaker Support two way audio talks and voice prompt.
Download the lnterfree Application
Please use your phone to scan the QR code or search “lnterfree” APP in APP store or Google play. 
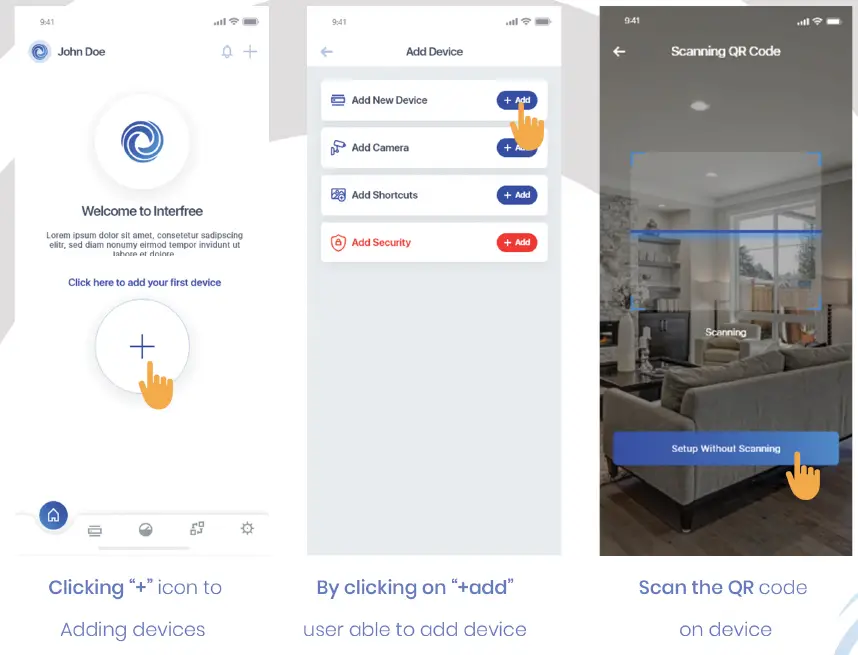
Wi-Fi Configuration
- Enter the APP, click”+” to add new device. Note: If the device is used the first time, the device will be offline, and the device need to set up without scanning.
- If the device is the first time using, it is offline, please confirm the device is powered on, then configure Wi-Fi network for it.
- First click the push button then press the reset button till the reset reminder tone. “Reset to factory settings” on, and then the device needs about 20 seconds to enter the AP mode. Hear the warning tone after 20 seconds “Waiting for the configuration” then press next.
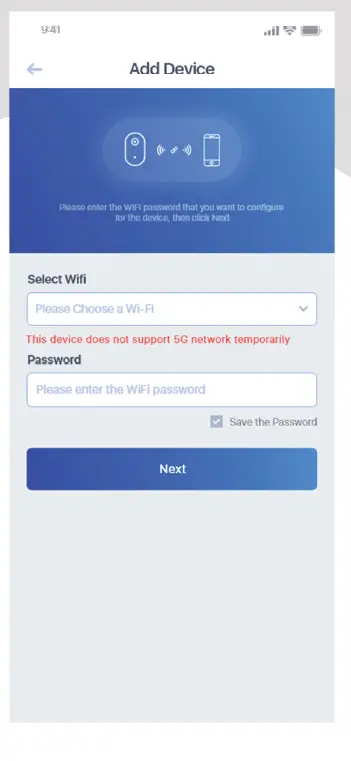
- Choose the Wi-Fi the device will connect to, fill in the Wi-Fi password. Click to “Next”, the device will receive the configure information then begin to connect.
- Keep your phone closed to the device for configuration. When the device is configured, it will notify the user.
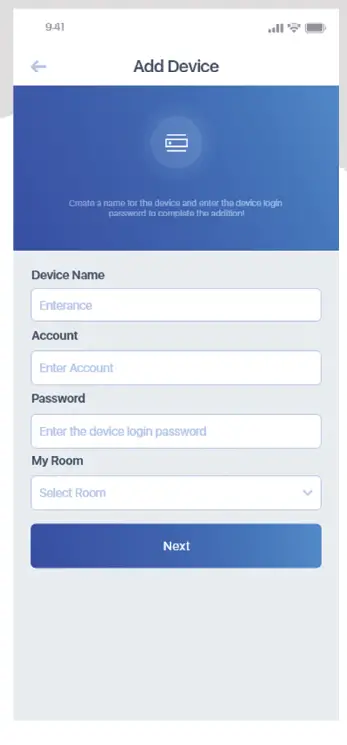
- After the remind tone-“The connection is successful” on, the device has completed the configuration. Add device, create device name and password.
- Access the device from your mobile phone.
 Note: If the device is used the first time, the device will be offline, and the device need to set up without scanning.
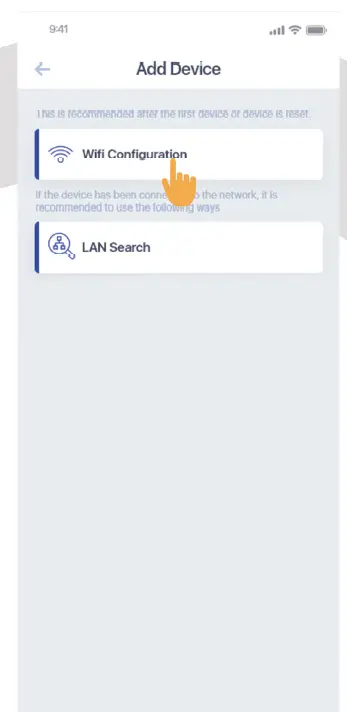


Installation
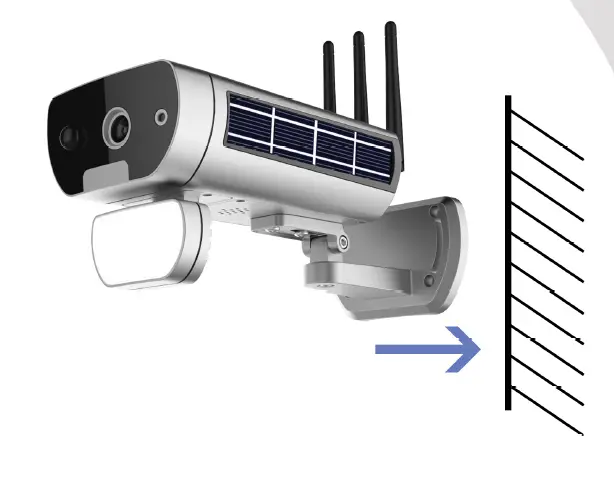
- Install the bracket (optional)Screws fix’s on the wall put the bracket on screw cap, finish the bracket installation.
- Install the cameraPut the camera onto the fixed bracket, as shown in the figure below.
- Installation finishedYou can adjust the camera viewing angle freely
[xyz-ips snippet=”download-snippet”]