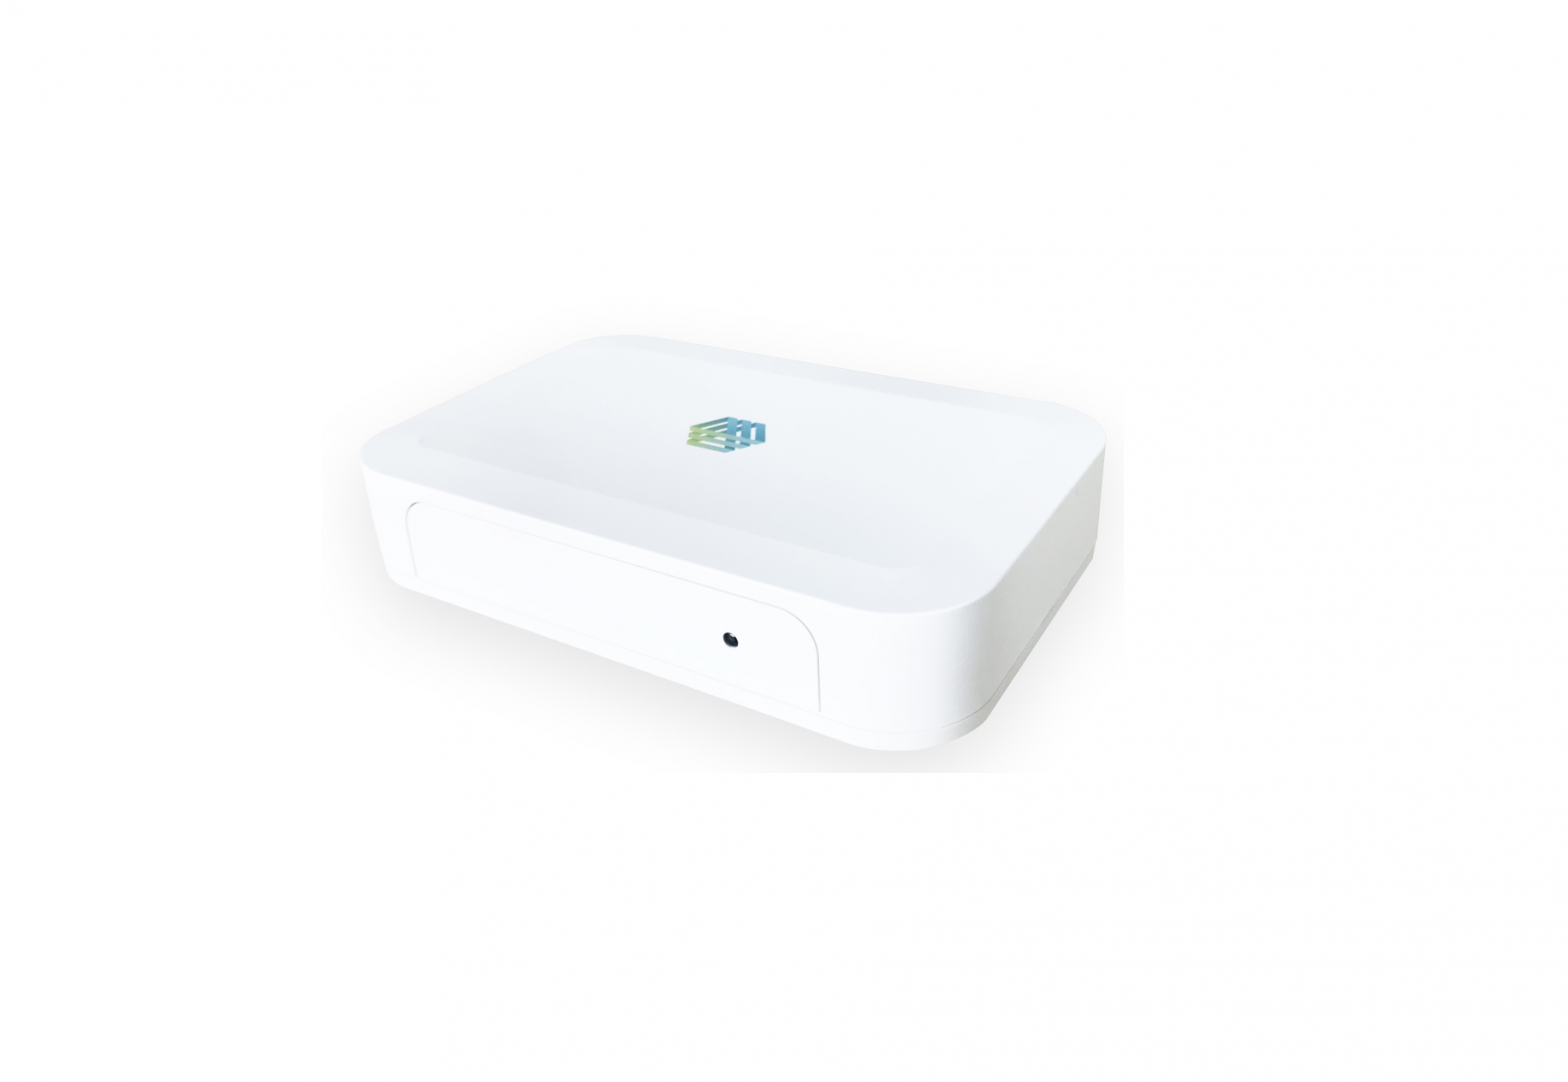
IOTAS Connect

Control always at your fingertips
IOTAS Connect integrates with lights, outlets, thermostats, door locks, and more.
The system allows residents remote access to their home but also delivers powerful solutions to property management for building-wide control and oversight

Features
- Mobile App for Residents
- Monitor and Control Anywhere
- IOTAS Scenes and Routines
- Easy Installation and Setup
- Internal Battery Backup
- Z-Wave™ Plus Certified


Getting started
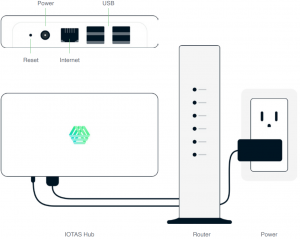
Simply plug in and play.
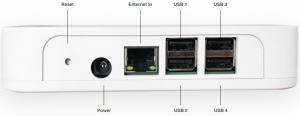
No complicated setup instructions, installation done in seconds.Simply plug in the ethernet and power cord.
Simple setup
Set up your IOTAS hub:
- Set up your home internet connection
- with your preferred provider.
- Plug the IOTAS hub into a power outlet.
- Plug the IOTAS hub into your internet router.
We are here to help
Having trouble getting started with your new smart home?Please visit IOTAS Support at support.iotashome.com
Specifications
| MANUFACTURERIOTAS, INC. | IOTAS, INC.Z-Wave 500 Series |
| DIMENSIONS5.875in x 3.875in x 1.125in | WI-FI10/100 Ethernet2.4GHz 802.11n wireless |
| CPU4×ARM Cortex-A53, 1.2GHz | USB PORT4× USB 2.0 |
| MEMORY1GB LPDDR2 (900 MHz) | PORTSEthernet (Cat5) |
| STORAGE8GB SDHC Class 10 | POWER SUPPLYInput: 5VDC 2A |
| SECURITYSecurity Enabled Z-Wave Plus Product | WARRANTY1 Year |
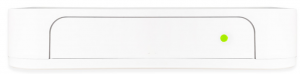
DSK
The DSK label can be found on the under side of the hub. It is also available via the IOTAS Maintenance Tool UI. Please see IOTAS Z-Wave Maintenance Tool Documentation for details.

References
[xyz-ips snippet=”download-snippet”]