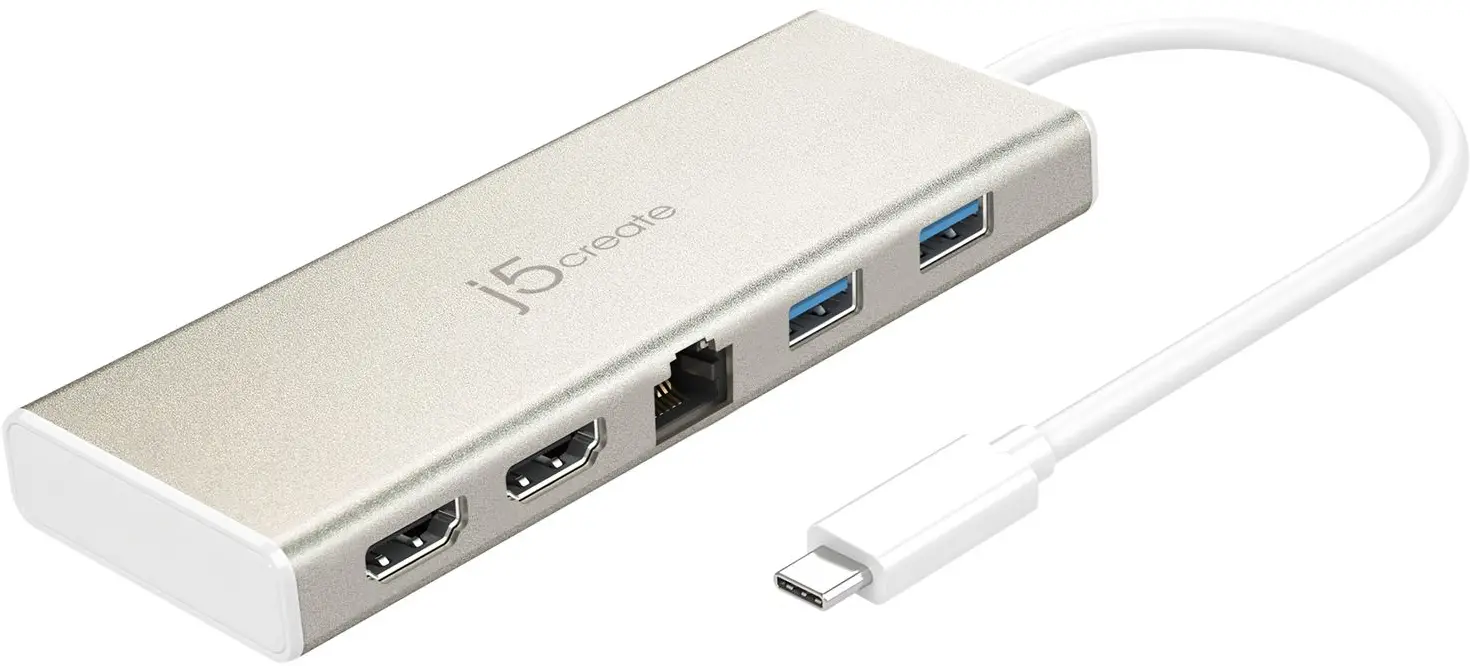
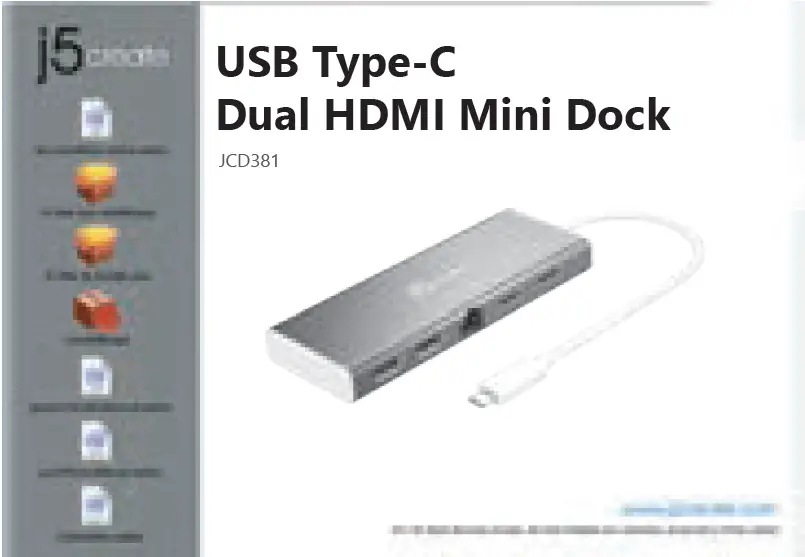
j5Create USB-C Dual HDMI Mini Dock JCD381

Windows® Driver Installation
- Driver will automatically install on Windows® 10 / 8.1 / 7 (Plug & Play requires Internet access)
Step 1If you have internet access it is highly recommended that you download the latest driver from www.j5create.com under Support & Services –scroll down to the product’s driver you are installing and download the latest driver for your operating system. (Note: If possible run as an administrator.)
Step 2Follow the prompts to install the driver (you may have to click on My Computer > downloads and choose j5UsbDisplayAdapter to begin installation).

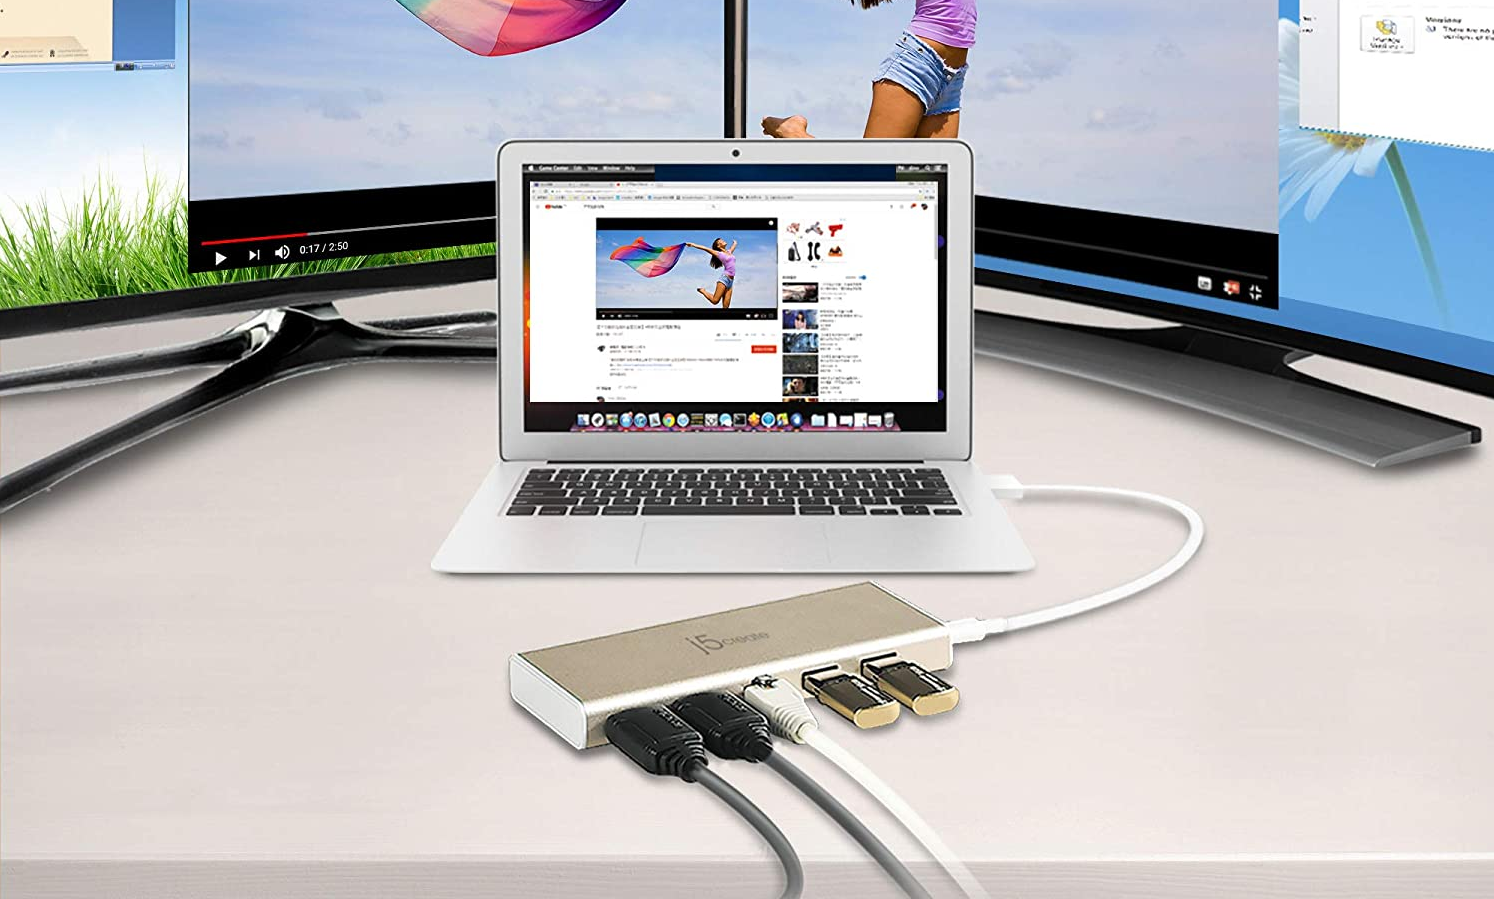
Step 3Once the driver has been installed choose “Yes” and click “Finish” to restart your computer and complete driver installation. Once your computer has restarted, connect the j5create USB Display Adapter to your display first and then to your computer. Now you are ready to use your j5create USB™ Display Adapter!
Step 4: Display SettingsWindows: Right click on the icon on the lower right-hand side of the toolbar to open display settings. If your driver automatically installed, you will see a different icon.
macOS® Driver Installation
- Do NOT plug the j5create USB-C® Dual HDMI Mini Dock into the computer until the driver is completely installed.
Step 1If you have internet access it is highly recommended that you download the latest driver from www.j5create.com under Support & Services –scroll down to the product’s driver you are installing and download the latest driver for your operating system. (Note: If you have trouble downloading this driver your security settings may need to be adjusted to allow for “downloading from anywhere”.)

Step 2Choose the correct operating system for your system and follow the prompts to install the driver (you may have to click on Finder > downloads and choose j5UsbDis-playAdapter to begin installation).For v10.12 users: When the pop-up window appears click “Ok”. Then go to Security and Privacy > General and click on “Open Anyway” to install the driver.
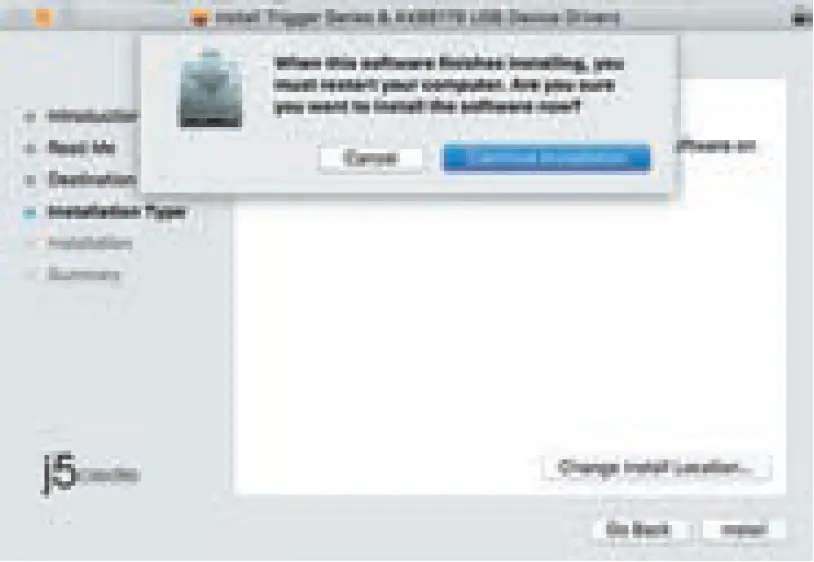
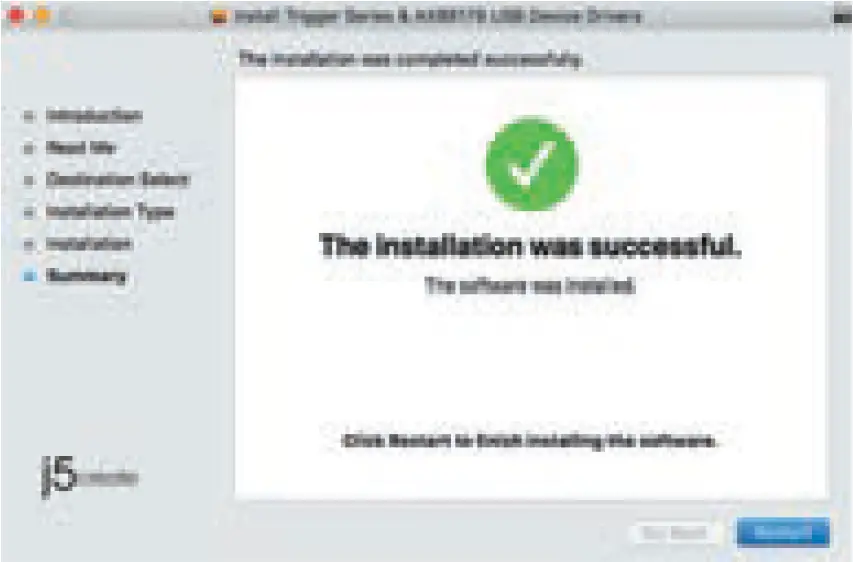
Step 3Once initial installation has completed, click “Restart” to finish installing the software. After your computer has restarted, connect the j5create USB Display Adapter to your display first and then to your computer. Now you are ready to use your j5create USB™ Display Adapter!
Step 4: Display SettingsGo to ( ) and then System Preferences, choose the Display or Arrangement tab to adjust.
System Requirements
- Available USB-C® port (USB-C® 3.1 Gen1 is recommended)
- USB PD 2.0 compatible for upstream charging
- Windows® 10 / 8.1 / 8 / 7
- macOS® X v10.8 or later
- CPU: Intel® Core™ i3 Dual Core 2.8 GHzRAM: 2 GB memory or higher
- One 4K Ultra HD or two 2K (2048 x 1152 @ 60 Hz)Full-screen video playbackCPU: Intel® Core™ i7 Quad Core / RAM: 8 GB memory or higherGraphics card: Intel® HD Graphics 4000/ ATI™ HD 7xxx/ NVIDIA® 5XXM or higher
Notes
- If you are using a high-powered USB device please attach the Type-C power adapter to the JCD381 power delivery port to ensure maximum performance
- To ensure files copy completely, do not remove the Type-C power adapter while copying files
- Before you upgrade your operating system, update your j5create product driver first to avoid compatibility issues
TECHNICAL SUPPORT
Customer Service: 888-988-0488Technical Support: 888-689-4088Email: [email protected]Service Hours: Mon. – Fri. 10:00 – 18:00 E.S.T
![]()
References
[xyz-ips snippet=”download-snippet”]