![]()
Instruction Manual
E42FV40A
CAUTIONTo ensure the reliable and safe operation of this equipment, please read all the instructions in this user guide, especially the safety information below. CARBON:RISK OF ELECTRIC SHOCK DO NOT OPEN.
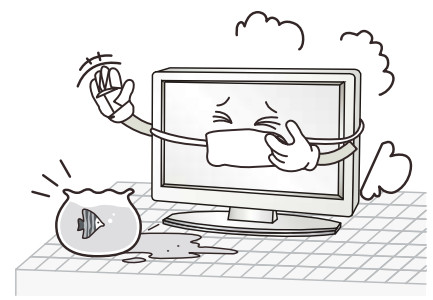
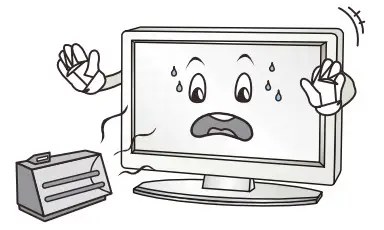
- Do not use this apparatus near water.

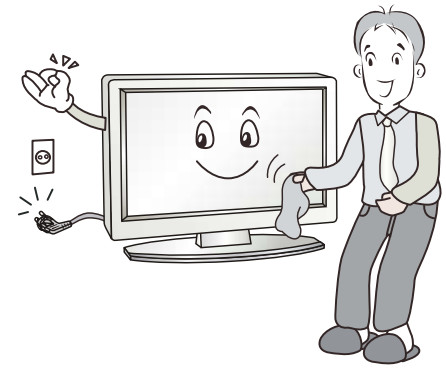
- Only clean with a dry cloth.
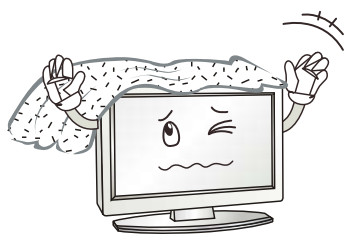
- Do not block any of the ventilation openings. Install in accordance with the manufacturer’s instructions.
- Do not install near any heat source such as radiators. heat registers. stoves. or other apparatus (including amplifiers) that produce heat.
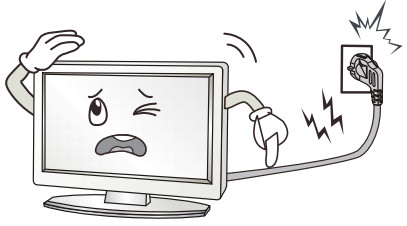
- Protect the power cord from being walked on or pinched particularly at plugs.
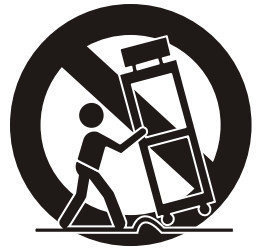
- Only use a cart. stand. tripod. bracket. or a table specified by the manufacturer or which is sold with the apparatus.
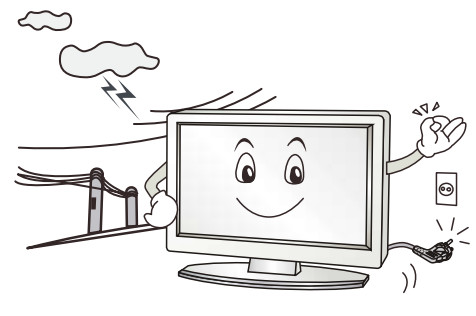
- Unplug this apparatus during lightning storms or when it is unused for a long time.
- Refer all servicing to qualified service personnel. Servicing is required when the apparatus has been damaged in any way.
- To prevent overload, don’t share the same mains supply socket with too many items.
- Do not place any connecting wires where they may be stepped on or tripped over.
- When removing the plug from the wall socket, make sure to pull the plug and not the wires.
- Do not block ventilation slots in the back cover. You may place the TV in a cabinet, but ensure that there is at least 5cm (2″) clearance all around.
- To clean the TV use a soft dry cloth. Do NOT use solvents or petrol-based fluids. For stubborn stains, you may use a damp soft cloth with diluted detergent.
- If the TV is cold, there may be a small flicker when you turn it on.
- Avoid touching the LCD screen or holding your finger(s) against it.
- A warning that an apparatus with CLASS I construction shall be connected to the MAIN socket outlet with a protective earthing connection.Where the MAIN plug or an appliance coupler is used as the disconnect device, the disconnect device shall remain readily operable.
- To reduce the risk of fire or electric shock, do not expose this apparatus to rain or moisture. The apparatus should not be exposed to dripping or splashing liquids and no objects filled with liquids, such as vases, should be placed on the apparatus.
On Disposal
- The fluorescent lamp used in this product contains a small amount of mercury.
- Disposal of this product must be carried out in accordance with the regulations of your local authority.
STAND ASSEMBLY
- Please disconnect all the cable connections before installation.
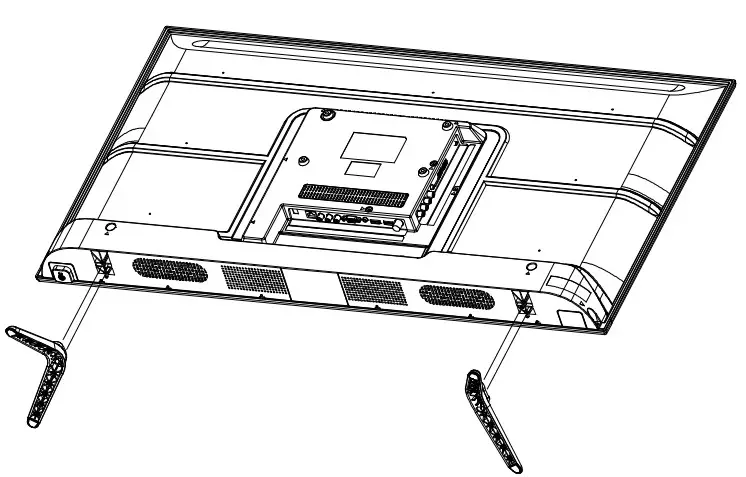
- Lay the TV face down on a flat surface, on a blanket or towel to avoid damaging the screen.
- Please keep the TV in a horizontal position and fix the standing base with screws.
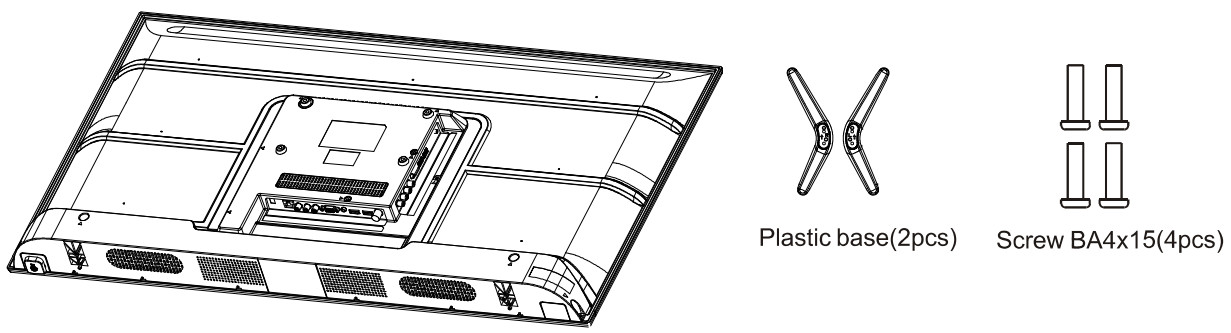
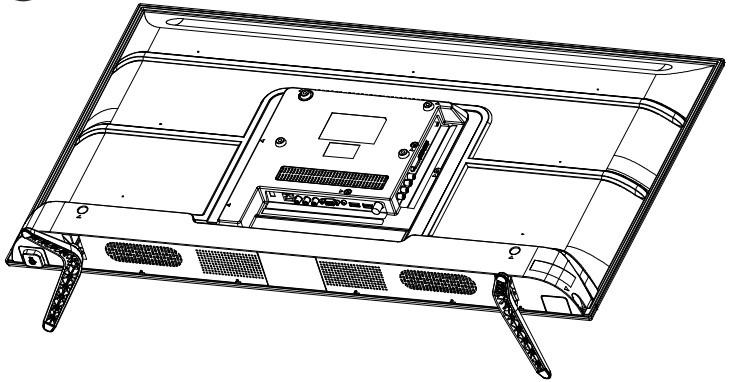
Note:
- Only use matching screws provided by the manufacturer in the accessory bag to install the stand of the TV unit, in order to avoid damaging the TV unit.
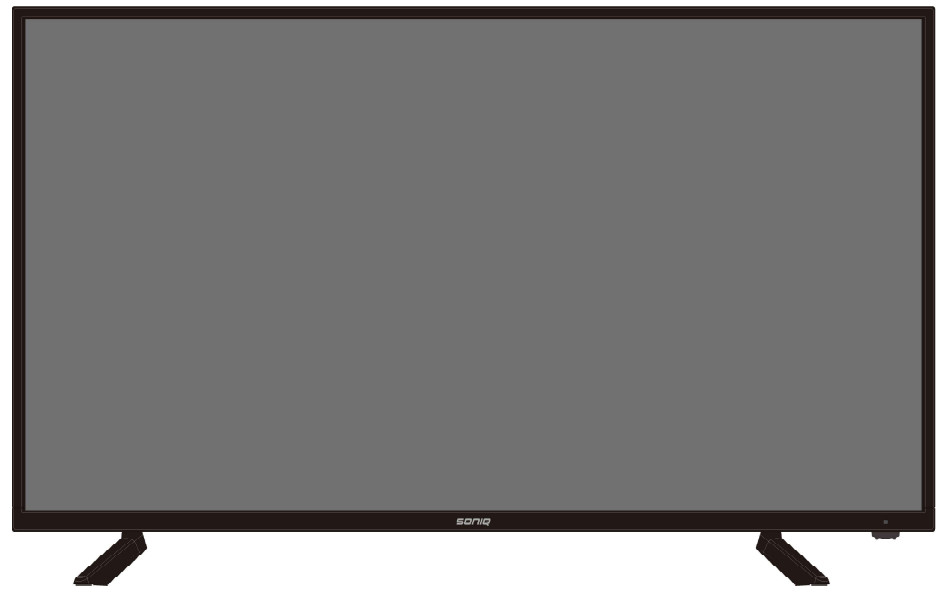
Note: The following is only a functional schematic, and the actual position and arrangement of different models may be different.
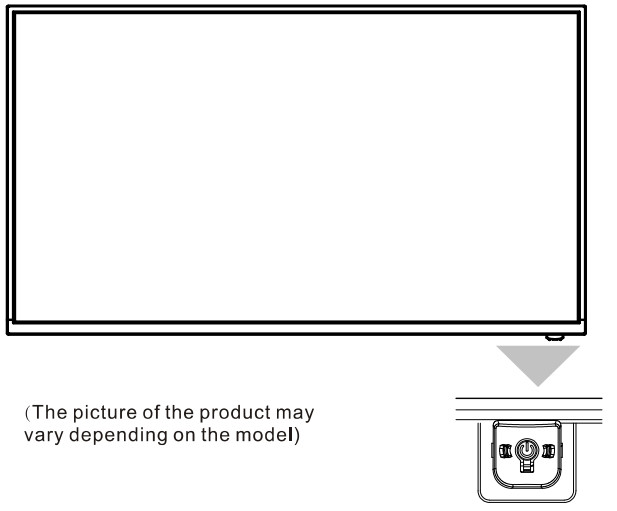
| ITEM | BUTTON NAME | FUNCTION DESCRIPTION |
| 1 | Switch on the TV when in standby mode or vice versa. | |
| 2 | POWER INDICATOR | The indicator illuminates RED in standby mode and is off when TV is switched on |
| 3 | REMOTE SENSOR | Infrared sensor for the remote control. |
TERMINAL
The LED Display has many multimedia functions. It can be connected to many types of equipment. The following paragraph shows how to connect to other Audio and Video devices.
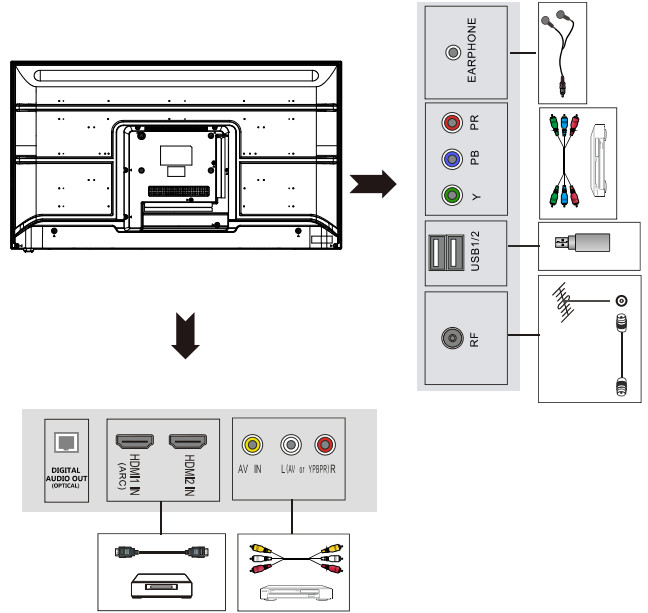
Note:
- Unplug the AC adapter from the power outlet when not using it for a long period of time.
- HDMI-CEC and HDMI-ARC are optional functions.This function is not compatible with all DVDs and power amplifiers with this function. In order to ensure normal use, please replace the regular large brand equipment.
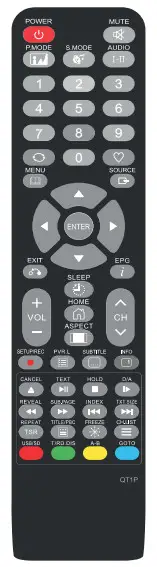
REMOTE CONTROLLER
The remote controller cannot be used unless it is within the receivable range. Before you use the remote control, please make sure there’s no obstacle between the remote control and the receiver.
- Open the battery cover and insert 2 “AAA” batteries.
- Point the remote control at the remote sensor located on the unit.
- When there is a strong ambient light source, the performance of the infrared remote sensor may be degraded, causing unreliable operation.
- The recommended effective distance for remote is about 16 feet (5 meters).
- When the batteries become weak and the operating distance of the remote control is greatly reduced, you will need to replace the batteries.
- If the remote control is not going to be used for a long period of time, remove the batteries to avoid damage caused by battery leakage or corrosion.
- Do not mix old and new batteries or ALKALINE or standard (CARBON-ZINC) or rechargeable (NICKEL-CADMIUM) batteries.
- Always remove batteries as soon as they become weak.
- Weak batteries can leak and severely damage the remote control.
- Do not dispose of batteries in fire, they may explode or leak.
- Batteries should not be exposed to excessive heat such as sunshine, fire, or the like. CAUTION :The danger of explosion may occur if the battery is incorrectly replaced.
REMOTE CONTROLLER
1Standby or switch on the TV.2EXITExit the current menu or function.EPGDisplay Electronic Program Guide menu. SLEEPControls the automatic turn-off time. VOL+/-Adjust the volume up and down.CH+/-Scan channels up and down. |
3SUBTITLEWith this key, you can switch over subtitles of different languages.INFO buttonPress to display the information of the current system program.CANCEL buttonOnly available in an interactive application, TEXT menu, and Music source.TEXTPress this button to enter TELETEXT mode.HOLD buttonStop refurbish Text current page.D / A buttonButton not workingREVEALFor Teletext Mode. Press this button to see the answers. Press this button again to hide the answers.SUB. PAGEPrompt the user to enter a subcode for the Text page.INDEXFor teletext Mode.TTXT. SizeToggles the text size display between half top page, half bottom page, and normal.TSRPress to delay the process of program broadcasting.Has the function of timeshift under DTV mode.FREEZEReeze the picture.TITLE/PBCButton not workingCH.LISTDisplay program list.USB/SDButton not workingT/R buttonButton not workingA-B buttonEnables you to repeat a selected section during Media video playback or DTV recording file playback.GOTO button MEDIA mode. |
SPECIFICATIONS
| ATV | Video System | PAL /SECAM |
| Sound System | BG, DK, I | |
| DTV | Modulation | DVB-T |
| Input Impedance | 750 | |
| Standby Power Consumption | -..0.50W | |
| Power Consumption | refer to the rating label | |
| Supply Voltage | refer to the rating label | |
| HDMI format support | 720p, 1080i, 1080p, 2160p | |
| The readable file types fromMedia (USB)MUSIC: MP3 | PHOTO: JPEG, BMP, PNGMOVIE: AVI, MP4, MKV, MOV, MPG, VOB, TS |
Note:
- Design and specifications are subject to change without notice.
- When play multi-media, insert a USB to connect the TV. Due to programs maybe be made by the different coded systems under the same format name, this TV cannot ensure supporting all formats listed above.
Note:
- System LOCK default password is ” 0000 ” in the TV MENU.
SIMPLE TROUBLESHOOTING
If the display fails or the performance dramatically changes, check the display in accordance with the following instructions. Remember to check the peripherals to pinpoint the source of the failure. If the display still fails to perform as expected, contact the dealer for assistance.
| Symptom | DEALING METHOD |
| No Power | Check the power connection. Pull the plug out, wait for 60 seconds, then reconnect the power and turn on the set. |
| No Sound | Increase the volume. Check if the set is in the mute state or not. Check the voice setting condition. Check the voice mode setting condition. |
| Remote not responding | Check the effect of the batteries. If necessary, replace the batteries or clean the remote control sensor window. The distance
between the set and the remote control should be less than 6 meters. |
| Abnormal Color | Check the antenna connection. |
| The TV set needs to be cleaned | Please pull the plug out when cleaning the screen. Use a soft, clean cloth to wipe it off. If needed to clean further, please use dry cloth, do not use naphtha or other thinners liquids. |
| System Error
(For Smart TV only) |
|
 The terms HDMI, HDMI High-Definition Multimedia Interface, and the HDMI Logo are trademarks or registered trademarks of HDMI Licensing Administrator, Inc.
References
[xyz-ips snippet=”download-snippet”]