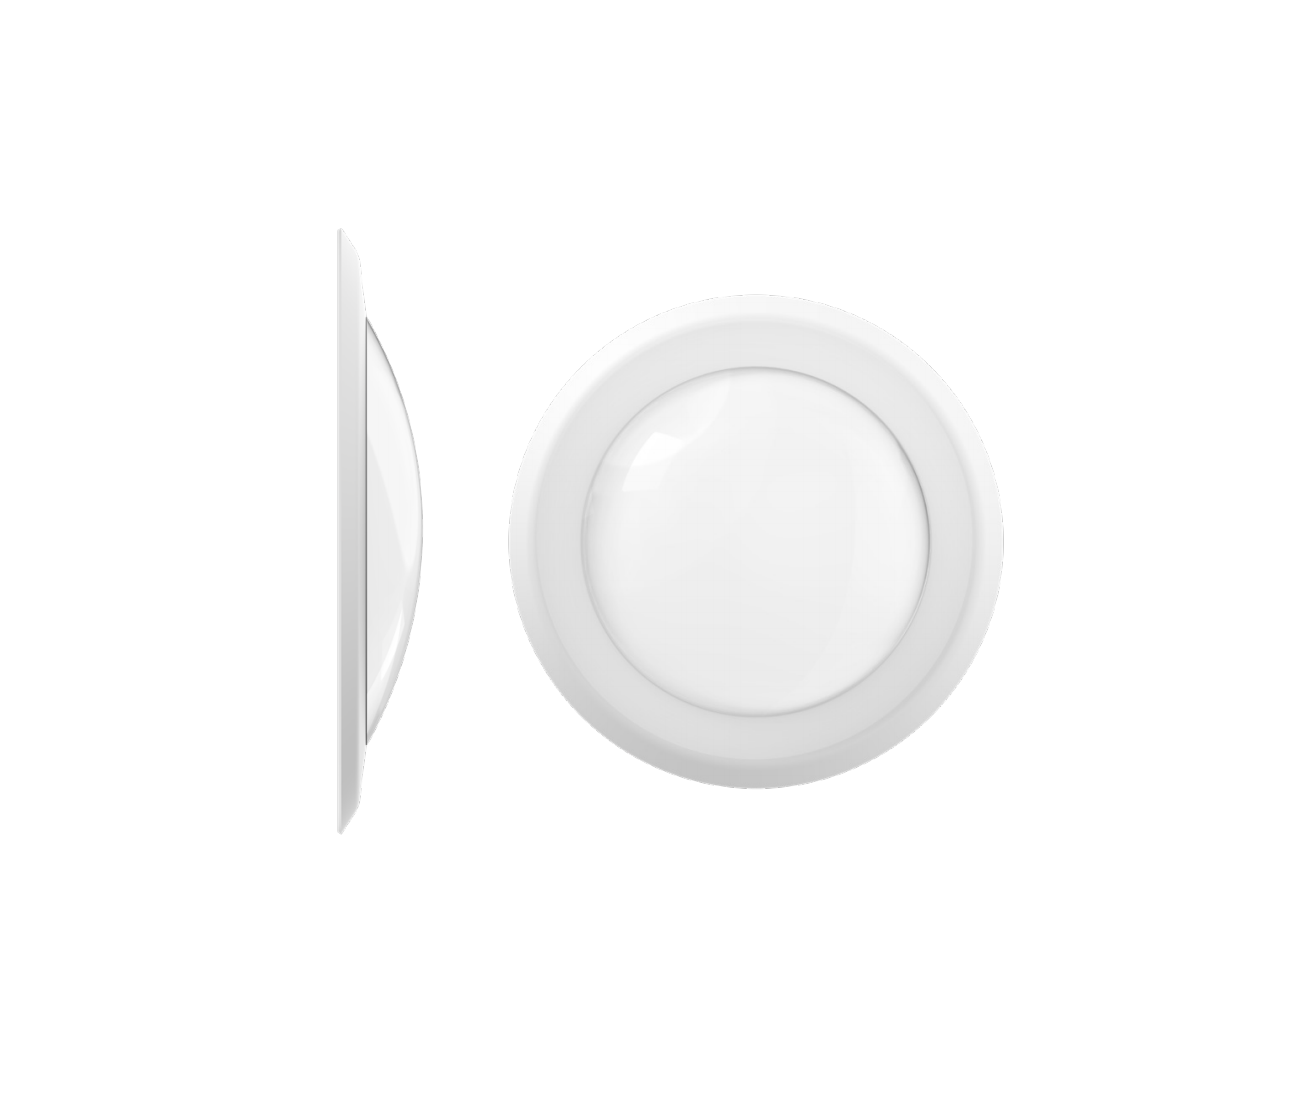
Sunco Lighting Disk LED Downlight (15W)
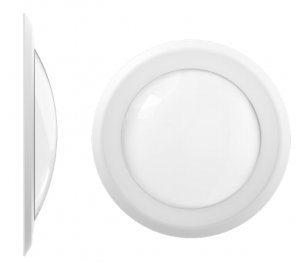
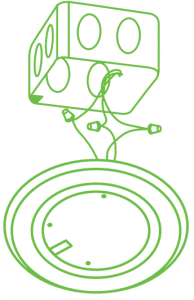
COMPONENTS

EASY INSTALLATION
SURFACE MOUNT-JUNCTION BOX
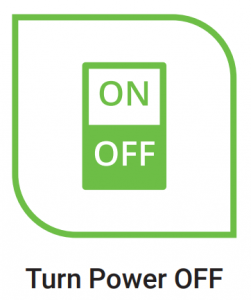
- Turn off circuit breaker that provides power to the light switch for the recessed lights.• This fixture is compatible with a 4 inch and 6 inch junction box

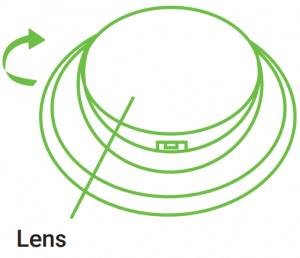
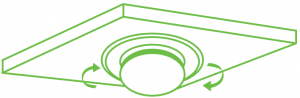
- Remove the lens by twisting clockwise.
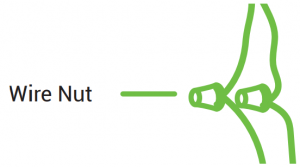
- Connect the supply wires to the junction box wires using the wire nuts provided.• White to white• Green to green• Black to black
- Tuck the connected wires inside the junction box.
- Align junction box with holes on the fixture that correspond to the size (4” or 6”).
- Attach the fixture to the junction box with either short or long screws pending on the junction box (deep or shallow).DO NOT OVER TIGHTEN.
- Complete the installation by screwing the lens back into place (counter clockwise).
- Turn on circuit breaker and test the light.


WARNING
All electrical connections must be in accordance with local and National Electric Code (N.E.C.) standards. Consult a qualified electrician if you are unfamiliar with proper electrical wiring connections. Please review these instructions carefully before proceeding.
WARNING: Risk of fire or electric shock. Do not alter, relocate or remove wiring during installation.WARNING: Do not make or alter any open holes in an enclosure of wiring or electrical components during kit installation
SPECIFICATIONS
| Voltage | 120V |
| Wattage | 15W |
| Suitable for Locations Ingress | Damp |
| Housing | Polycarbonate |
| Weight | 0.39lbs |
| Warranty | 7 years |
COMPONENTS

EASY INSTALLATION
RETROFIT INSTALLATION-CAN
- Turn off circuit breaker that provides power to the light switch for the recessed lights.
- Locate the housing.• Remove previous fixture, fixture may be hot so allow time to cool after turning off power
- Remove the lens by twisting clockwise.
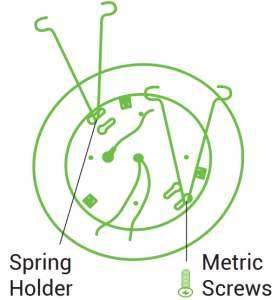
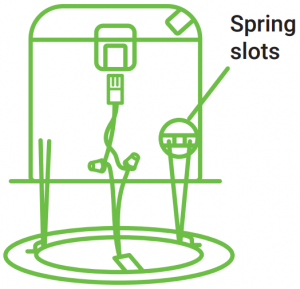
- Place the springs into the keyhole slots on the back of the fixture using the Metric screws provided.Using a screwdriver, gently tighten in place.• Slot placement should be chosen based on can size (5” or 6”).
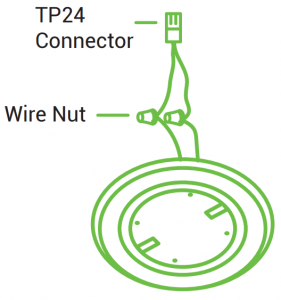
- Connect the supply wires to the TP24 adapter wires using the wire nuts provided.• White to white• Black to black• It is highly recommended that a licensed electrician installs the ground wire to the box, if not already included in your existing can.
- Connect the TP24 adapter to the TP24 connector inside the recessed can.
- Attach ground wire to the grounding screw located inside the can.
- Pinch springs and line up trim ring with opening.
- Hook disk springs into housing.• Strong springs. Use caution when compressing springs to fit inside can. Springs can bounce back quickly and cause injury.
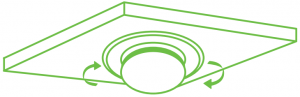
- Push disk into recessed can until secure
- Complete the installation by screwing the lens back into place (counter clockwise).
- Turn on circuit breaker and test the light.


[xyz-ips snippet=”download-snippet”]