![]()
Intended use – CAN
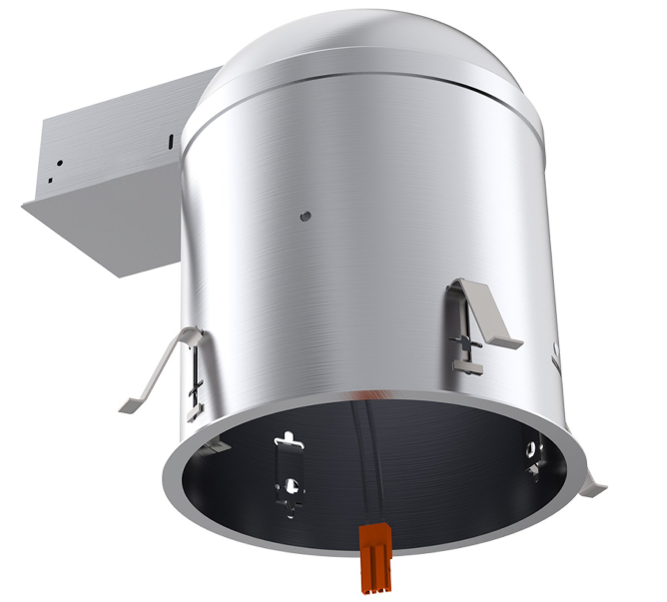
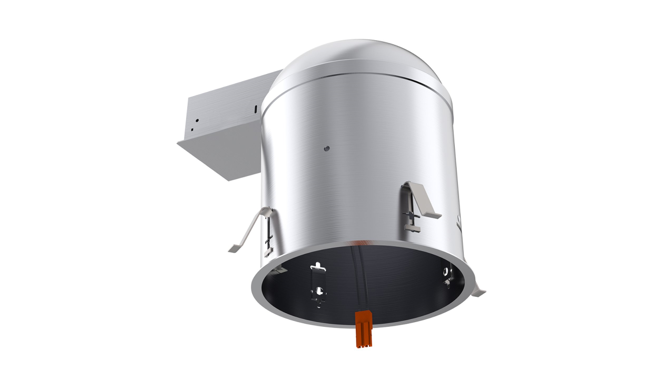
REMODEL CAN 6″Install Guide and Manual
EASY INSTALLATION

Turn Power OFF1. Turn off the circuit breaker that provides power to the light switch for the recessed lights. ·Disconnect existing light fixture (if applicable).

2. Locate ceiling joists in the area where you want to install the recessed light with a stud finder to ensure holes do not overlap a joist. ·Live to Live (black)3. Use the provided template to cut a hole in the ceiling.
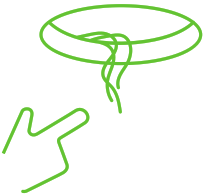
4. Pull supply wire through the opening, make electrical connections.
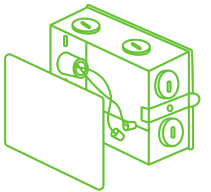
5. Open the junction box and connect the wires
- Live to Live (black)
- Neutral to Neutral (white)
- Ground to Ground (yellow/green)
6. Fold the wires into the box and replace the cover.
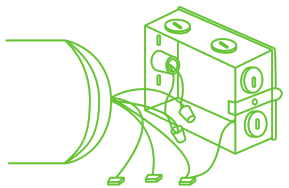
7. Pull the four mounting clips around the perimeter of the recessed light can inward so that they are flush with the can.·Slip the electrical cable, the junction box, and the recessed light can into the hole in the ceiling until the flange is resting evenly against the drywall.

8. Insert the housing in-ceiling cutout, junction box end first. The recessed can’s edge should now be flush with the ceiling.
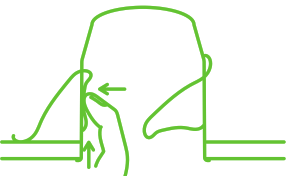
9. After install in-ceiling, secure with remodeling clips. · Push each clip up and outward, against the can side as shown, until it clicks. This will clamp the recessed can against the ceiling.

10.Trim installation
- Attach quick connect from housing to the can
- Lineup trim ring with an opening
- Hook downlight springs into the housing
- Push downlight into the housing until is secure
11.Turn on the circuit breaker, test light
WARNING
To reduce the risk of fire, electric shock or injury to people:
- This product should be installed in accordance with the applicable installation code by a person familiar with the construction and operation of the product and the hazards involved.
- Abide by related regional and local laws or regulations.
- Proper grounding is required to ensure safety.
- Check for damage during shipping prior to install. If the product is damaged, do not use it.
- Turn off the switch and circuit breaker before installing this recessed can.
- Use safety precautions. Safety eyeglasses and gloves are recommended.
NOTE: Fixtures are classified for insulated ceilings-type IC and type-T and for suspended ceiling type-S. · Please review instructions carefully before proceeding.
SPECIFICATIONS
Voltage – 120/277VOperating Temperature – Max 194°FSuitable for Locations Ingress – Wet & DampHousing – AluminumWeight – 1.2lbsWarranty – 10 years
[xyz-ips snippet=”download-snippet”]