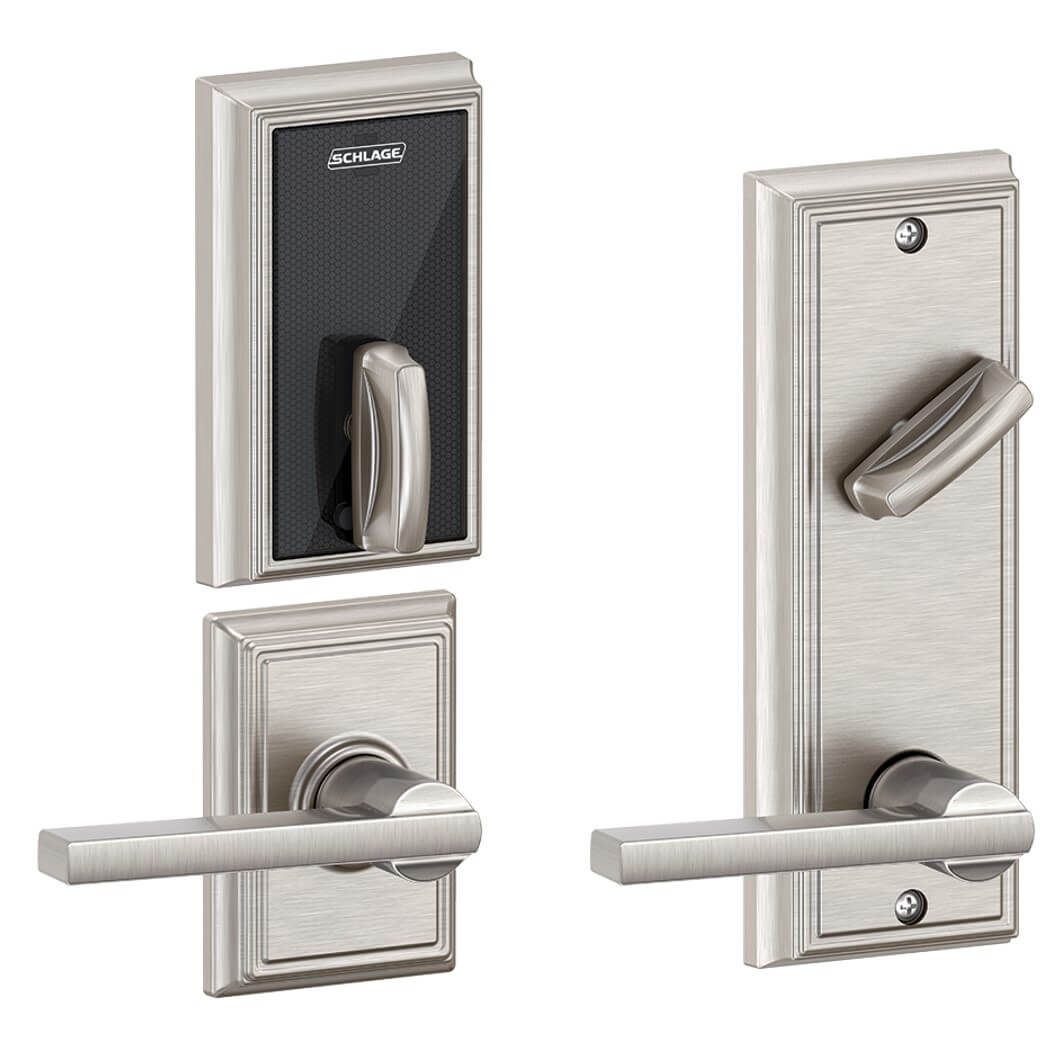
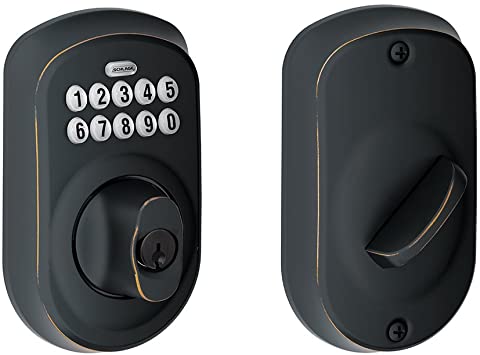
Tag: Schlage
-

Schlage Custom One-piece Dummy Handleset FCT93 Installation Manual
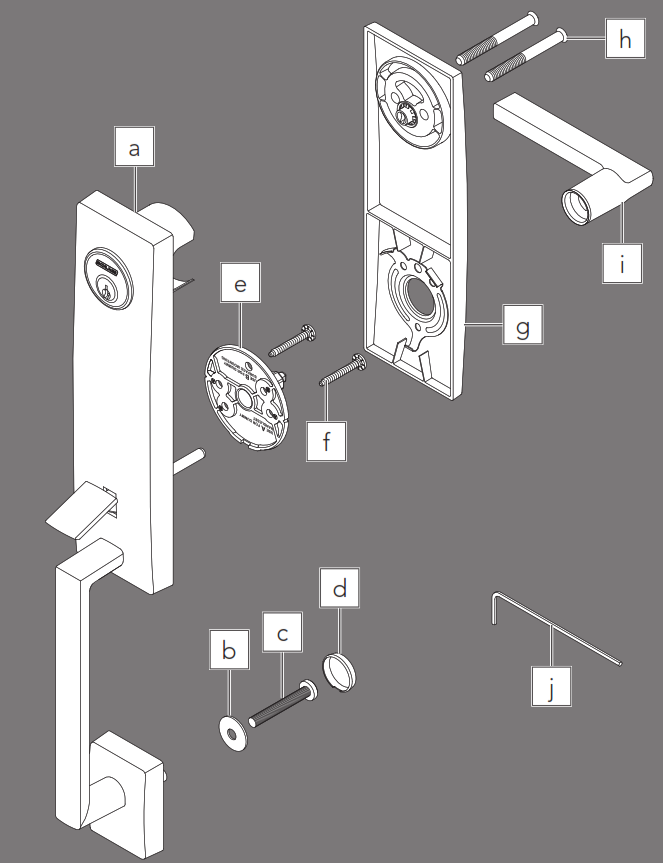
Model FC93, Dummy Handleset a. Cylinderb. Cylinder ringc. Handled. Washere. Handle boltf. Bolt coverg. Thumbturnh. Thumbturn screwsi. Chassisj. Chassis screwsk. Triml. Knob/leverm. Hex wrench (Do not discard!) 1 Check door dimensions. 1a If dimensions do not match, you may need to modify your door. * May vary from 8 1/4″ (210 mm) to 9 3/4″…
-

AptiQ Schlage Control Smart Locks Datasheet
AptiQ Schlage Control Smart Locks Datasheet Overview Schlage Control™ Smart Locks mark a new era of electronic access control in the multi-family world. Without traditional keys to deal with, properties will save time and money in managing resident doors. Compatible with aptiQ® smart and multitechnology credentials (MIFARE® Classic and MIFARE DESFire™ EV1), Schlage Control Smart…
-

Schlage JH60/JH62 Active Door Handleset Installation Manual
JH60/JH62 Installation Instructions A. Outside CylinderB. DeadboltC. ThumbturnD. Inside CylinderE. Mounting ScrewsF. Faceplate (choice of 3)G. Latch/Strike ScrewsH. HandlesetJ. LatchK. Inside KnobL. Knob ScrewsM. Latch Faceplate (choice of 2)N. WasherP. Handleset ScrewQ. Screw CoverR. Deadbolt StrikeS. Latch Strike Install Lock 1 Choose Faceplate to Match Door 2 Choose Deadbolt Backset 3 Choose Latch Backset Deadbolt…
-

Keypad Locks Programming Manual
Keypad LocksProgramming Guide Codes Programming Code (Six Numbers) Used to program the lock. DOES NOT unlock the lock. If you forget the Programming Code, you can reset your lock back to factory settings. See the Keypad Locks User Guide for more information. Lock comes preset with a default Programming Code. User Codes (Four Numbers) Used…
-

Schlage Control Smart Deadbolt Installation Manual
Schlage Control Smart Deadbolt Installation Manual OVERVIEW OF THE LOCKSET (1) ENTER / LOCK BUTTON Red light: Represents an incorrect entry or the unit is programming mode. Yellow light: Flashes when the batteries are low in power. Green light: Represents a correct entry. Press to activate or lock the lockset. (2) KEYPAD Unlocks the lockset…
-

Home Keypad Lock BE369 Installation Manual
Installation Manual Home Keypad Lock BE369 1.Important Information Lock comes preset with a default Programming Code. Lock comes preset with two default User Codes Need Help? (888) 805-9837 (U.S.A./Canada) Tools Needed Phillips screwdriver Tape Measure Pencil Optional Flathead Screwdriver Wood Block Hammer Do not use a power drill for installation …
-

Schlage Smart Door Lock Kit B81/B81F Installation Manual
Schlage Smart Door Lock Kit B81/B81F Installation Manual Lifetime Limited Mechanical and Finish Warranty and 1-Year Limited Electronics Warranty Subject to the terms and conditions of this warranty, Schlage extends a lifetime limited mechanical and finish warranty and a one-year limited electronics warranty to the original consumer user (“Original User”) of our Schlage brand product…
-
![Z-Wave Association and Configuration Parameters [Touchscreen Deadbolt BE469, Connected Touchscreen BE468]](data:image/gif;base64,R0lGODlhAQABAAAAACH5BAEKAAEALAAAAAABAAEAAAICTAEAOw==)
Z-Wave Association and Configuration Parameters [Touchscreen Deadbolt BE469, Connected Touchscreen BE468]
Z-Wave Association and Configuration Parameters [Touchscreen Deadbolt BE469, Connected Touchscreen BE468] – Z-Wave Association and Configuration Parameters [Touchscreen Deadbolt BE469, Connected Touchscreen BE468] – [xyz-ips snippet=”download-snippet”]
-

Schlage Control Smart Interconnected Lock FE410F User Manual
Schlage Control™ Smart Interconnected Lock with Engage Technology Model FE410F Installation Instructions Warnings and Cautions Prepare for Installation Tools Needed Phillips screwdriver Tape measure Optional Tools Flathead screwdriver TorxTM driver Determine the Handing Determine the handing of your door. Directions for changing lock handing are provided throughout the instructions. Important Notes Check door dimensions See…
-

Keypad Deadbolt BE365 Installation Manual
Keypad Deadbolt BE365 Installation Manual Prepare for Installation IMPORTANT NOTES DO NOT use a power drill for installation! Use a screwdriver to remove product from packaging. Install and test lock with door open to avoid being locked out. Pay special attention to step 1. If lock is installed with the cam in the wrong position,…


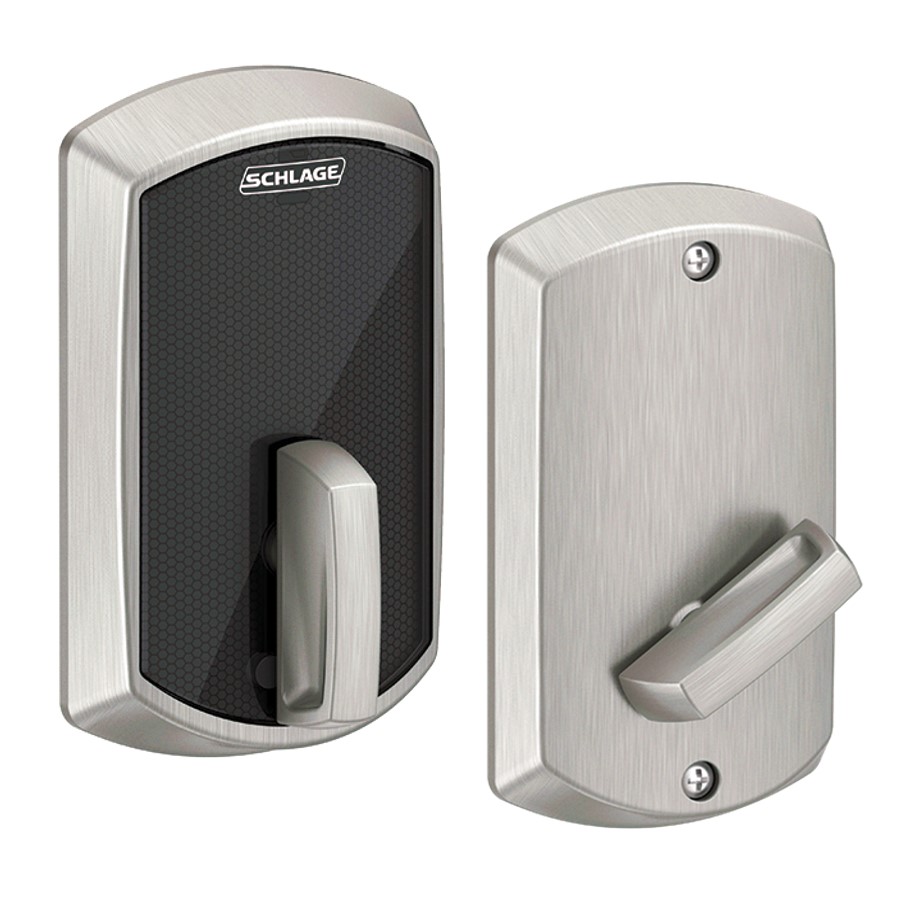
![Z-Wave Association and Configuration Parameters [Touchscreen Deadbolt BE469, Connected Touchscreen BE468]](https://manualscenter.org/wp-content/uploads/2023/01/z-wave-association-and-configuration-parameters-touchscreen-deadbolt-be469-connected-touchscreen-be468-product-img.jpg)
