Tag: ULINE
-

ULINE Deluxe Mesh Chair Instructions
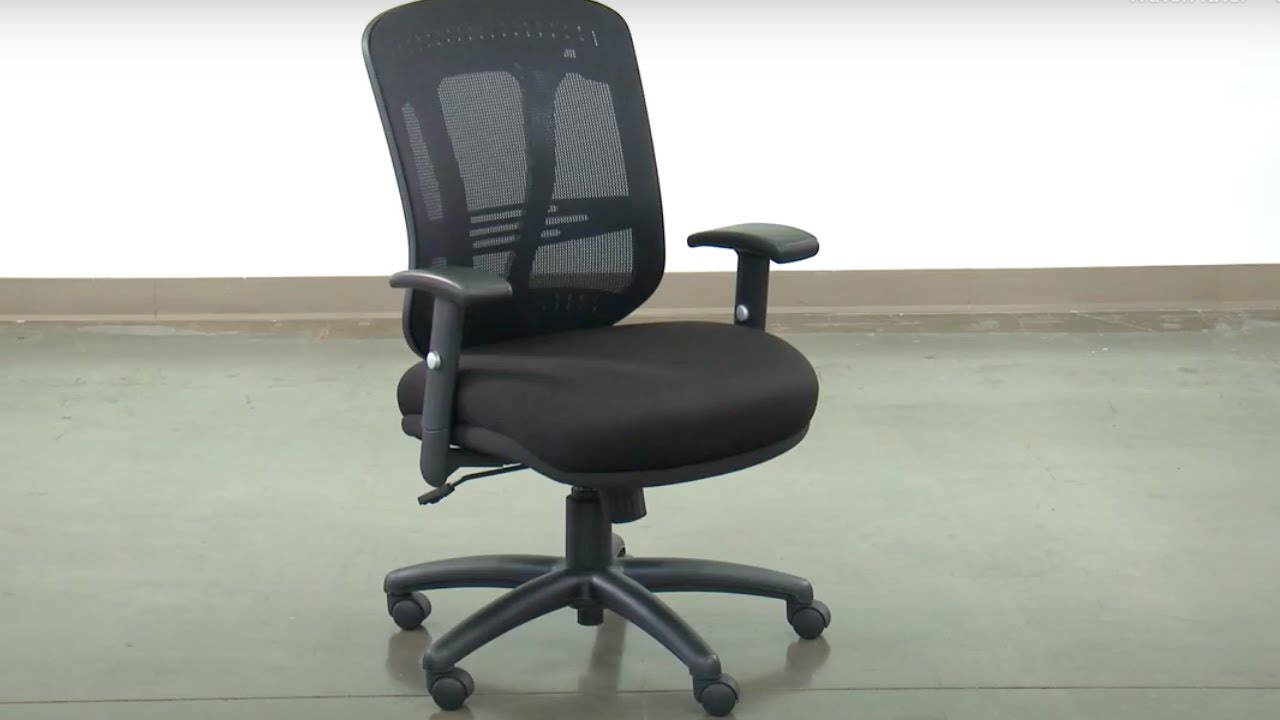
ULINE Deluxe Mesh Chair TOOL NEEDED PARTS ASSEMBLY Insert casters into legs of five-star base. Turn base upright. Insert gas lift into center of base. (See Figure 1) Align armrest with holes on bottom of seat cushion. Use one 1/4 x 1/” screw (12) and two 1/4 x 1/” screws (13) to attach. Repeat on…
-

ULINE Bag Taper Instructions
ULINE Bag Taper OPERATION LOADING THE TAPE Load the tape onto the mandrel, adhesive side up. Pull length of tape over the front of the taper. (See Figure 1)NOTE: Tape will feed through as bags are taped. USING THE TAPER Twist the bag and push down gently through the neck. (See Figure 2) The blade…
-

ULINE Z-Rack Wire Bottom Shelf H-4277 Instructions
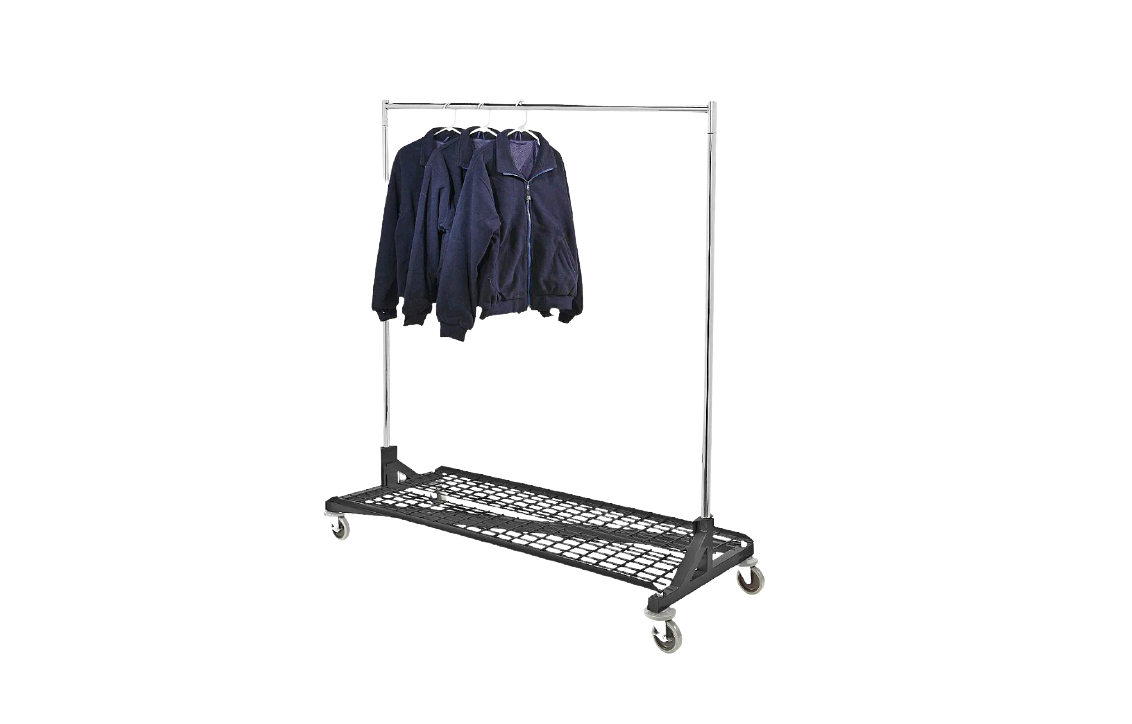
ULINE Z-Rack Wire Bottom Shelf H-4277 Instructions PARTS Bracket x 2 Shelf x 2 ASSEMBLY NOTE: Bottom shelf assembly is easier with two people. If the Z-rack is already assembled, remove the horizontal hang bar and the vertical bars. Insert the bottom prong of one shelf into the bottom slot of the bracket. (See Figure…
-

ULINE Wood Crate Instructions
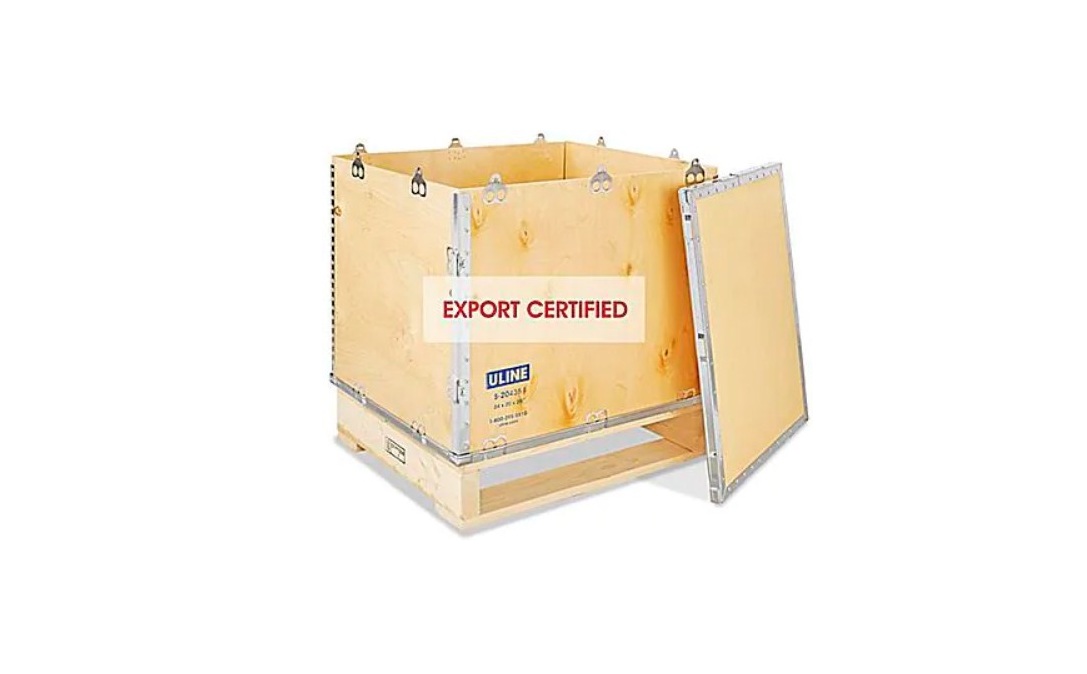
ULINE Wood Crate Instructions TOOLS NEEDED Hammer Screwdriver ASSEMBLY Elevate base so that tabs can be inserted without damage. Unfold both panels and secure them together. Ensure panels are level, then place panels on base. Bend back all tabs using a screwdriver or a hammer. Ensure all panels are level, then place lid on top.…
-

ULINE 2 Way Slanted Arm Clothes Rack H-3786 Instructions
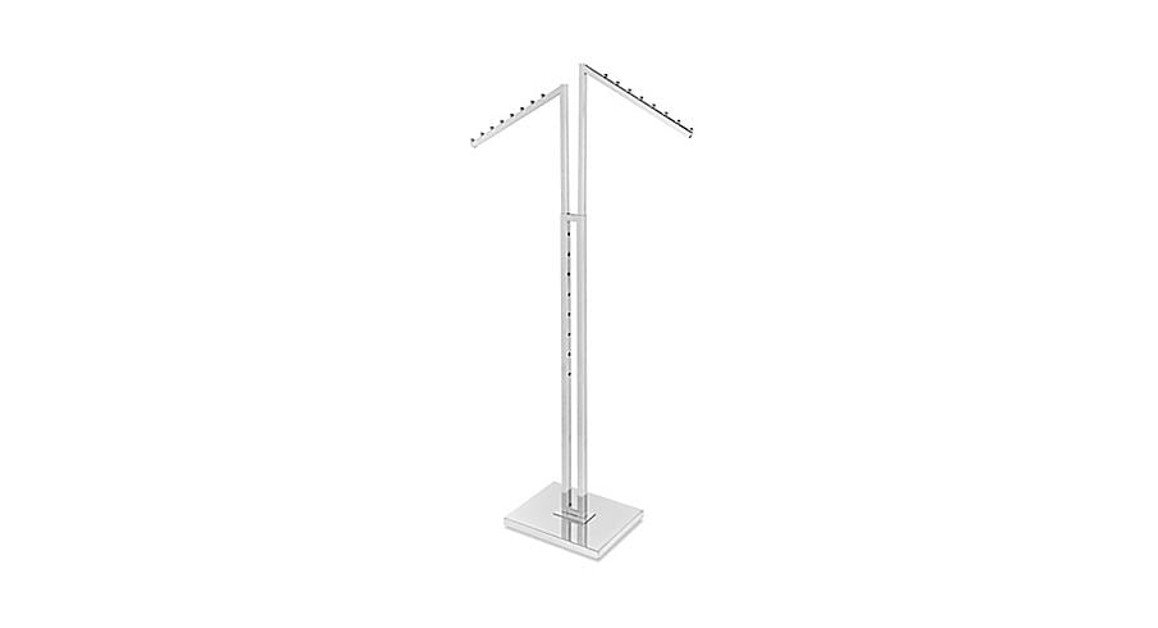
H-37862 WAY SLANTED ARM CLOTHES RACK 1-800-295-5510uline.com TOOL INCLUDED PARTS LIST ASSEMBLY Place nameplate on top of base cover. Place nameplate and base cover over plastic base. (See Figure 1) From below, attach metal spacer, plastic base, base cover, and nameplate to post with bolts and lock washers provided. (See Figure 2) NOTE: One end…
-

ULINE 48′ Round Conference Table Instructions
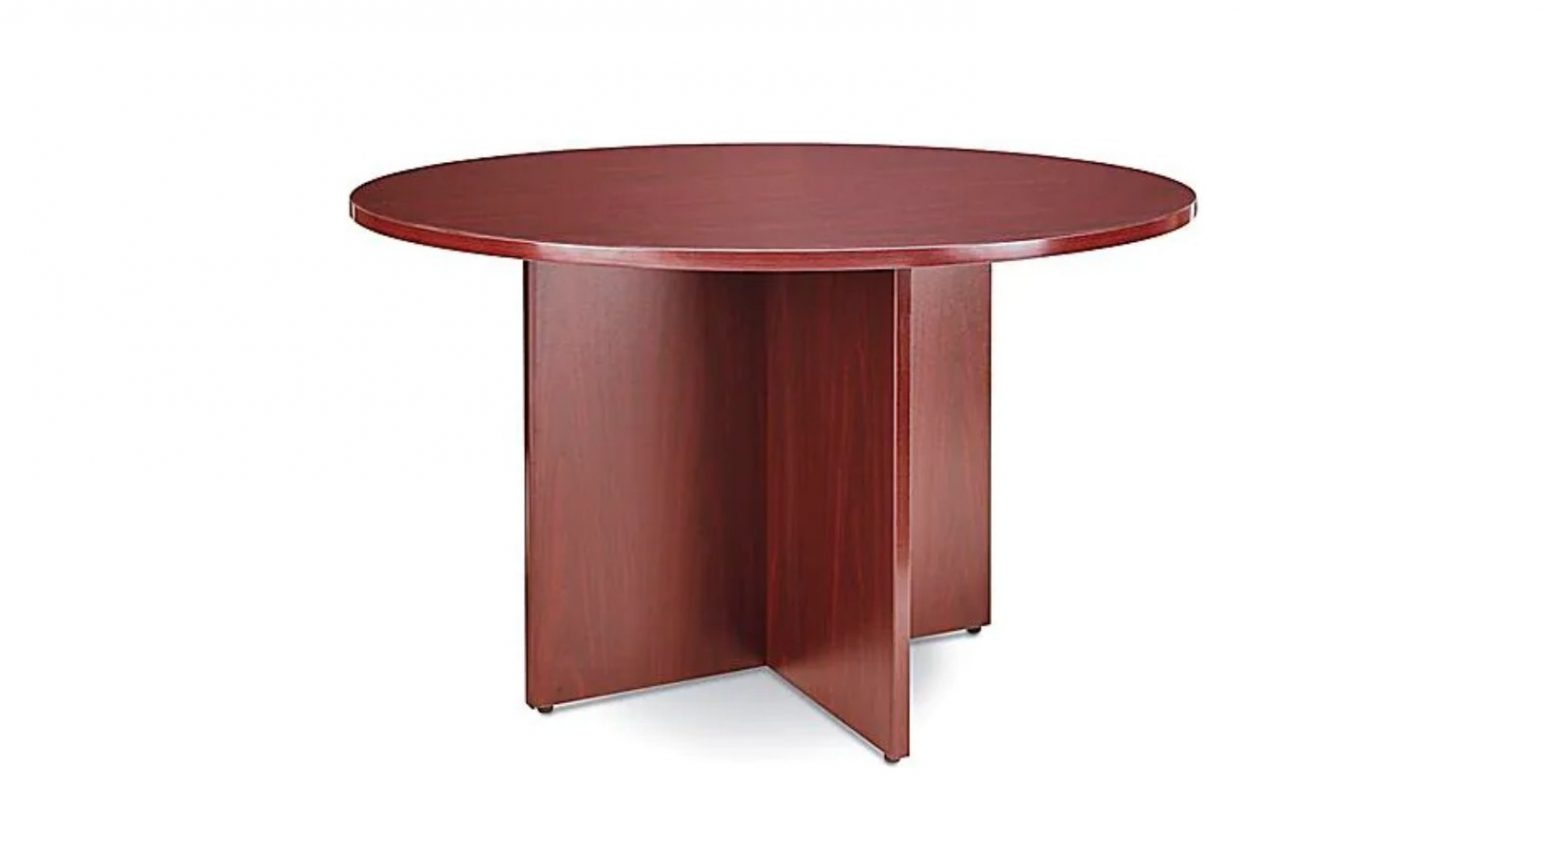
ULINE 48′ Round Conference Table Instructions TOOLS NEEDED Phillips Screwdriver Drill (Optional) Two Person Assembly Required PARTS Camlock Pin x 10 Camlock x 10 Dowel x 3 Floor Glide x 4 L-Bracket x 4 Screw x 29 #4 5/8″ Deep Camlock Cap x 10 ASSEMBLY NOTE: Assemble on a smooth, non-marring surface to avoid scratching…
-

ULINE H-6317 Slim Storage Cabinet Installation Guide
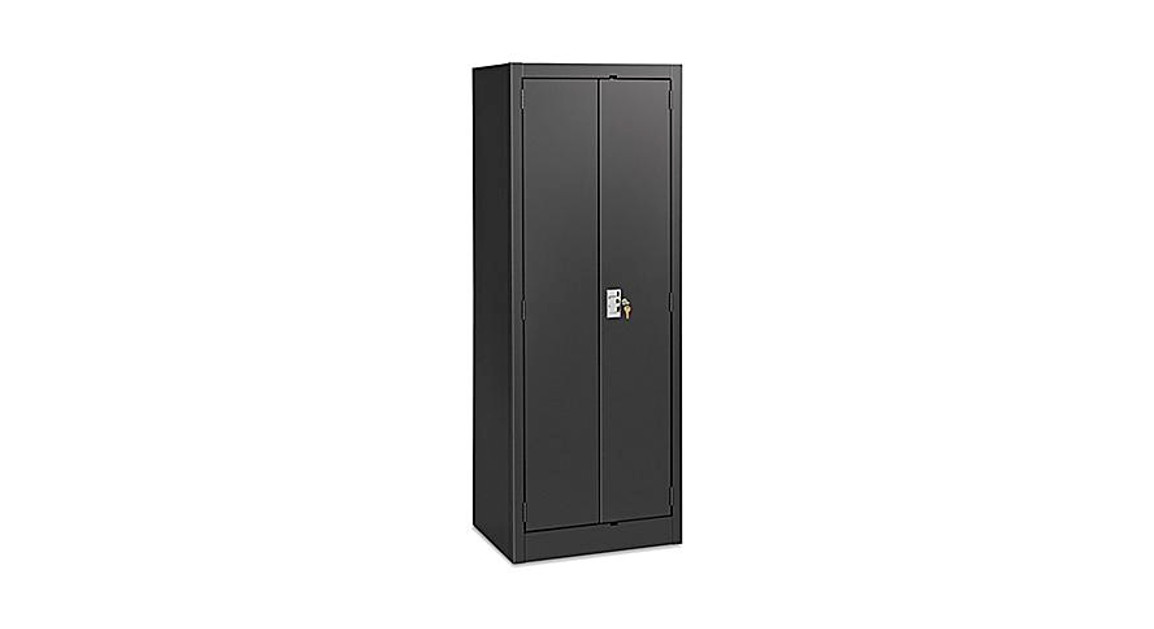
H-6317 SLIM STORAGE CABINET 1-800-295-5510uline.com DESCRIPTION QTY. ULINE PART NO MFG. PART NO. 1 Back Panel – Black 1 ICR2466-22F-ME 1 Back Panel-Gray 1 ———- ICR2466-22F-PL 1 Back Panel – Wine 1 ———- ICR2466-22F-MN 1 Back Panel – White 1 ———- ICR2466-22F-SW 2 Side Panel – Black 2 ———- ICS1866-22F-ME 2 Side Panel – Gray…
-

ULINE H-7241 Air Cushion Machine Installation Guide
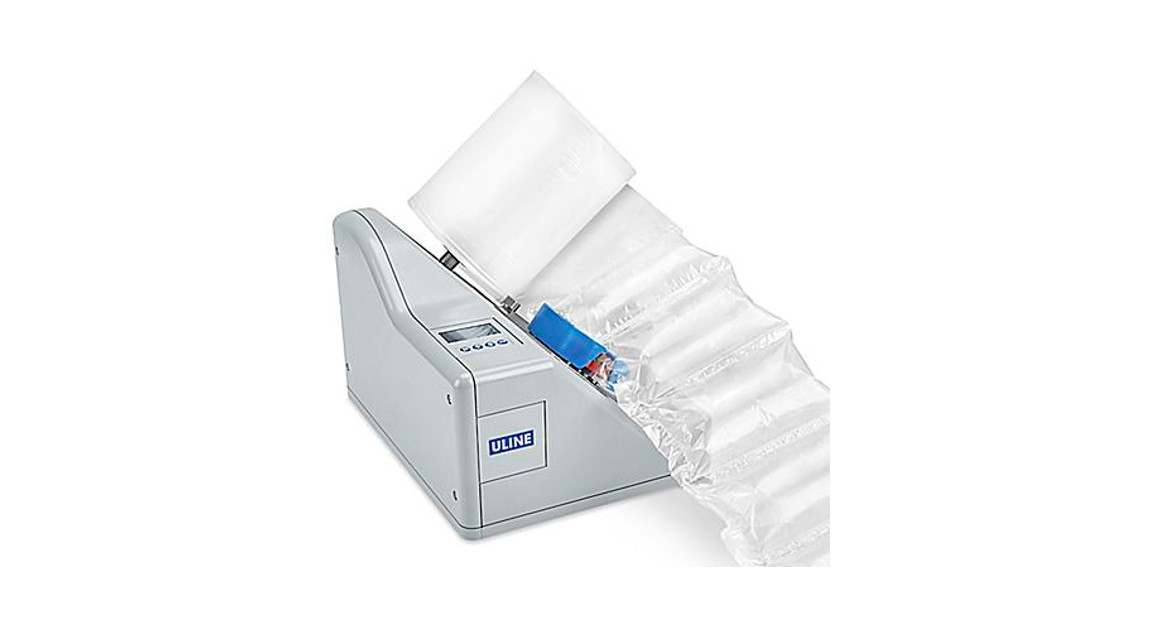
H-7241 AIR CUSHION MACHINE 1-800-295-5510uline.com HOUSING # DESCRIPTION QTY. ULINE PART NO. MFG. PART NO 1 Mounting Strip 1 ————- 002-xs000-13 2 Mounting Plate 1 ———— 003-xs000-11 3 Rear Panel 1 ———– 056-xs000-32 4 Main Housing 1 ———— 056-xs000-33 5 Guide Bar 1 H-7241-GBAR 531664 6 UI Panel Holder 1 ———– 056-xs000-34 7 UI Panel…
-

ULINE H-5908 Fromm 328 Sealless Combo Strapping Tool Installation Guide
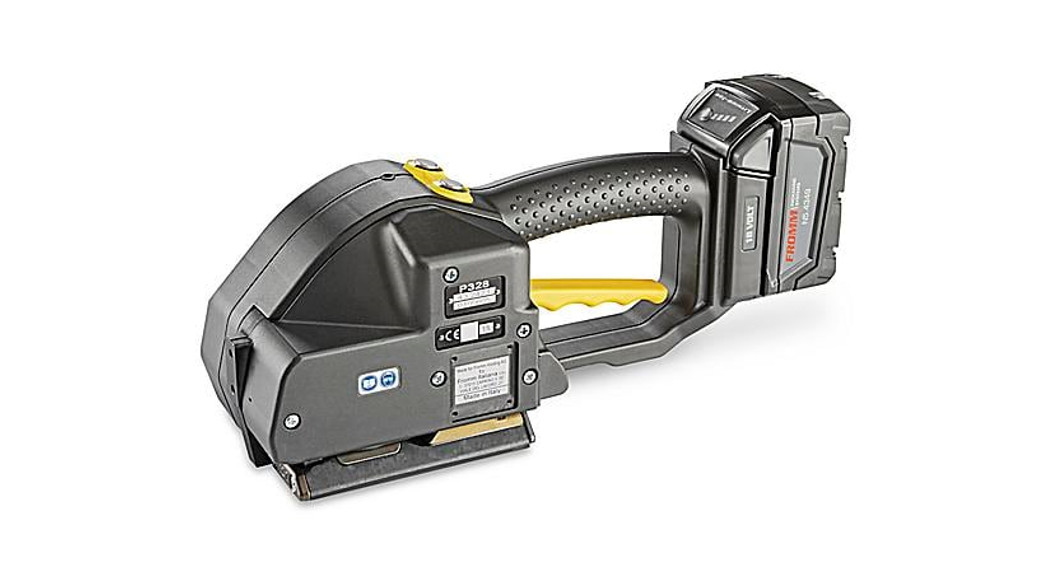
H-5908FROMM P328 SEALLESSCOMBO STRAPPING TOOL1-800-295-5510 – uline.com # DESCRIPTION QTY. ULINE PART NO. MFG. PART NO. 1 Screw M4 x 16 3 H-6028 N1.1196 2 Screw M4 x 7.8 6 H-6029 N1.1305 3 Hexagon Screw M4 x 8 1 H-5908-1553 N13553 4 Flat Head Screw M4 x 12 2 —- N1.1910 5 Flat Head Screw…
-

ULINE S-7703 Insert Cards Instructions
ULINE S-7703 Insert Cards Instructions INSTRUCTIONS MICROSOFT WORD 2010 SETUP (PC USERS) CREATING LABELS On the toolbar ribbon, click the MAILINGS tab. (See Figure 1) Click the LABELS button. (See Figure 2) On the LABELS tab, click the OPTIONS button. (See Figure 3) Under LABEL INFORMATION, use the drop down menu to select MICROSOFT. (See…

