How to Enable Alexa Voice Control
There are two ways to enable Alexa voice control of your Kwikset Halo Smart Lock:Method 1 – Linking the Kwikset Smart Home skillMethod 2 – Adding a lock to your Alexa account (page 3)
Method 1 – Linking the Kwikset Smart Home skill
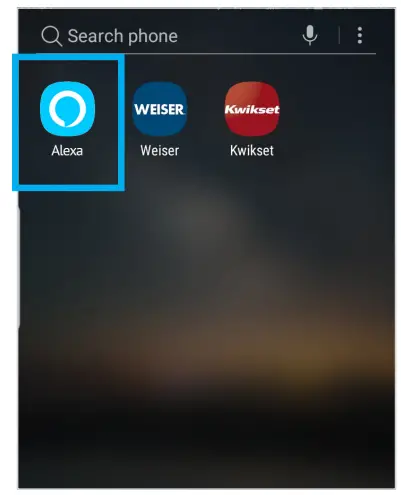
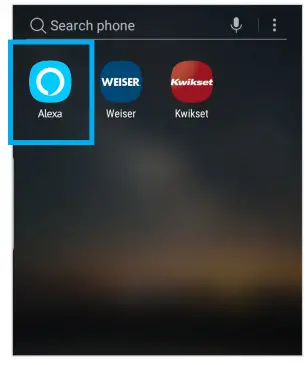
| 1. On your Android or iOS the device, open the Alexa app. | 2. Tap on the hamburger menu. | 3. Tap on Skills and Games. |
 |
 |
  |
| 4. Tap the search icon on the upper right of the screen. | 5. Search for “Kwikset Smart Home” and tap on it. | 6. Tap Enable to Use. |
  |
  |
  |
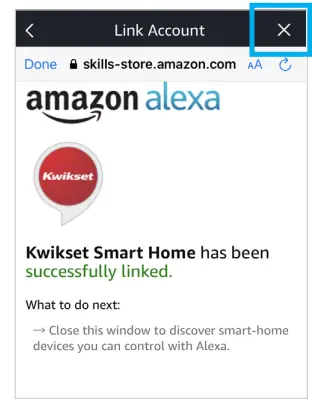
| 7. On the account linking page, enter your Kwikset app username and password, then tap Sign In. | 8. When the accounting linking is complete, tap the X in the top right corner to continue to devise discovery. | 9. Tap “Discover Devices” to show the newly discovered Halo devices that you can control using Alexa. |
  |
  |
  |
Continue to the next page for additional steps.
How to Enable Alexa – Method 1 (Continued)
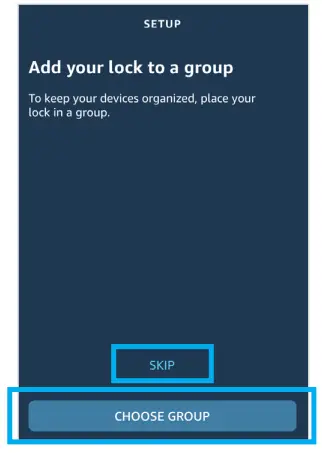
| 10. Wait while Alexa searches for your device. | 11. After your device is discovered, tap Set Up Device. | 12. You can tap Skip or tap Choose Group to add your device to a group. |
  |
  |
  |
| 13. Tap the group name and Add to Group to add the device. | 14. The device is now in the group.Tap Continue. | 15. Your device is now ready to use. Tap Done. |
  |
  |
   |
| 16. You’re done! Now, you are able to use the following commands:“Alexa, is [Lock Name] unlocked?”“Alexa,is [Lock Name] locked?”“Alexa, lock[Lock Name].”“Alexa, unlock[Lock Name].”NOTE: Unlocking will require an additional PIN for security. | For a secondary method of enabling Alexa, continue to the next page.
|
How to Enable Alexa – Method 2
Method 2 – Adding a lock to your Alexa account
| 1. On your Android or iOS device, open the Alexa app. | 2. Tap on the hamburger menu. | 3. Tap on Add Device. |
  |
   |
  |
| 4. Scroll down until you see Lock then tap on it. | 5. Scroll down until you see Kwikset Halo then tap on it. | 6. Set up your Kwikset account and activate your lock if you haven’t already.If your Kwikset account is alreadyset up and your lock is already activated, tap Continue. |
  |
  |
  |
| 7. Tap Enable to Use. | 8. On the account linking page, enter your Kwikset app username and password, then tap Sign In. | 9. When the accounting linking is complete, tap the X in the top right corner to continue to devise discovery. |
  |
  |
  |
How to Enable Alexa – Method 2 (Continued)
| 10. Tap “Discover Devices” to show the newly discovered Halo devices that you can control using Alexa. | 11. Wait while Alexa searches for your device. | 12. After your device is discovered, tap Set Up Device. |
  |
  |
  |
| 13. You can tap Skip or tap Choose Group to add your device to a group. | 14. Tap the group name and Add to Group to add the device. | 15. The device is now in the group.Tap Continue. |
  |
  |
  |
| 16. Your device is now ready to use. Tap Done. | 17. You’re done! Now, you are able to use the following commands:“Alexa is[Lock Name] unlocked?”“Alexa,is [Lock Name] locked?”“Alexa, lock[Lock Name].”“Alexa, unlock[Lock Name].” | |
   |
NOTE: Unlocking will require an additional PIN for security. |
[xyz-ips snippet=”download-snippet”]
